Class Meeting 09: Robot Manipulator Kinematics
Today's Class Meeting
- Learning about forward and inverse kinematics (here's a link to the slides)
- Getting introduced to the moveit ROS package to control the Turtlebot3 OpenMANIPULATOR
What You'll Need for Today's Class
- You may find it helpful to have some scratch paper on hand to work through some of today's class exercises
- The class Zoom room (access via Canvas)
- Your Ubuntu 20.04 programming environment
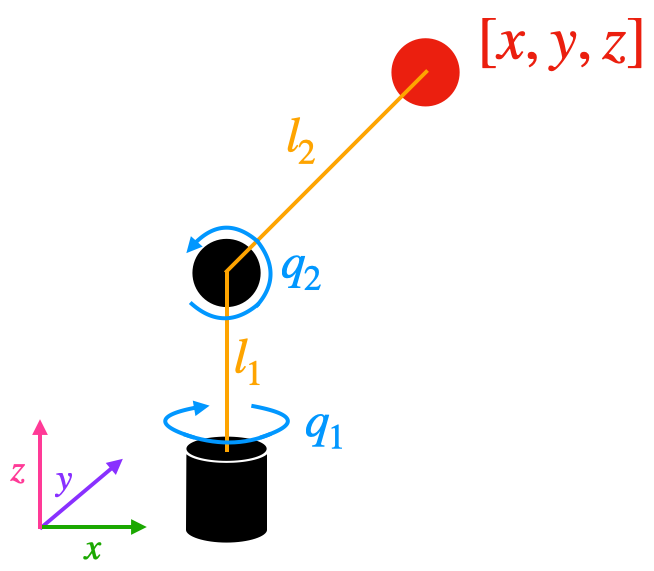
Class Exercise #1: Computing Forward Kinematics for 3DOF Robot Manipulator in 3 Dimensions
For this exercise, work independently to compute \([x, y, z]\) of the robot's end effector in terms of the lengths of the robot's two linkages \((l_1, l_2)\) and the angles of rotation of the two revolute joints \( (q_1, q_2) \). If it's useful to you, feel free to reference the slides we just went over in class.
Once you've finished computing \([x, y, z]\), please wait for others to finish. We'll go over the solution in the main Zoom room together.
Class Exercise #2: Getting Acquainted with the Moveit ROS Packages & the Turtlebot3 OpenMANIPULATOR
For this exercise, you'll work in these breakout rooms. We encourage each of you to work on your own computer and communicate with one another if any questions arise or to discuss using MoveIt.
Arm Control Through GUI
Let's go over the Turtlebot3 tools that allows you to control the robot arm with a GUI. First run the following command, which starts starts a gazebo session a Turtlebot3 with an OpenMANIPULATOR arm.
$ roscore
$ roslaunch turtlebot3_manipulation_gazebo turtlebot3_manipulation_gazebo.launch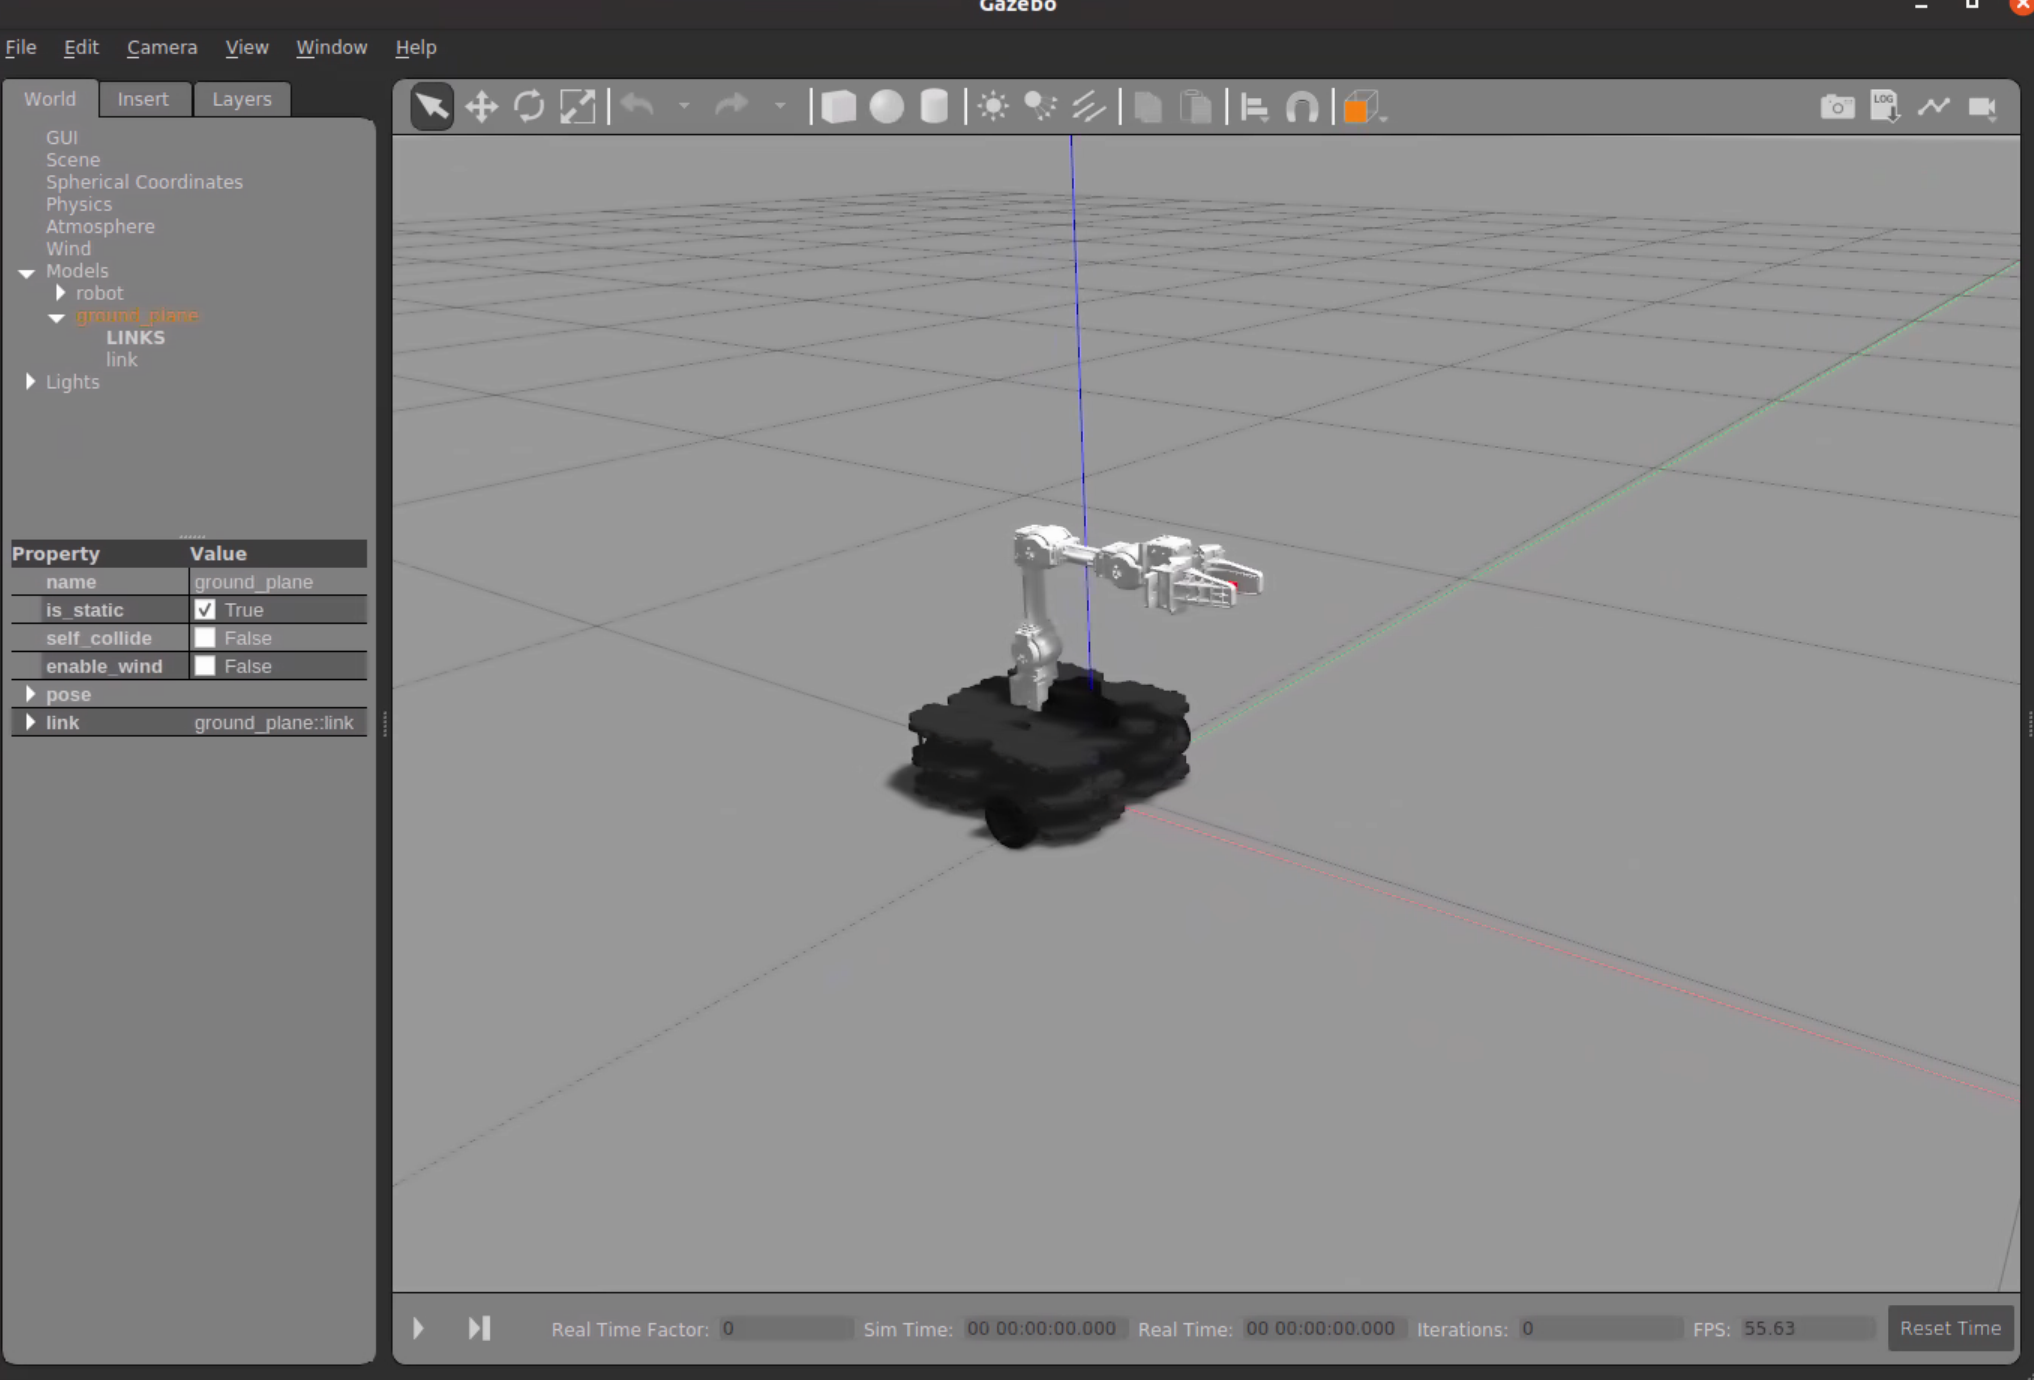
Next, you need MoveIt to manipulate the arm. To use MoveIt, you need to launch move_group node. Once this node is up and running, start your gazebo simulator by pressing the ▶ button in the bottom left. You should see a message that says, You can start planning now!.
$ roslaunch turtlebot3_manipulation_moveit_config move_group.launchNext, you need some GUI to control the robot arm. The ROBOTIS GUI provides you with a simple window that allows control of the robot arm within gazebo. The following command starts ROBOTIS GUI. Make sure your gazebo simulation is running and not stopped; otherwise the GUI window will not pop up.
$ roslaunch turtlebot3_manipulation_gui turtlebot3_manipulation_gui.launch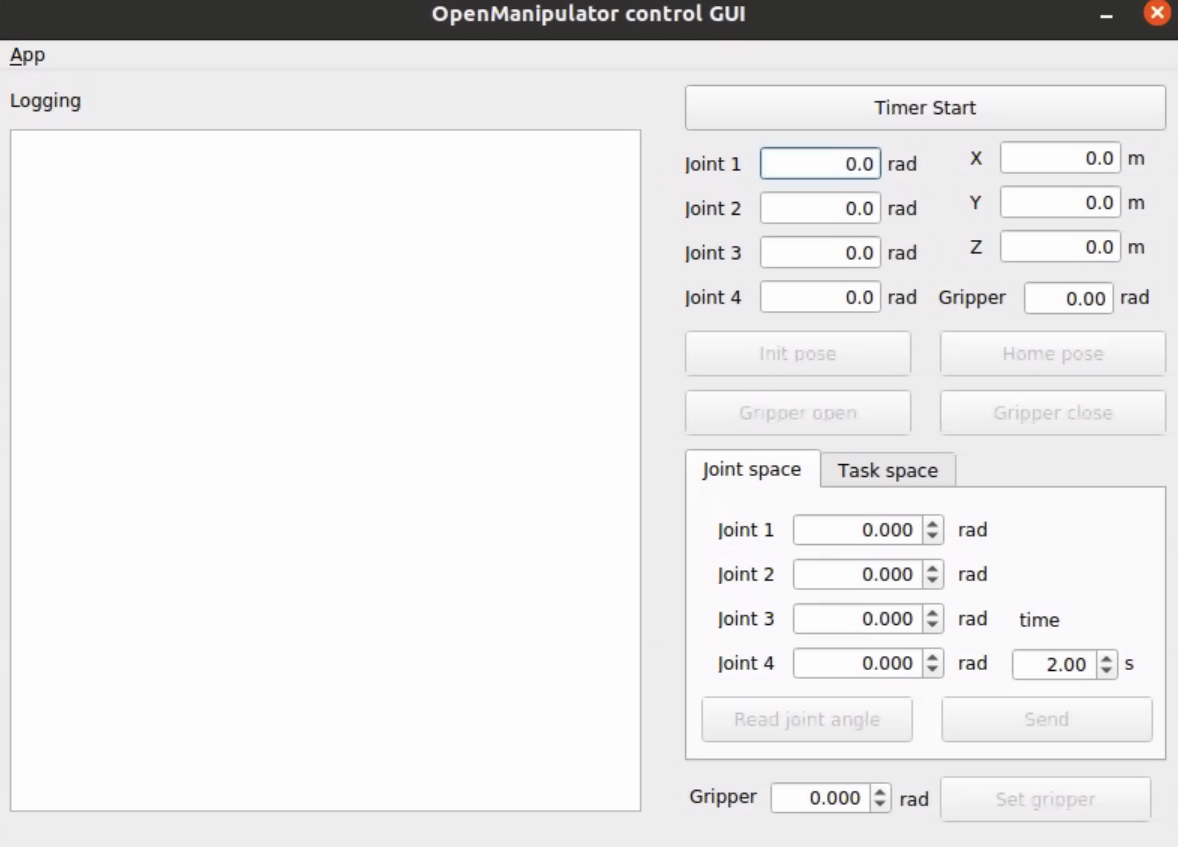
The GUI provides the following information,
- the current position of each of the joints,
- the XYZ position of the red square between the robot's gripper in the simulation,
- the position of the gripper.
Let's make sure your simulation robot can move its arm. Press Time Start and then click on Home Pose. You should see your robot arm move to a new position in the simulation. Pay close attention to how the new pose changes the joint and XYZ values.
Manual movement of the arm is possible through the options in the bottom right features of the GUI. There are two options available for this purpose,
Task Space Control: Sets the position of the red square between the robot's grippers to a certain XYZ.Joint Space Control: Sets the position of each single join.
The window with an s next to it is for selecting how fast you want the the transformation to occur. Once you are done with your manual selection, send your desired positions to the robot and watch the arm move.
Think about the following questions while you experiment with the GUI,
- How does each joint impact the arm's position?
- What seems to be the plausible range of motions for each joint?
- Can you anticipate how changing a joint's value will affect the XYZ value?
- What is the relationship between what we learned today in class (forward and inverse kinematics) and the two options available for controlling the robot's arm?
Additionally, you can control the robot through RViz. Instead of running the ROBOTIS GUI, run the following command,
$ roslaunch turtlebot3_manipulation_moveit_config moveit_rviz.launch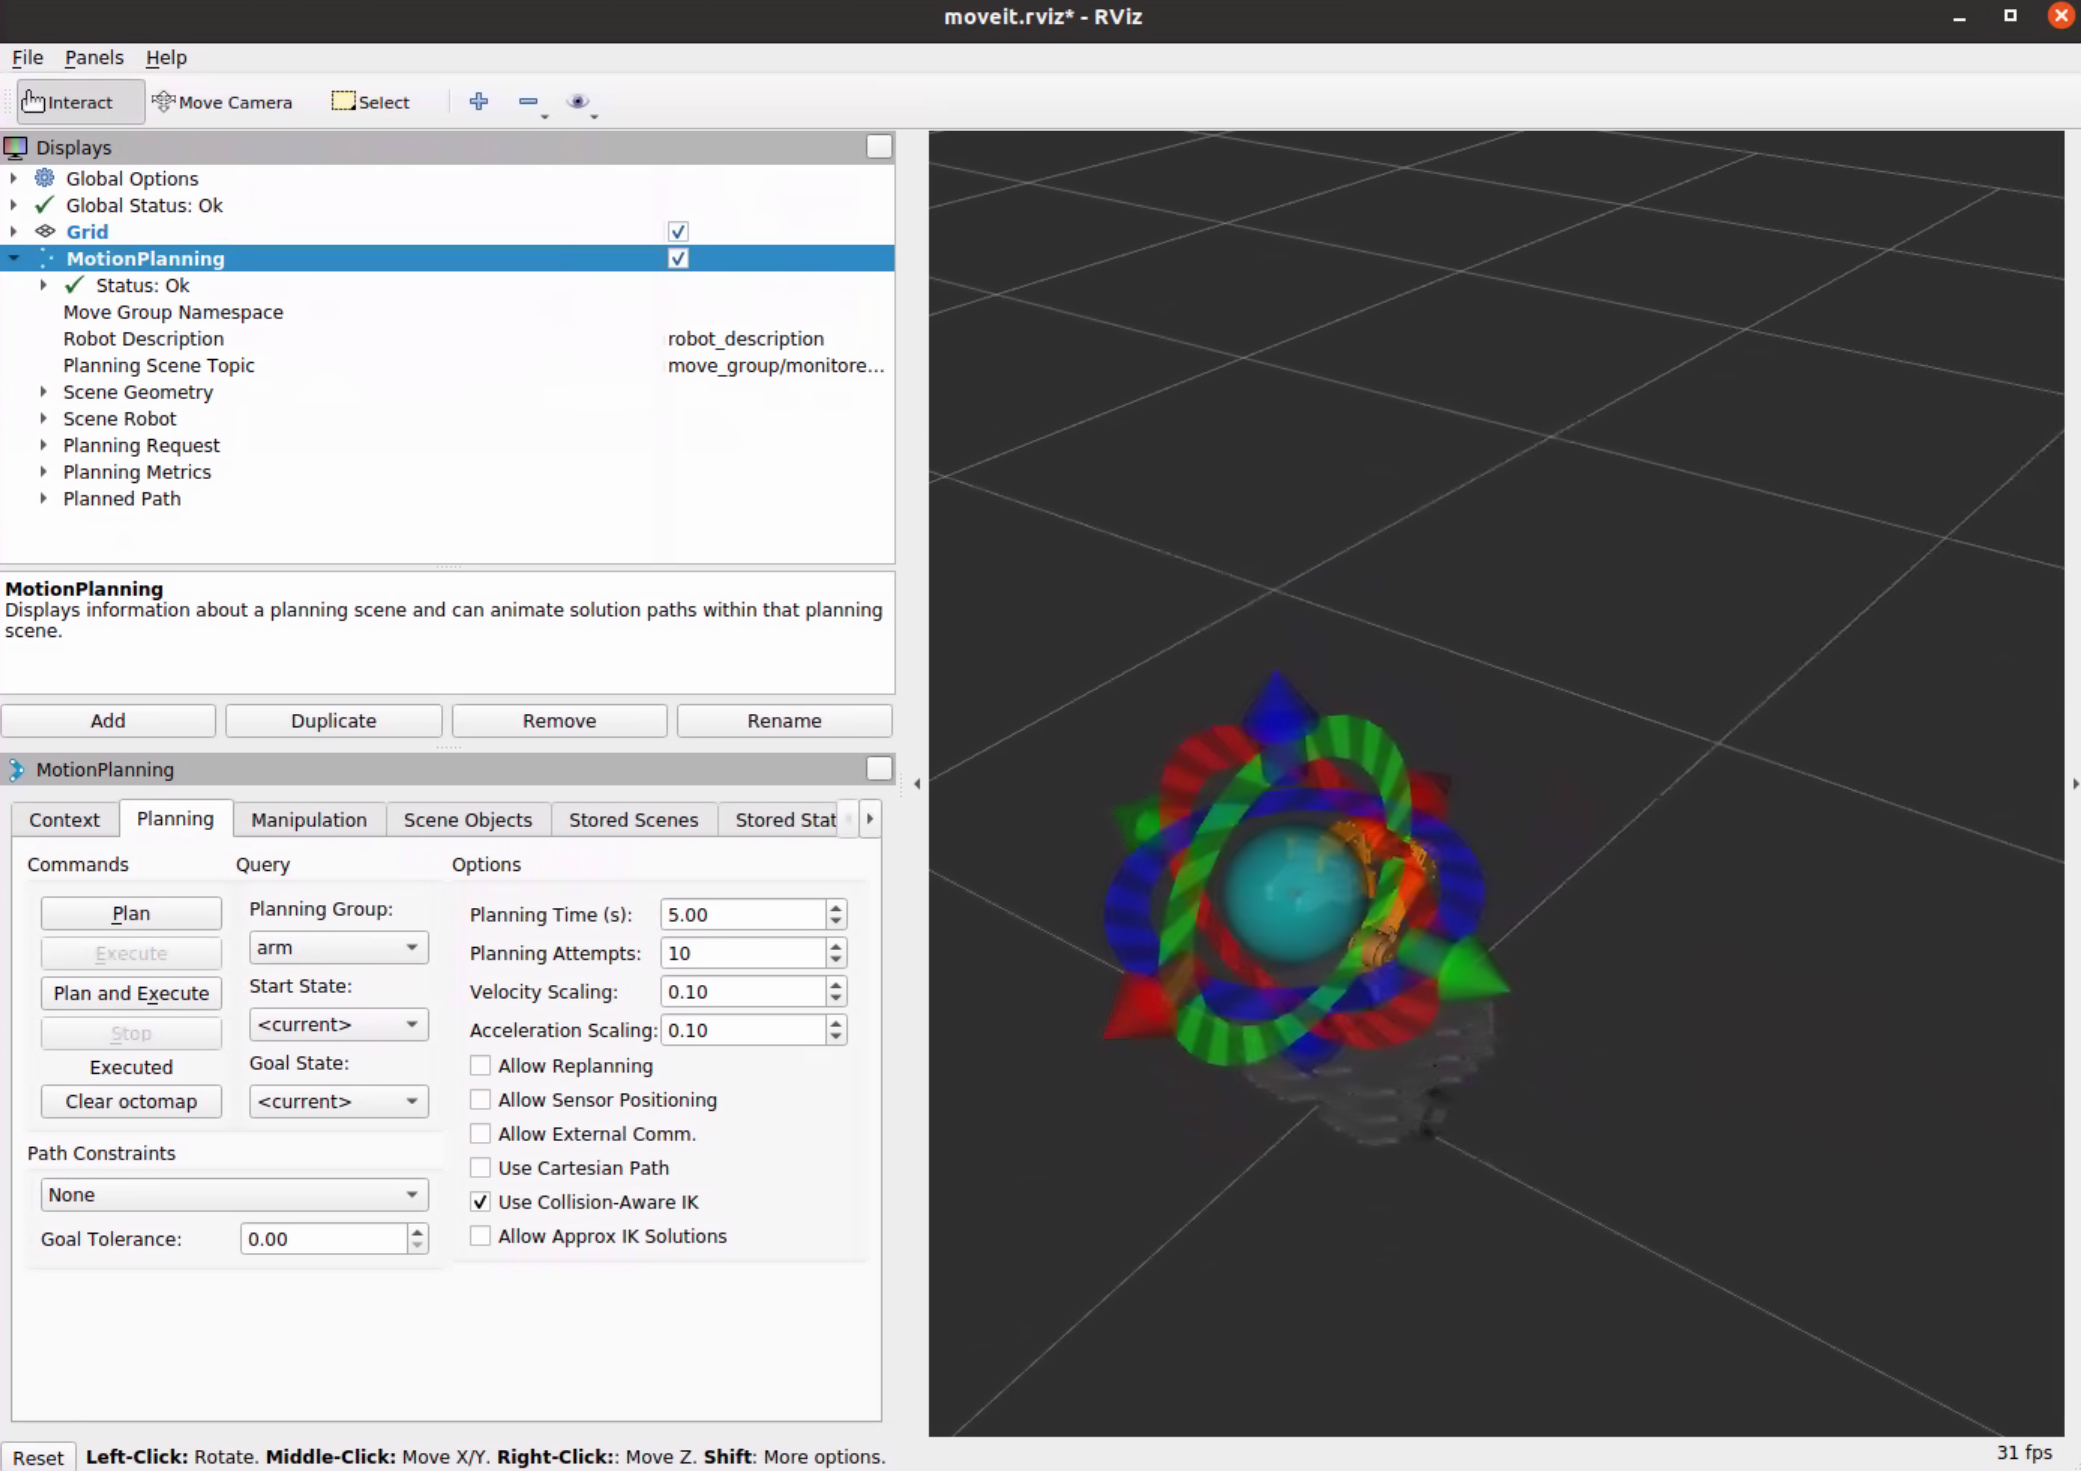
RViz presents a more sophisticated interface for controlling the arm. On the right side, you can control the arm by dragging and dropping and on the left, you can save positions, plan actions based on positions or joint positions, execute those actions, and many other advanced operations. Experiment a few minutes investigating and learning the RViz interface.
Arm Control Through Code with the MoveIt Packages
The MoveIt ROS package provides a simple, yet powerful interface to control the OpenMANIPULATOR arm on our Turtlebot3. Here is how the starter code would look like,
#!/usr/bin/env python3

import rospy
# import the moveit_commander, which allows us to control the arms
import moveit_commander


class Robot(object):

    def __init__(self):

        # initialize this node
        rospy.init_node('turtlebot3_dance')

        # the interface to the group of joints making up the turtlebot3
        # openmanipulator arm
        self.move_group_arm = moveit_commander.MoveGroupCommander("arm")

        # the interface to the group of joints making up the turtlebot3
        # openmanipulator gripper
        self.move_group_gripper = moveit_commander.MoveGroupCommander("gripper")
With this starter code, moving the arm or the gripper is fairly simple,
# arm_joint_goal is a list of 4 radian values, 1 for each joint
# for instance,
# arm_joint_goal = [0.0,0.0,0.0,0.0]
# arm_joint_goal = [0.0,
# math.radians(5.0),
# math.radians(10.0),
# math.radians(-20.0)]
# wait=True ensures that the movement is synchronous
self.move_group_arm.go(arm_joint_goal, wait=True)
# Calling ``stop()`` ensures that there is no residual movement
self.move_group_arm.stop()
# gripper_joint_goal is a list of 2 radian values, 1 for the left gripper and 1 for the right gripper
# for instance,
# gripper_joint_goal = [0.009,0.0009]
# gripper_joint_goal = [0.0, 0.0]
self.move_group_gripper.go(gripper_joint_goal, wait=True)
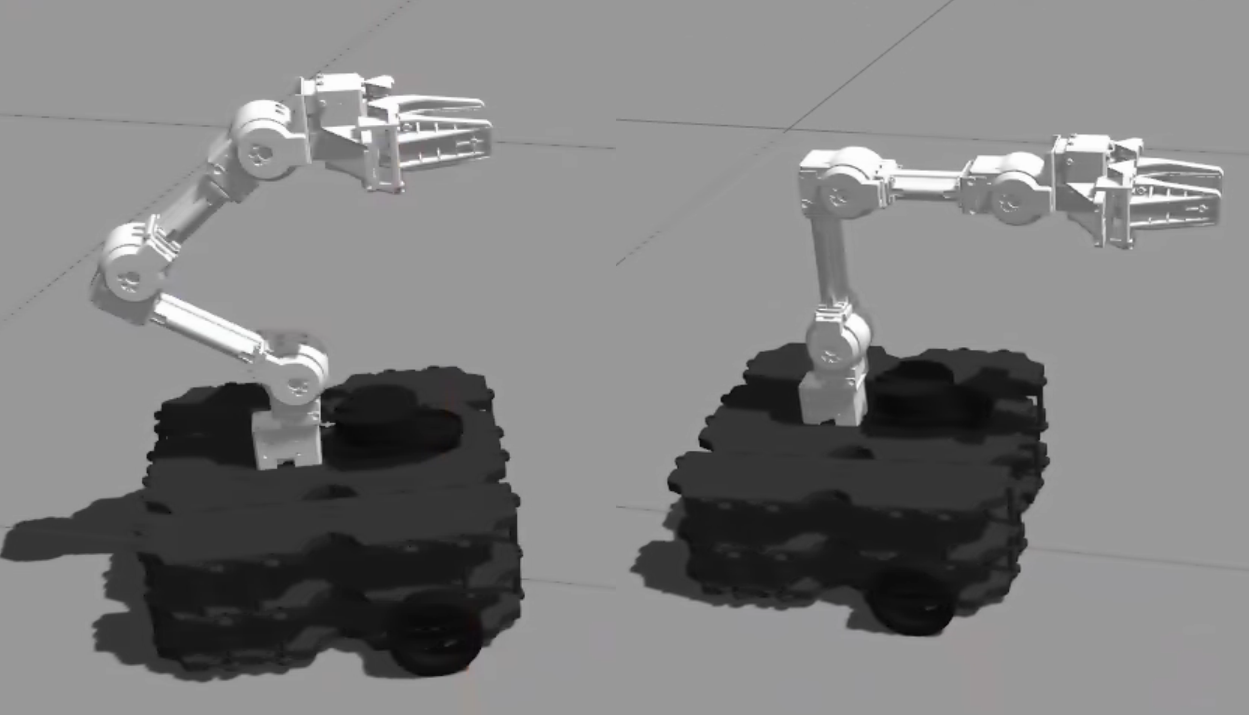
self.move_group_gripper.stop()For the remainder of the class, implement functions that put the robot arm in Home Pose (left) and Init Pose (right) based on the ROBOTIS GUI's definitions.
For more information on MoveIt and its python interface, refer to this tutorial.
Acknowledgments
I want to thank Woolfrey for their helpful Youtube videos on forward and inverse kinematics for helping to inform the content for today's class.