Class Meeting 02: Controlling ClicBot
Learning Goals
- You will learn some of the physical limitations to robot designs.
- You will learn how to start building a ClicBot controller.
- You will build and control a ClicBot that can interact with the environment.
Warmup Activity
While sitting at your tables, find something moderately heavy like a book or a water bottle that you can hold in one hand. You could even use your backpack. Take turns holding the object out in front of your body - keep the object at shoulder level with your arm fully extended. Try holding it for about 30 seconds. Then try holding it for another 30 seconds at shoulder height with your elbow bent and the object close to your body.
How does your shoulder feel when doing these two tasks? What intuition can you take away and how could it apply to desigining your robot?
Introduction to controlling clicbot and robot design by Lauren Wright
Here is a link to the presentation slides from today.
Exercise #1: Rotation Motions
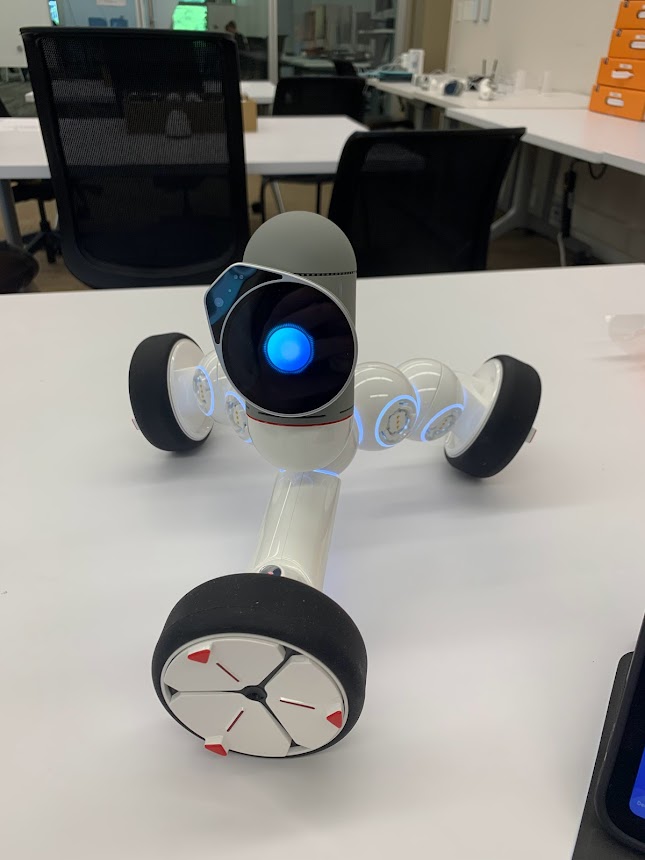
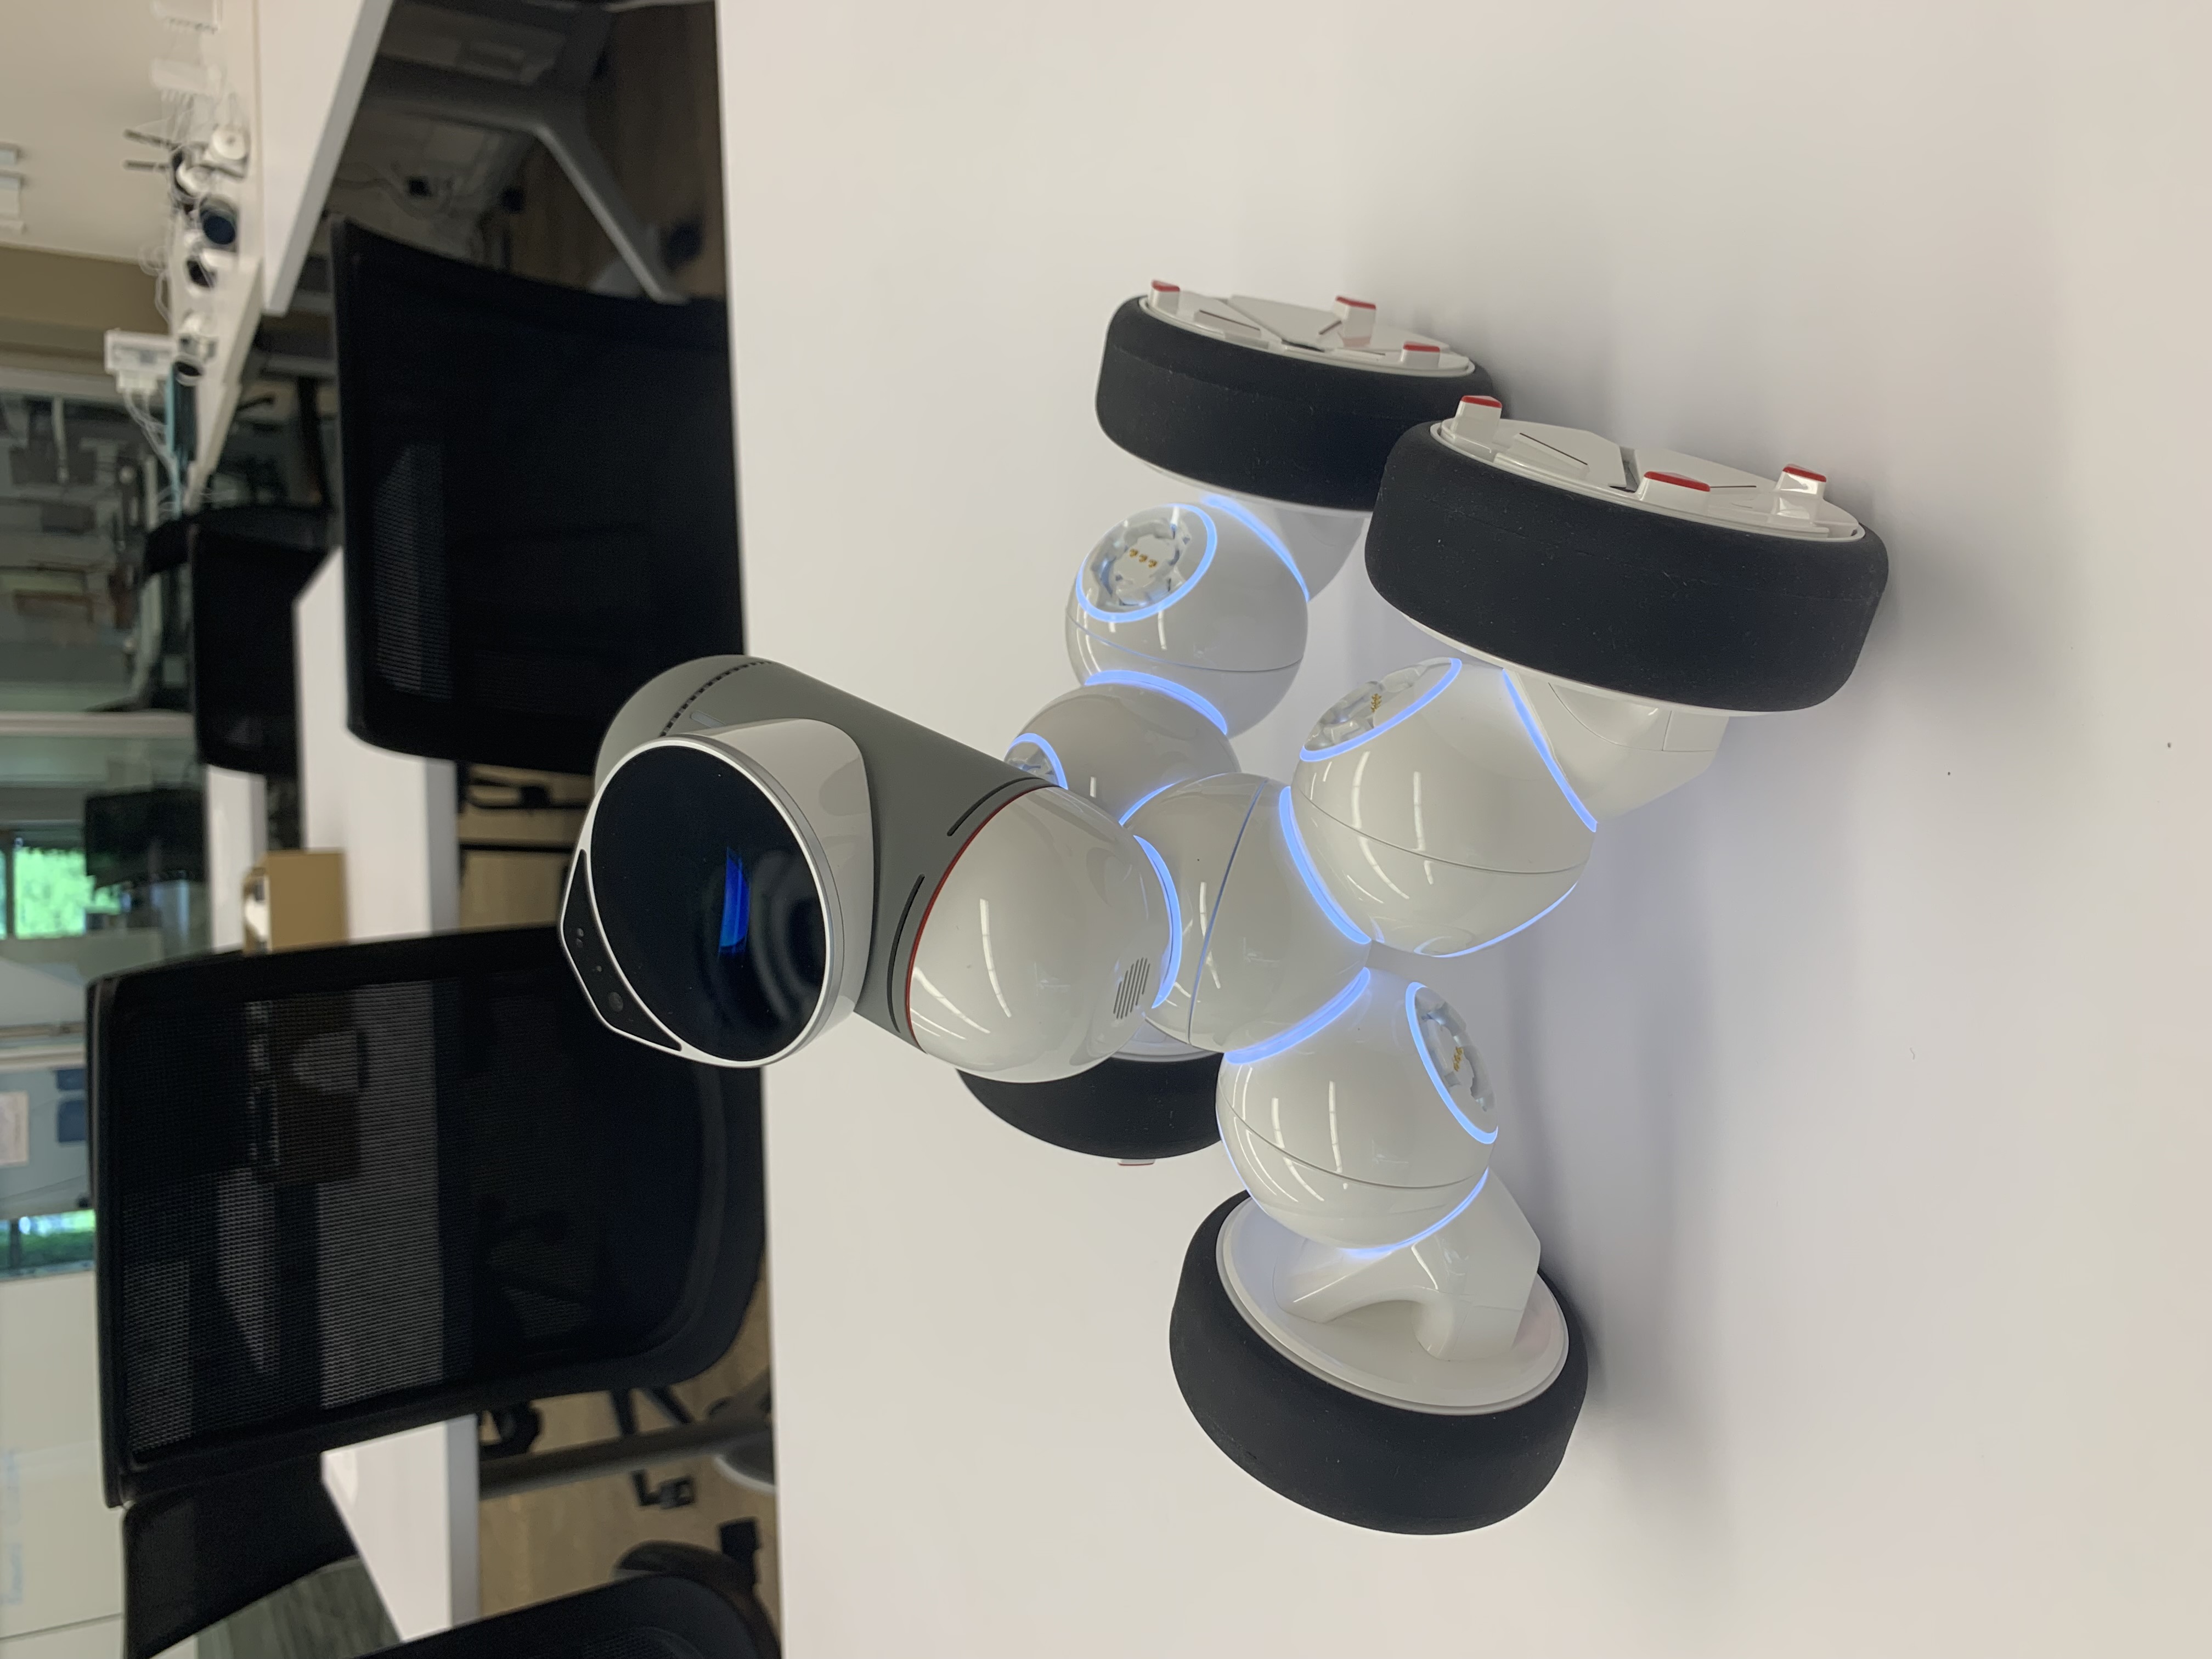
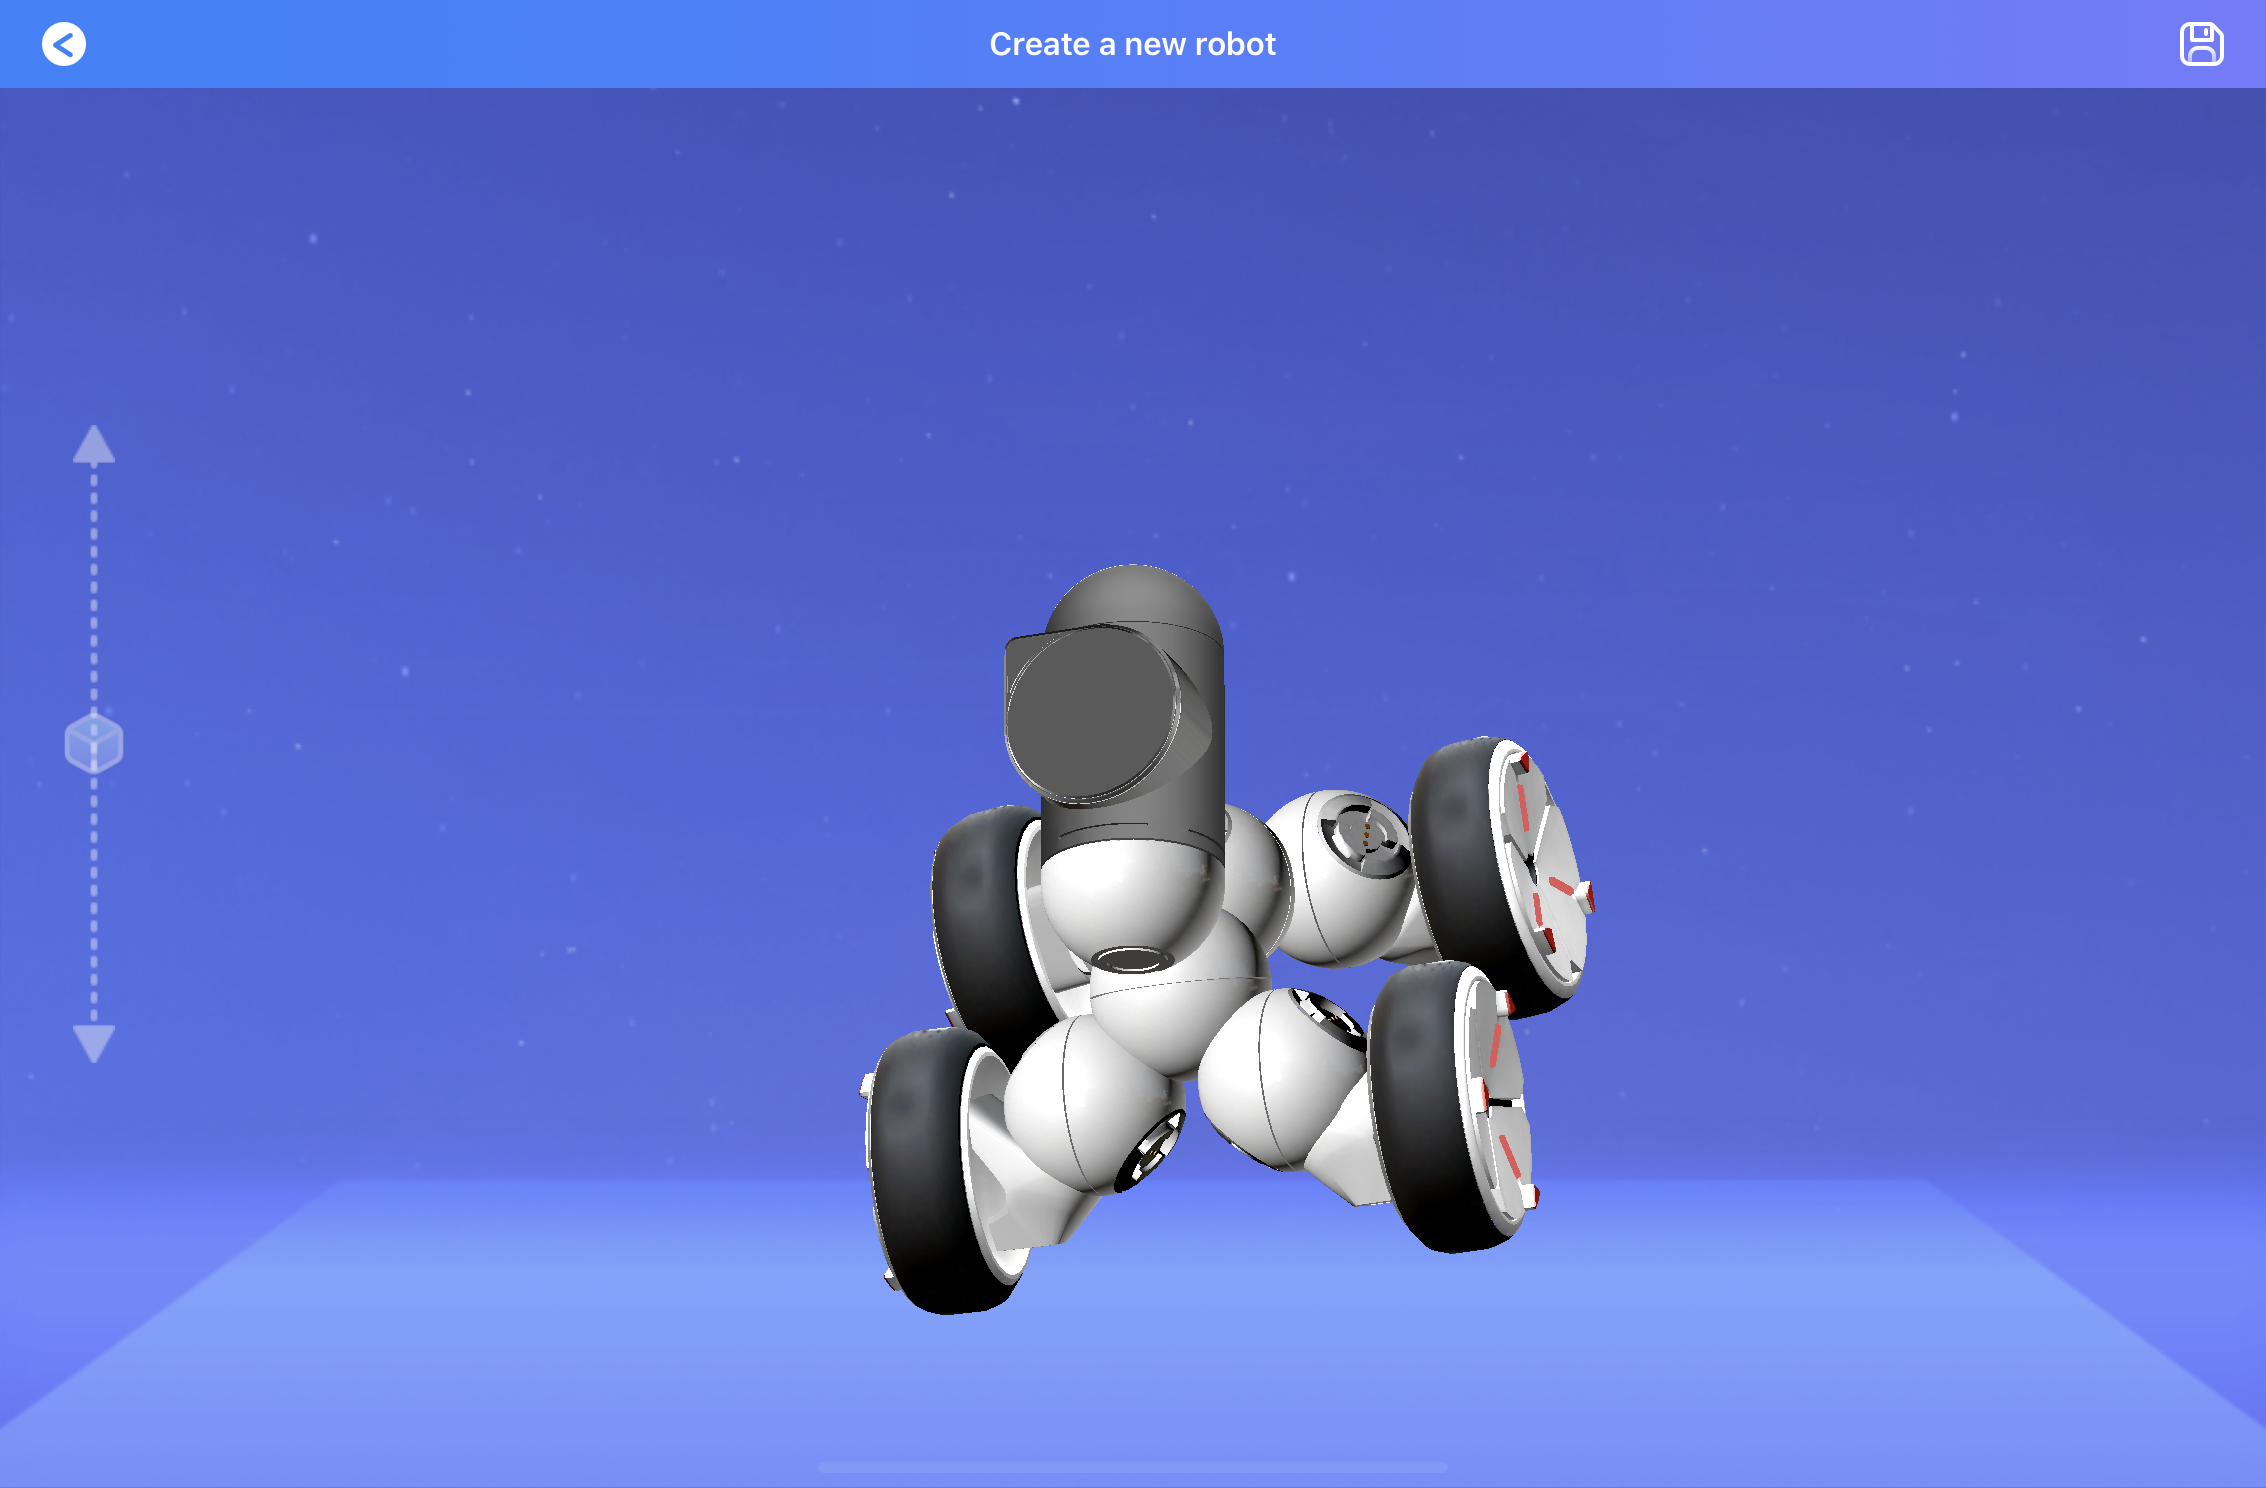
In this first exercise, you will learn how to directly control individual joints and wheels in your ClicBot using a controller that you build. The first thing you’ll do is build a new robot configuration matching the example below and save it on the “My Creations” page. If you don’t remember how to do this, feel free to review the instructions from the last class!
Once your ClicBot is built, save the configuration. Then, like last class, you'll create a new motion.
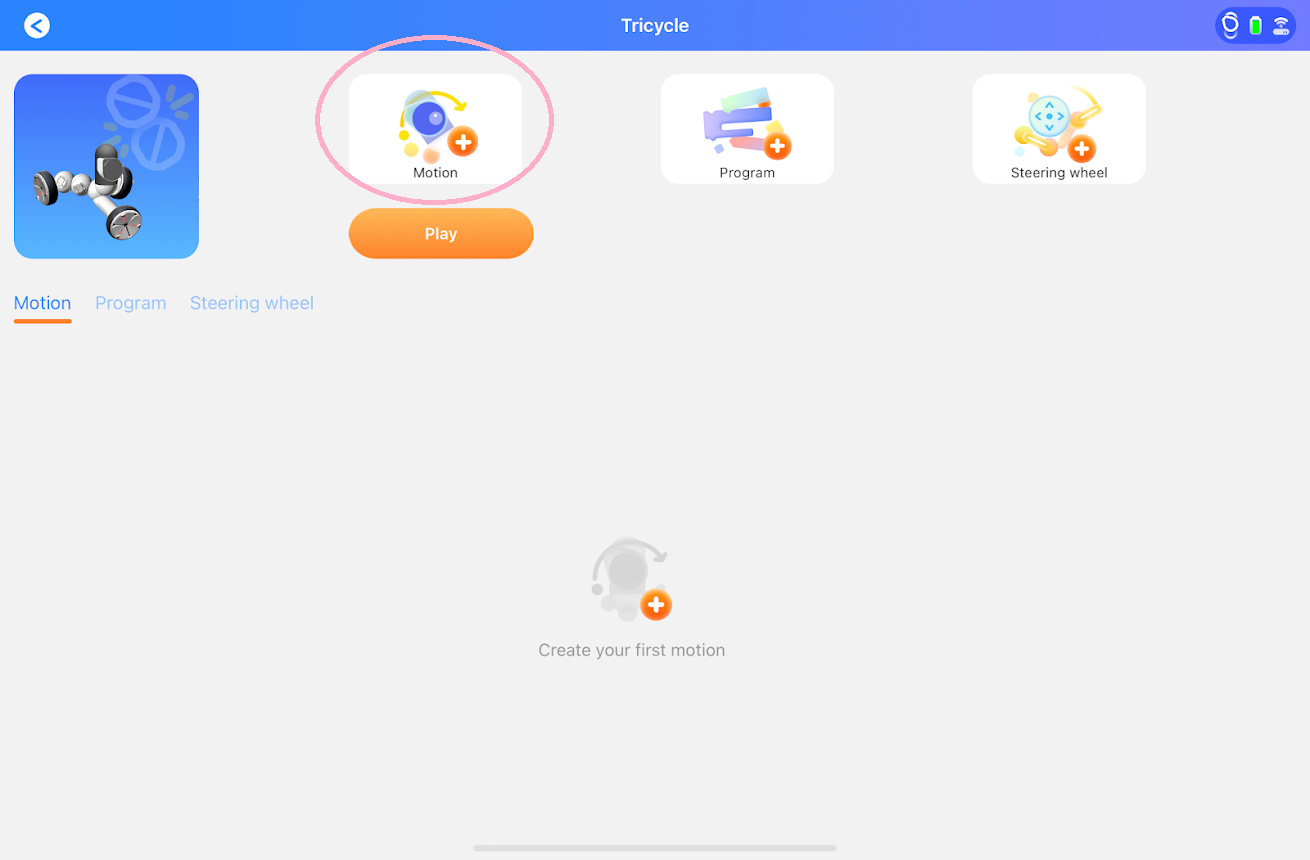

This time we'll be using the rotation motion instead of the demo motions. Rotation motion lets you control the speed and direction of rotation for any joint or wheel. We're going to start by defining some wheel rotations.
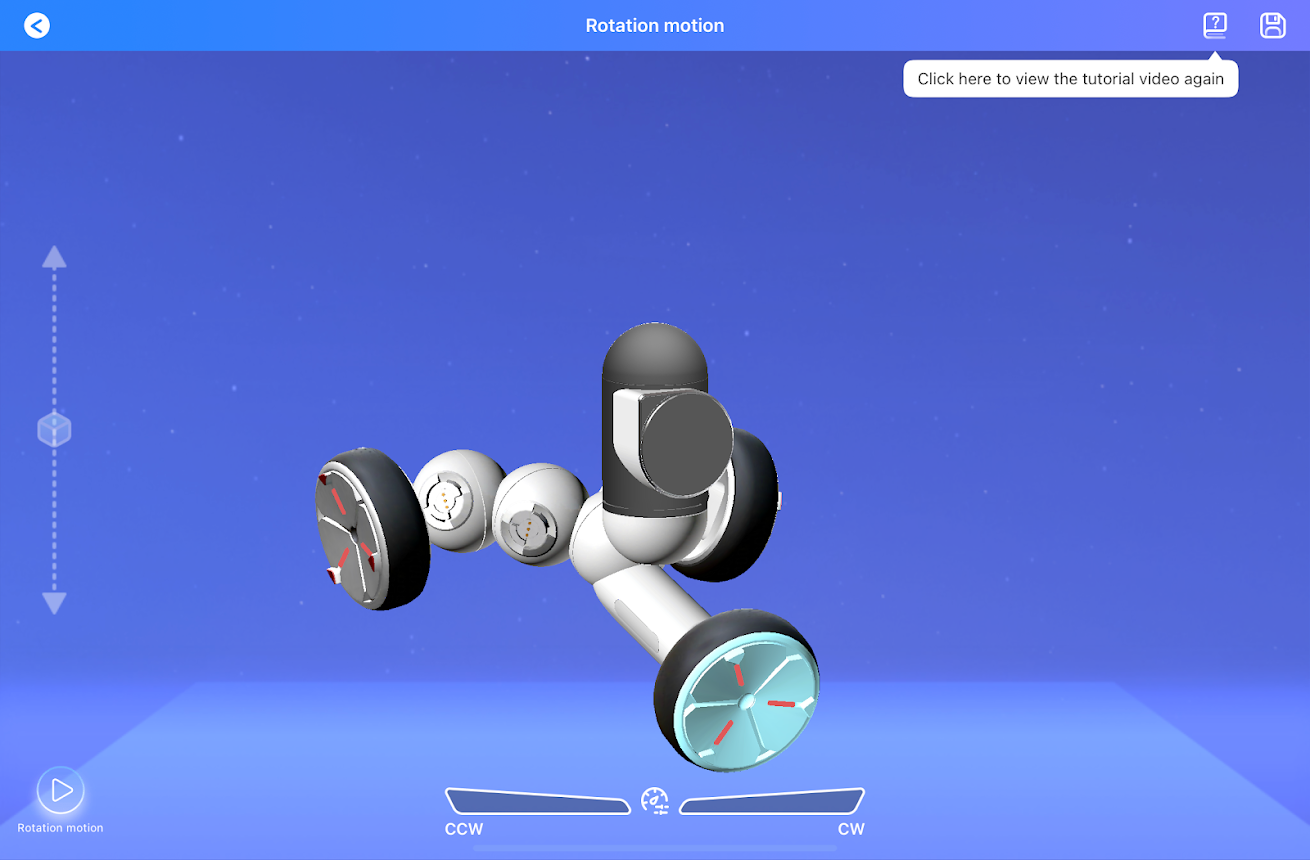
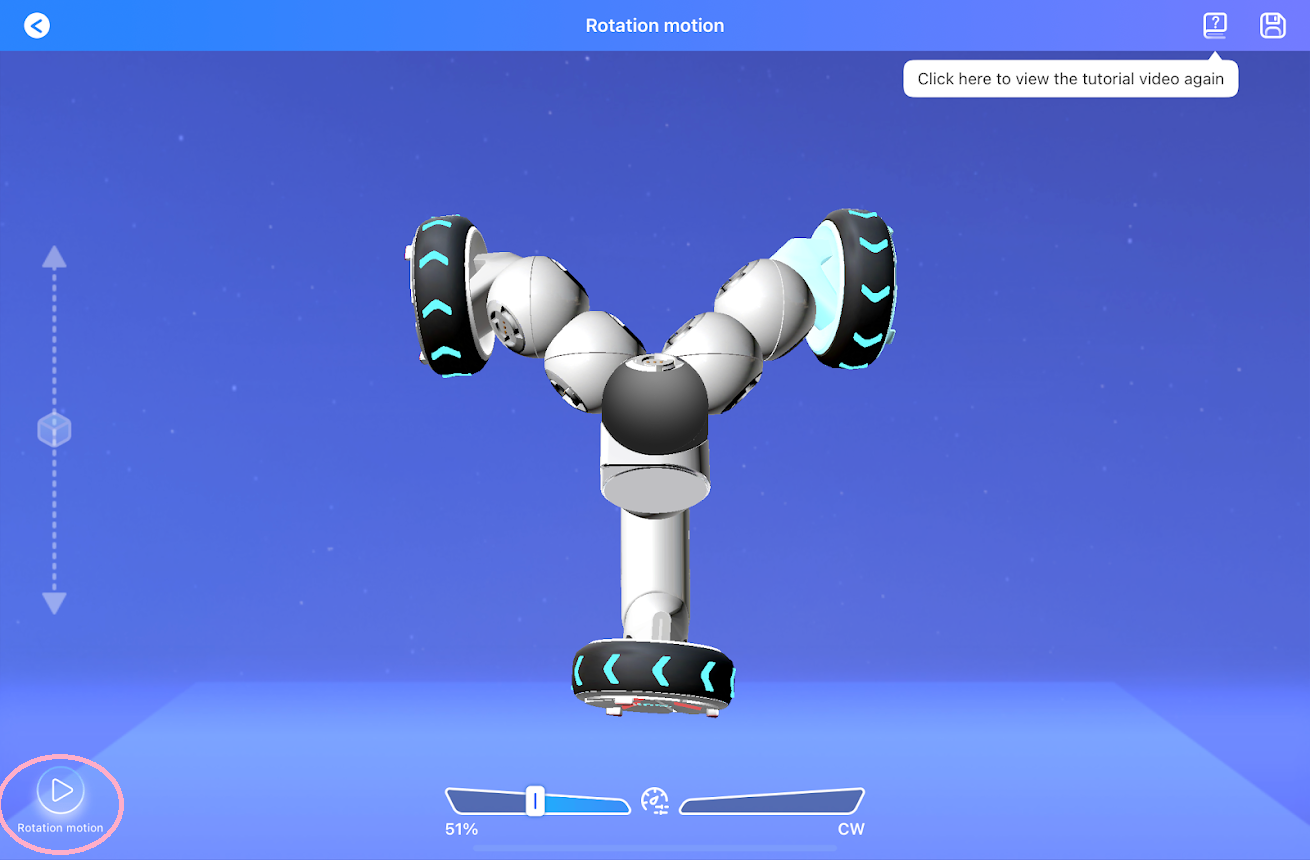
Start with the front wheel. When you select the wheel, a directional controller shows up on the bottom of the screen. Use this to define a right turn, i.e. does your wheel need to turn clockwise or counterclockwise to shift its body to the right. You'll also be able to drag to a percentage which corresponds with speed.
NOTE: do NOT start at 100%, ClicBot is faster than you think. Start at something like 50%
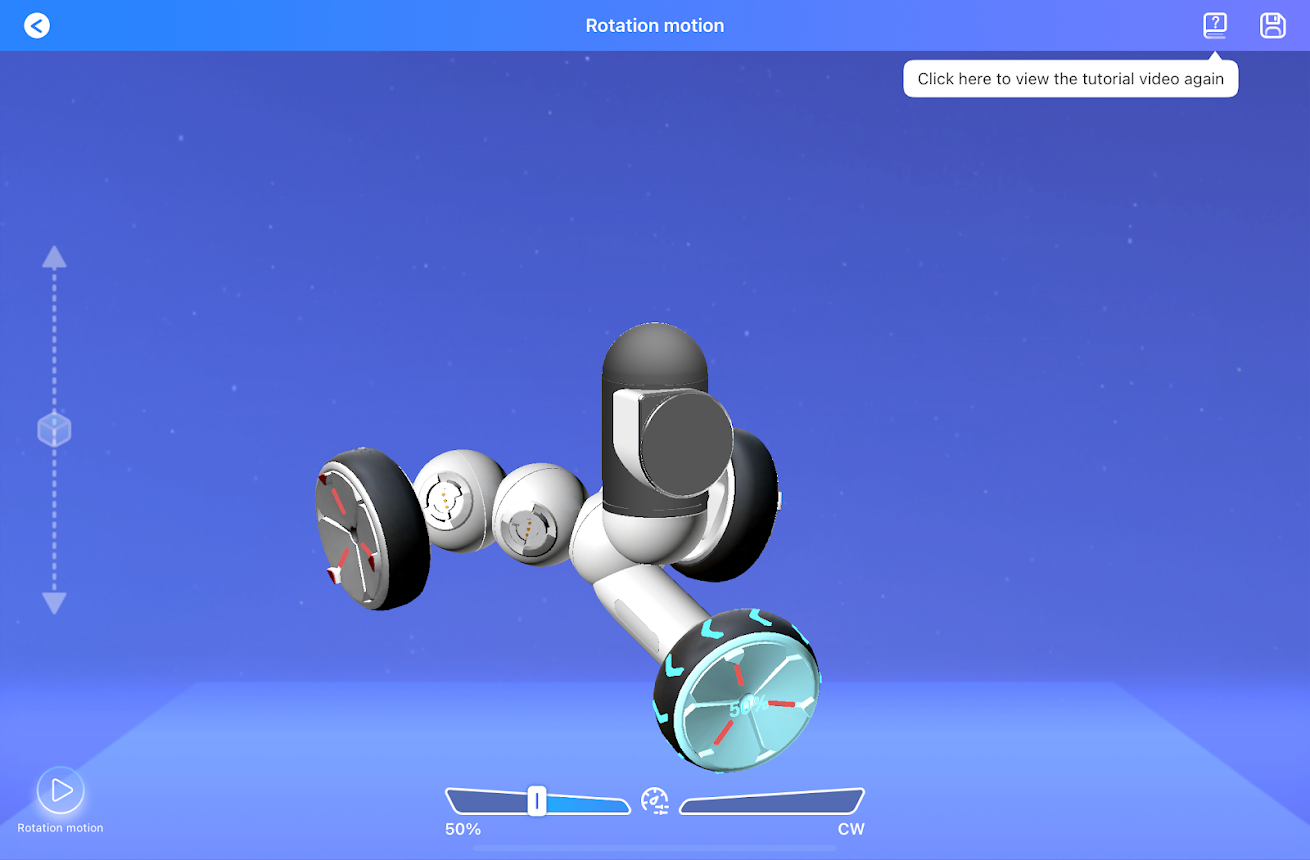
Our ClicBot has 3 wheels - so we need to define the rotations for the other two wheels as well. Select those wheels and apply the same direction and speed. Look at the arrows on top of the wheels to make sure your ClicBot will move in a way that you expect. You can test your motion using the play button in the bottom corner. Make sure your clickbot has enough room before you test! The motion will keep playing until you hit that button again to pause it.
Once your group is happy with your right turn, save the motion. At this point, you need to exit back to the menu before creating a new motion, otherwise your right turn will be overwritten. Create a new motion to make your clickbot spin to the left.
Now we're going to build a controller! Once you've saved a right and left turn, exit back to the menu and click the "Play" button.
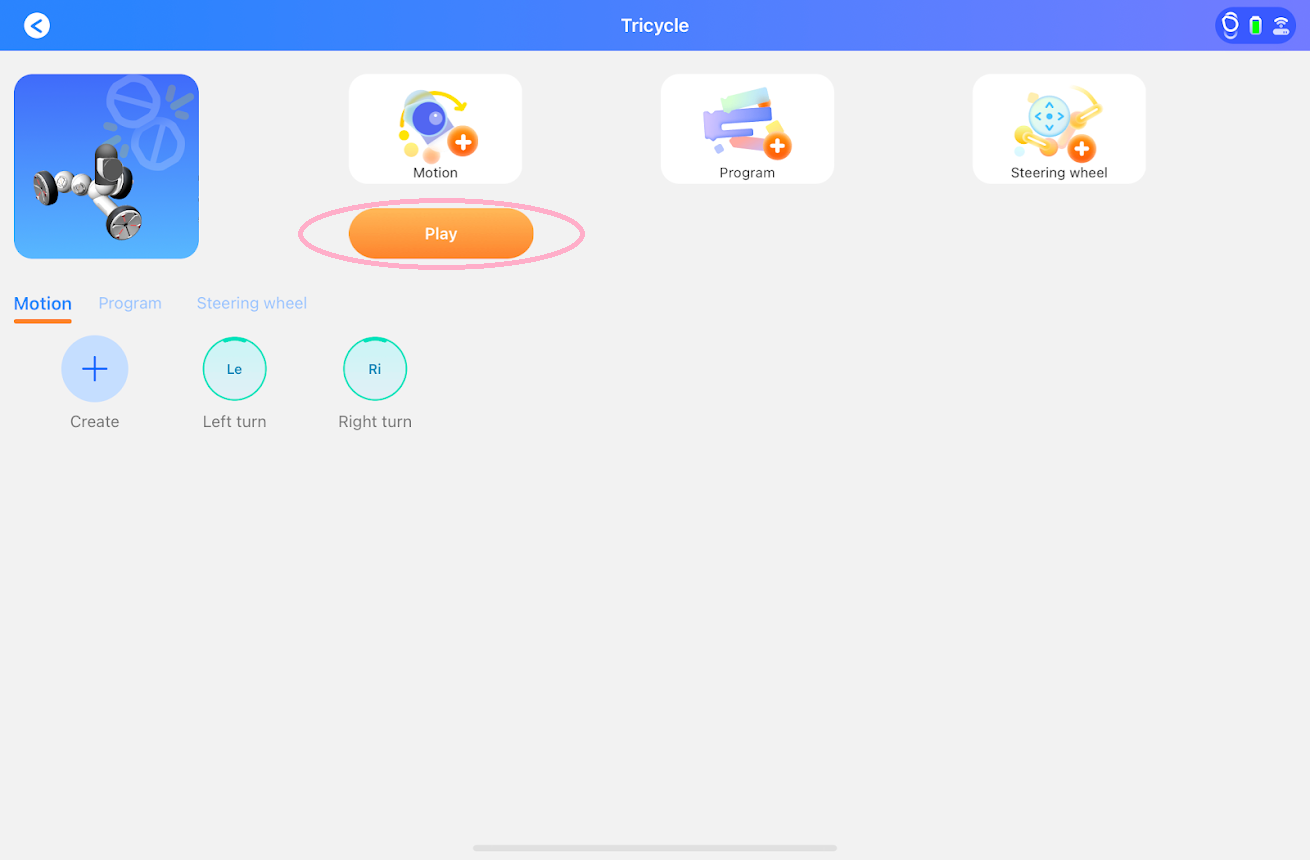
Now we get to assign motions that we've saved to buttons on a controller. Hit the add motion button in the lower left corner to be able to scroll through the different controller options.
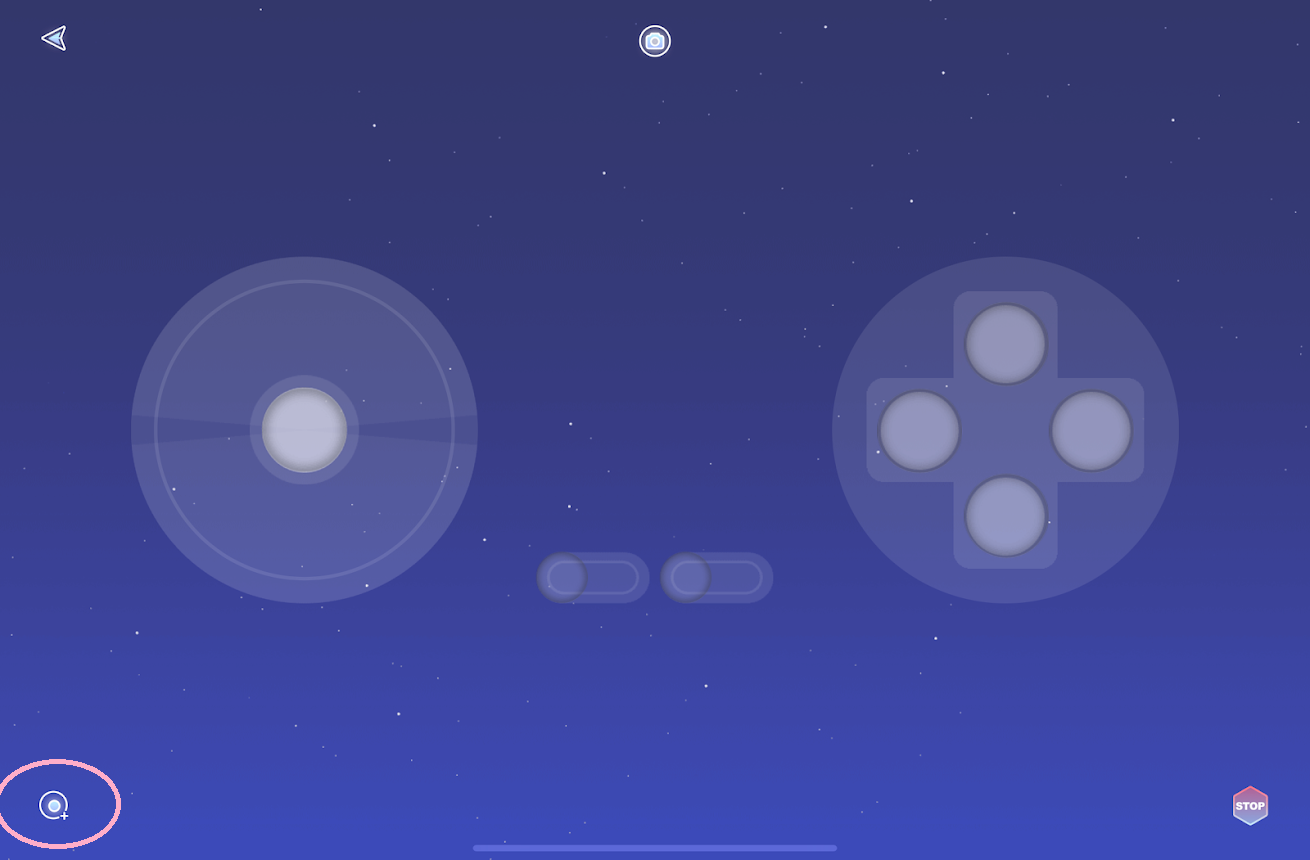
We're going to be using the controller format below. Notice how your motions are available in the corner? Drag the motions onto the buttons on the controller.
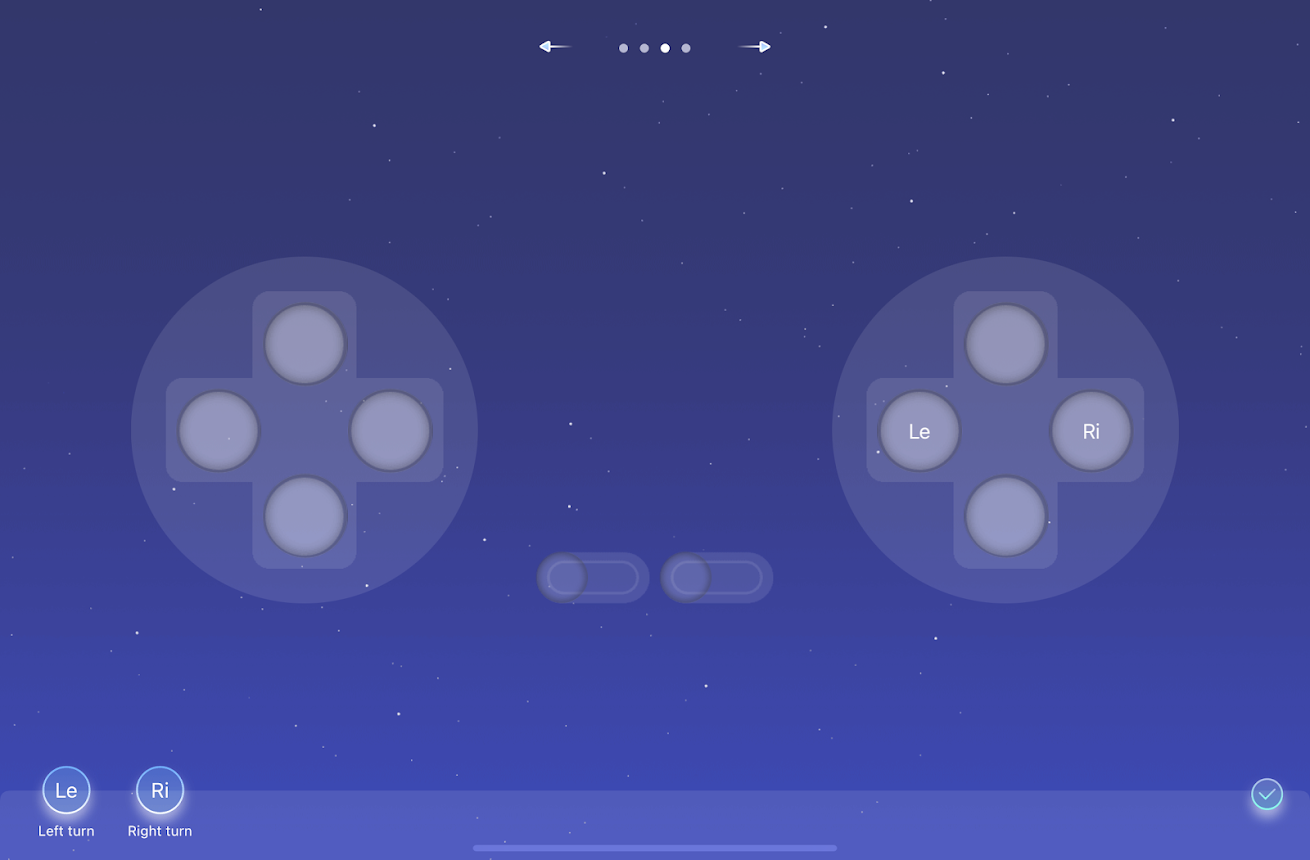
Now we'll try our controllers out. First, make sure your ClicBot has plenty of room! Also, take note of the stop button in the lower right - that will stop your ClicBot mid motion. Try playing with your controller - what happens when you hold down the buttons vs. just click them once?
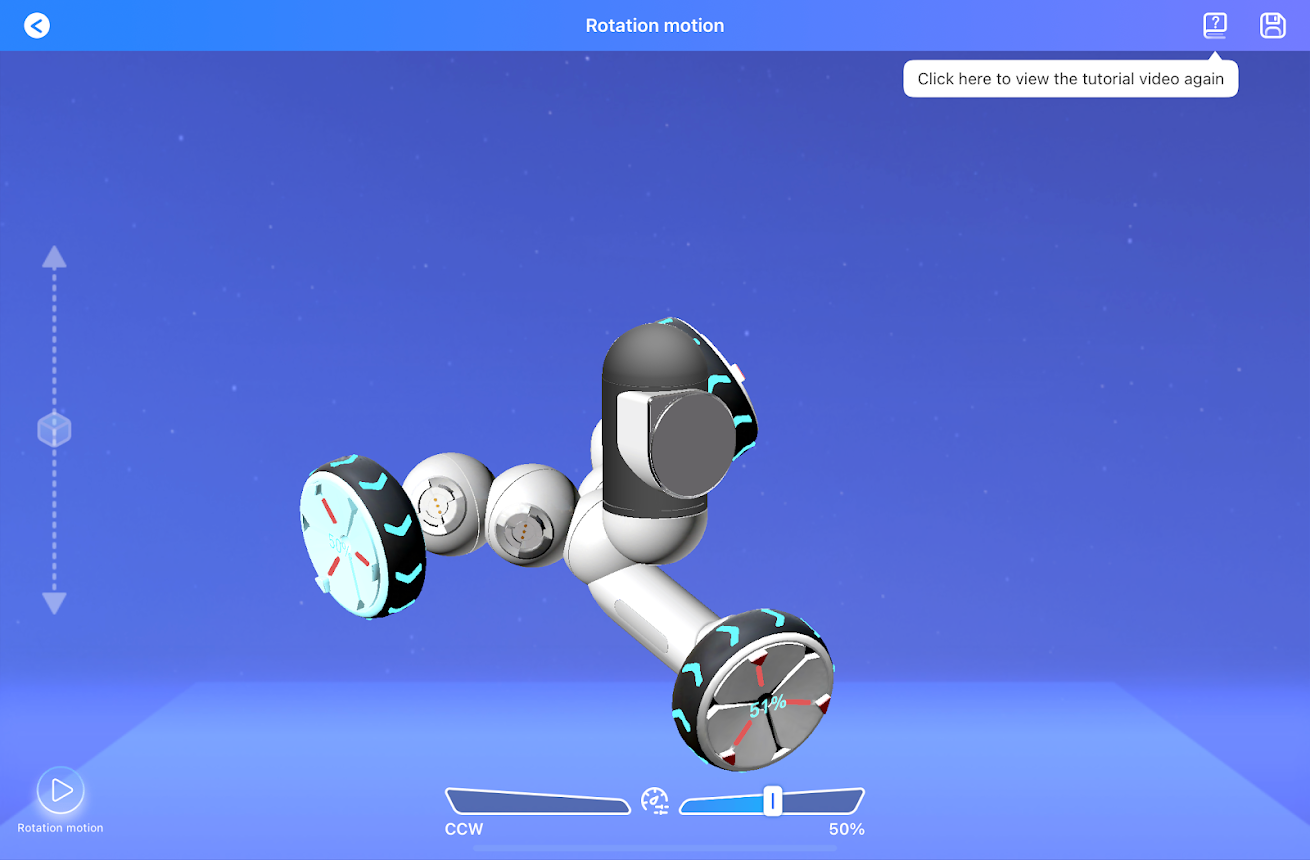
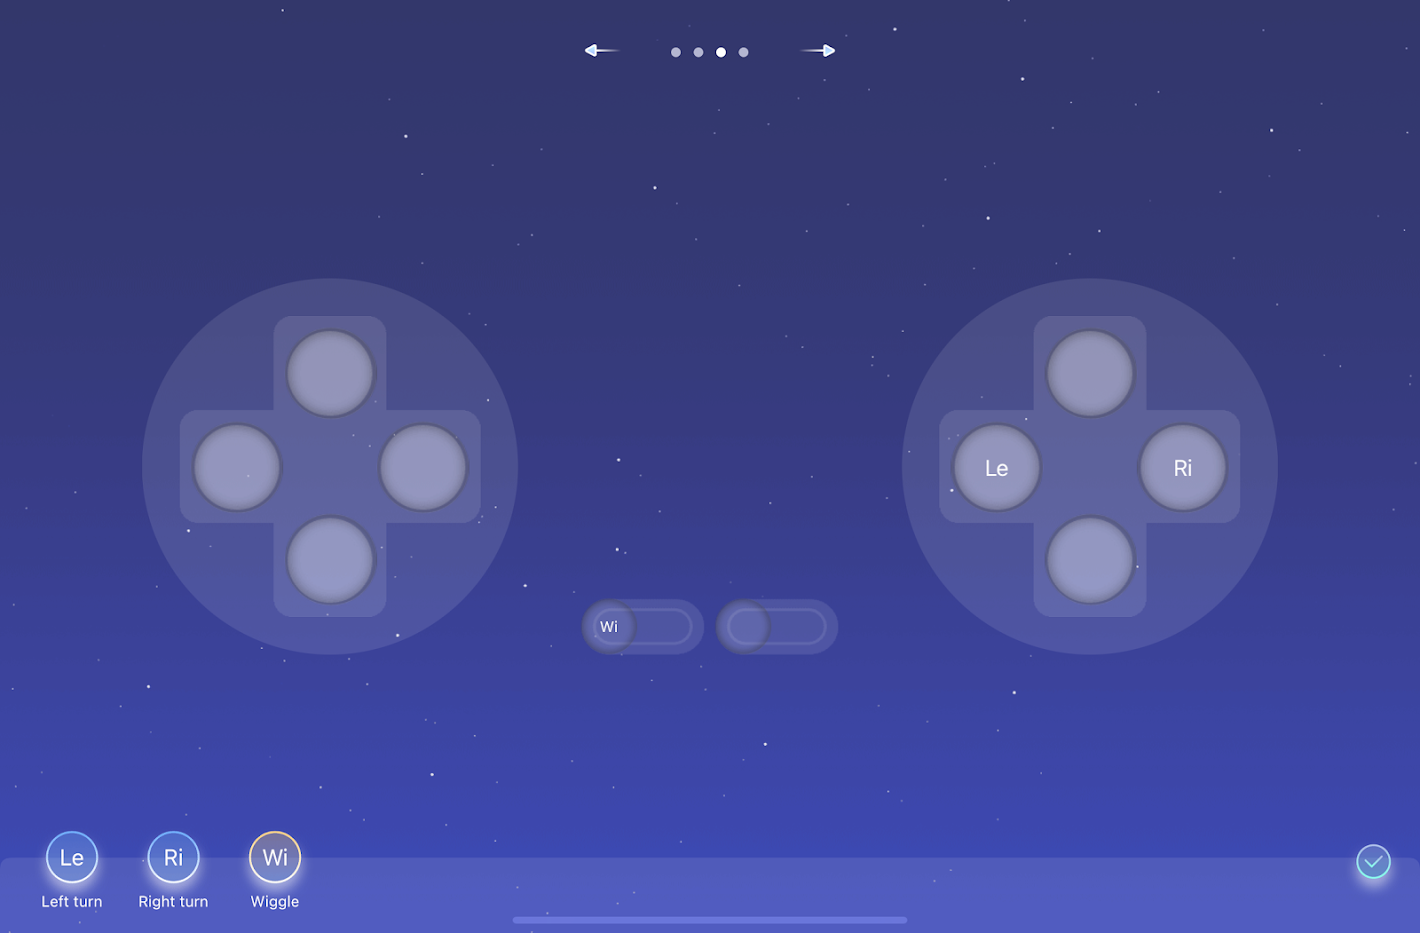
The controllers work with more than just rotational motions. Next we're going to record a short demo motion. For example, you could record something similar to the wiggle motion below.
Save the motion and go back to your controller by hitting play. Now you have the ability to assign your motion to a button. Try attaching your motion to one of the toggle buttons in the center.
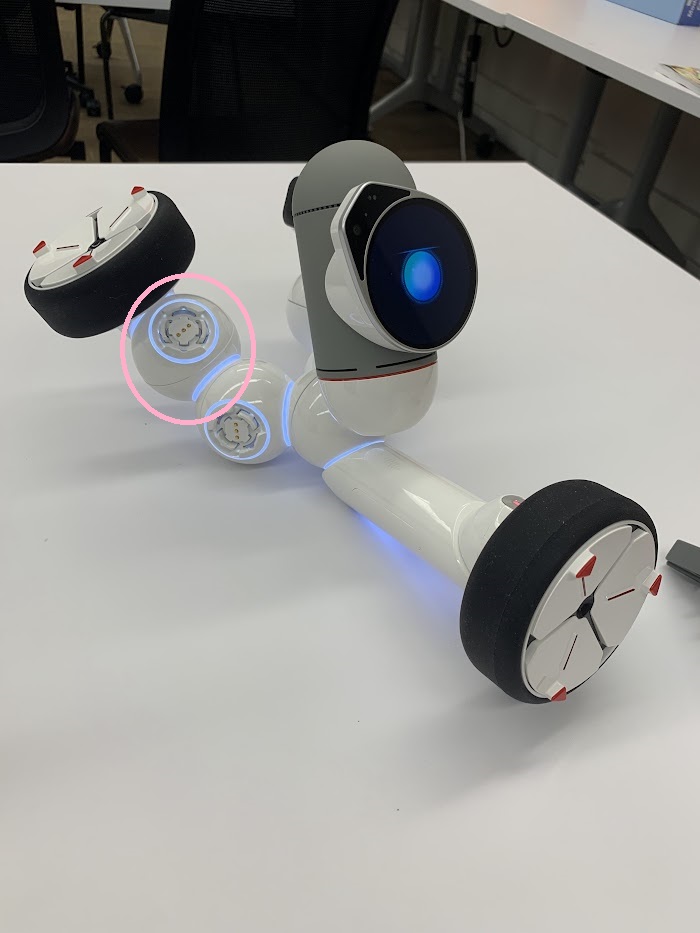
Before you move on to exercise 2, try exploring other rotational motions you could add. For example, try moving your ClicBot to have one leg in the air like the image below. Test out using a rotation motion applied to the joint instead of the wheel.
Exercise #2: Steering Configuration
In this exercise, we'll design a steering controller to help drive our ClicBot around without needing to define specific joint rotations. The first thing you’ll do is build a new robot configuration matching the example below and save it on the “My Creations” page.
Opening up the ClicBot app on the tablet, the configuration should look like this.
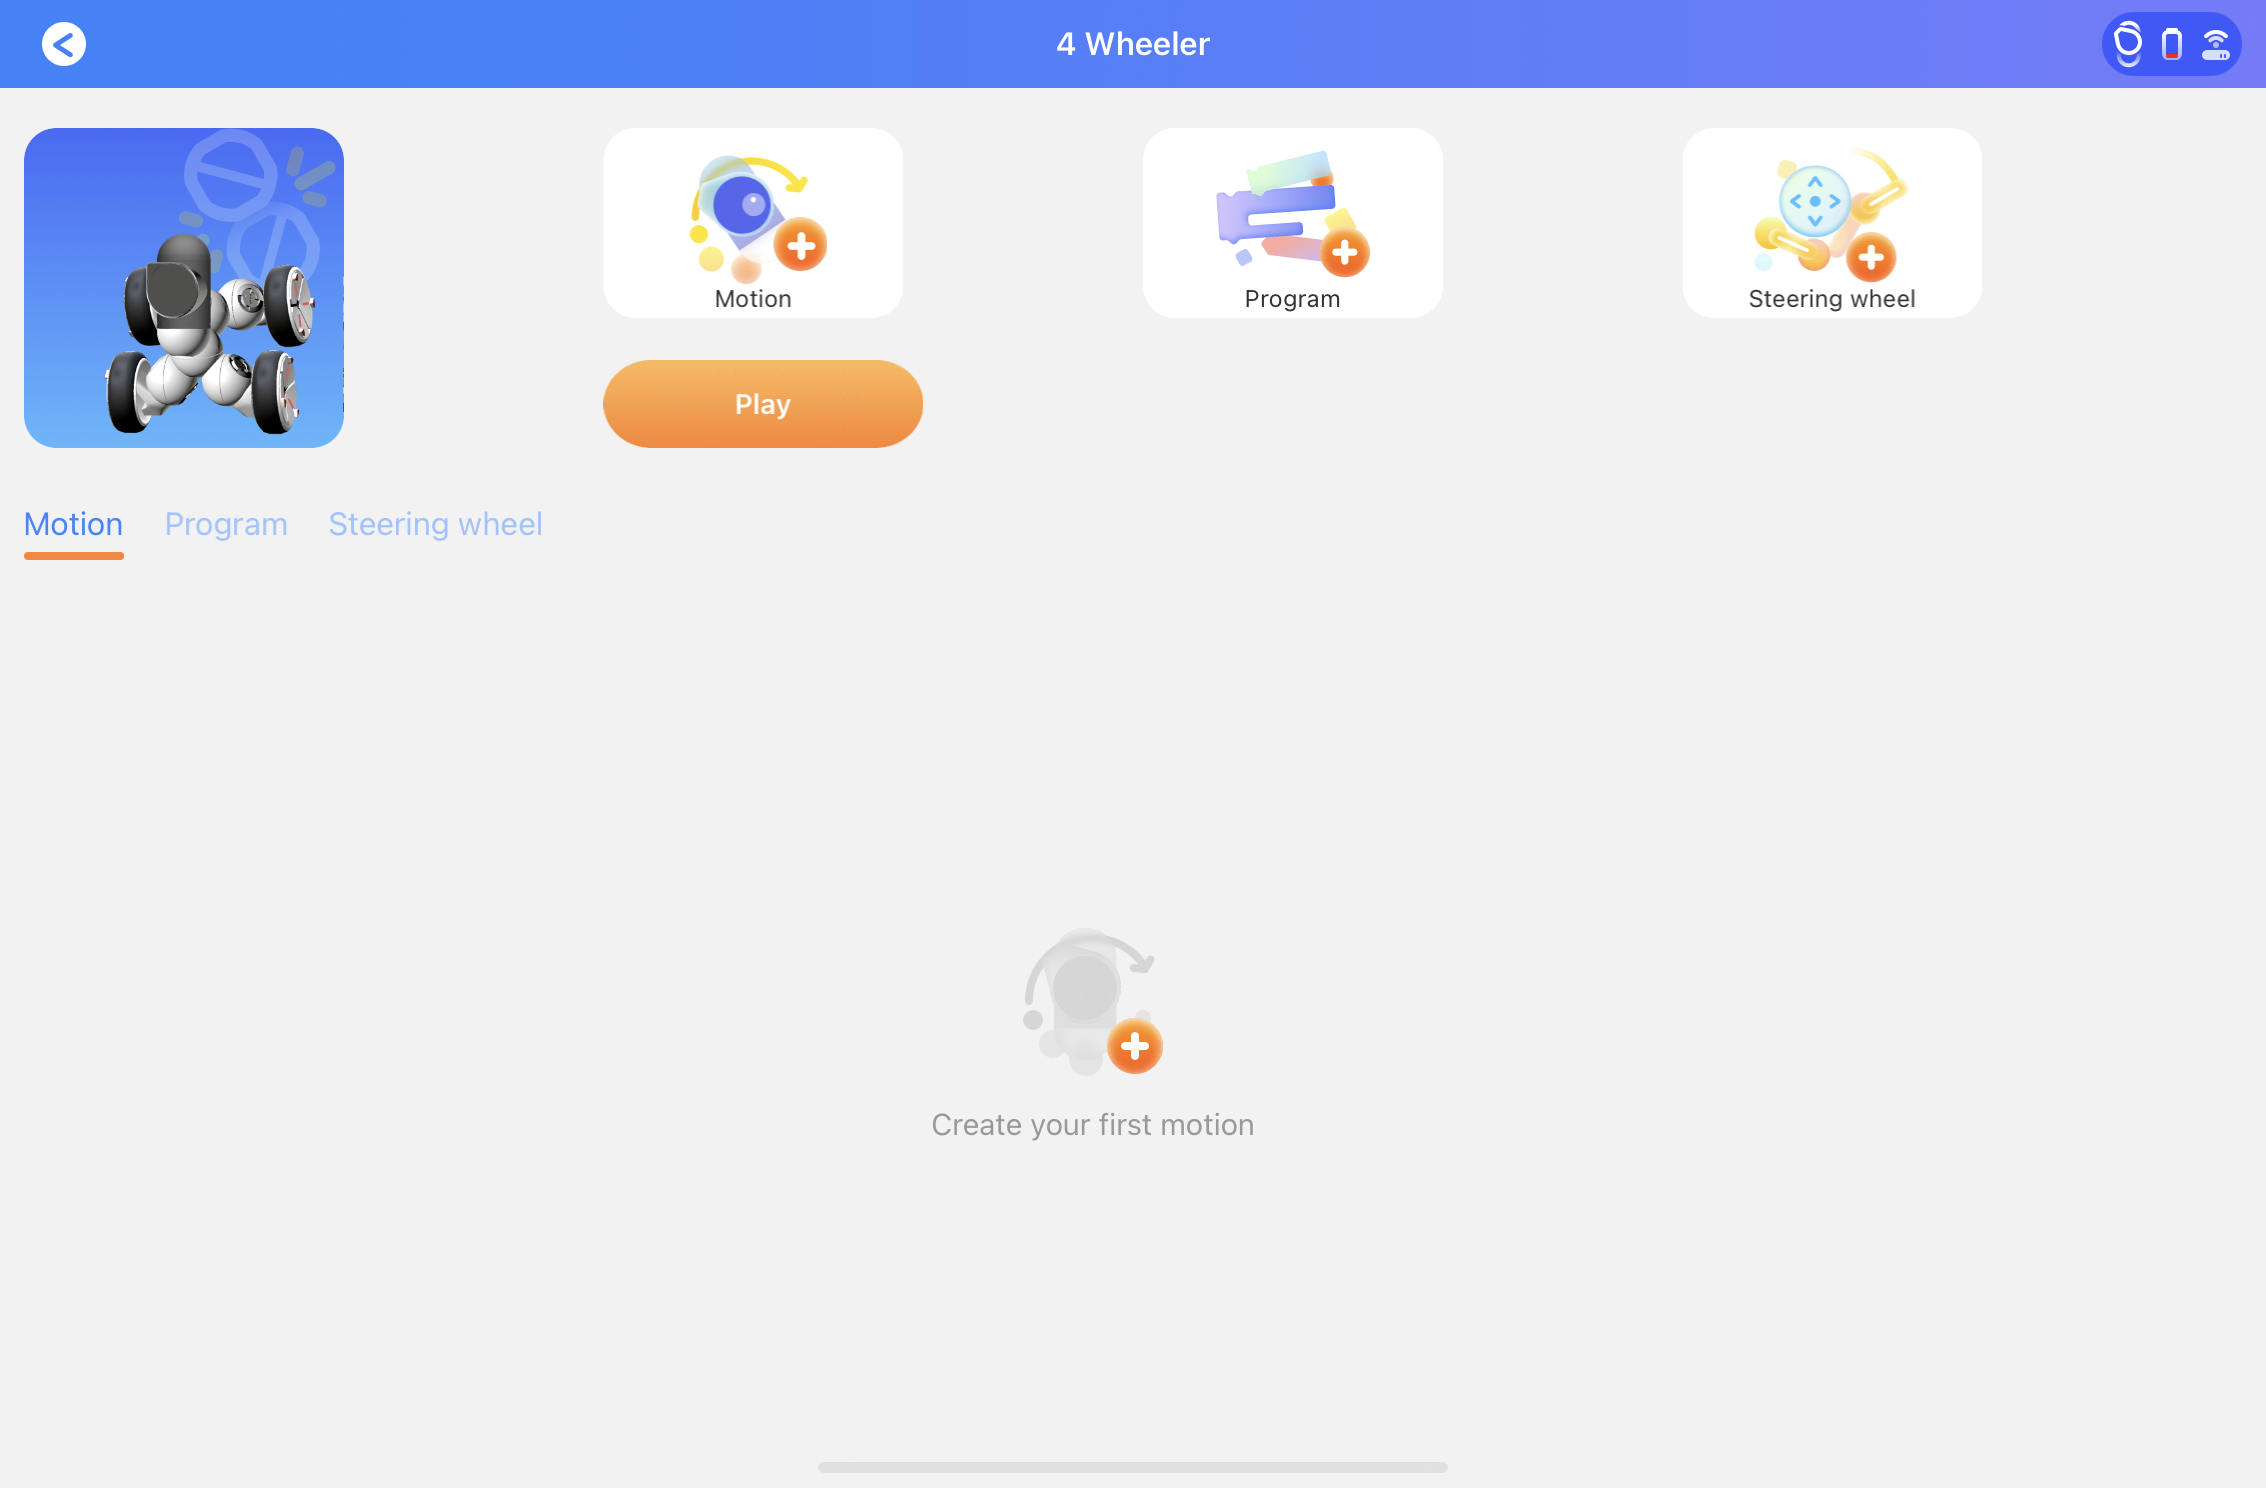
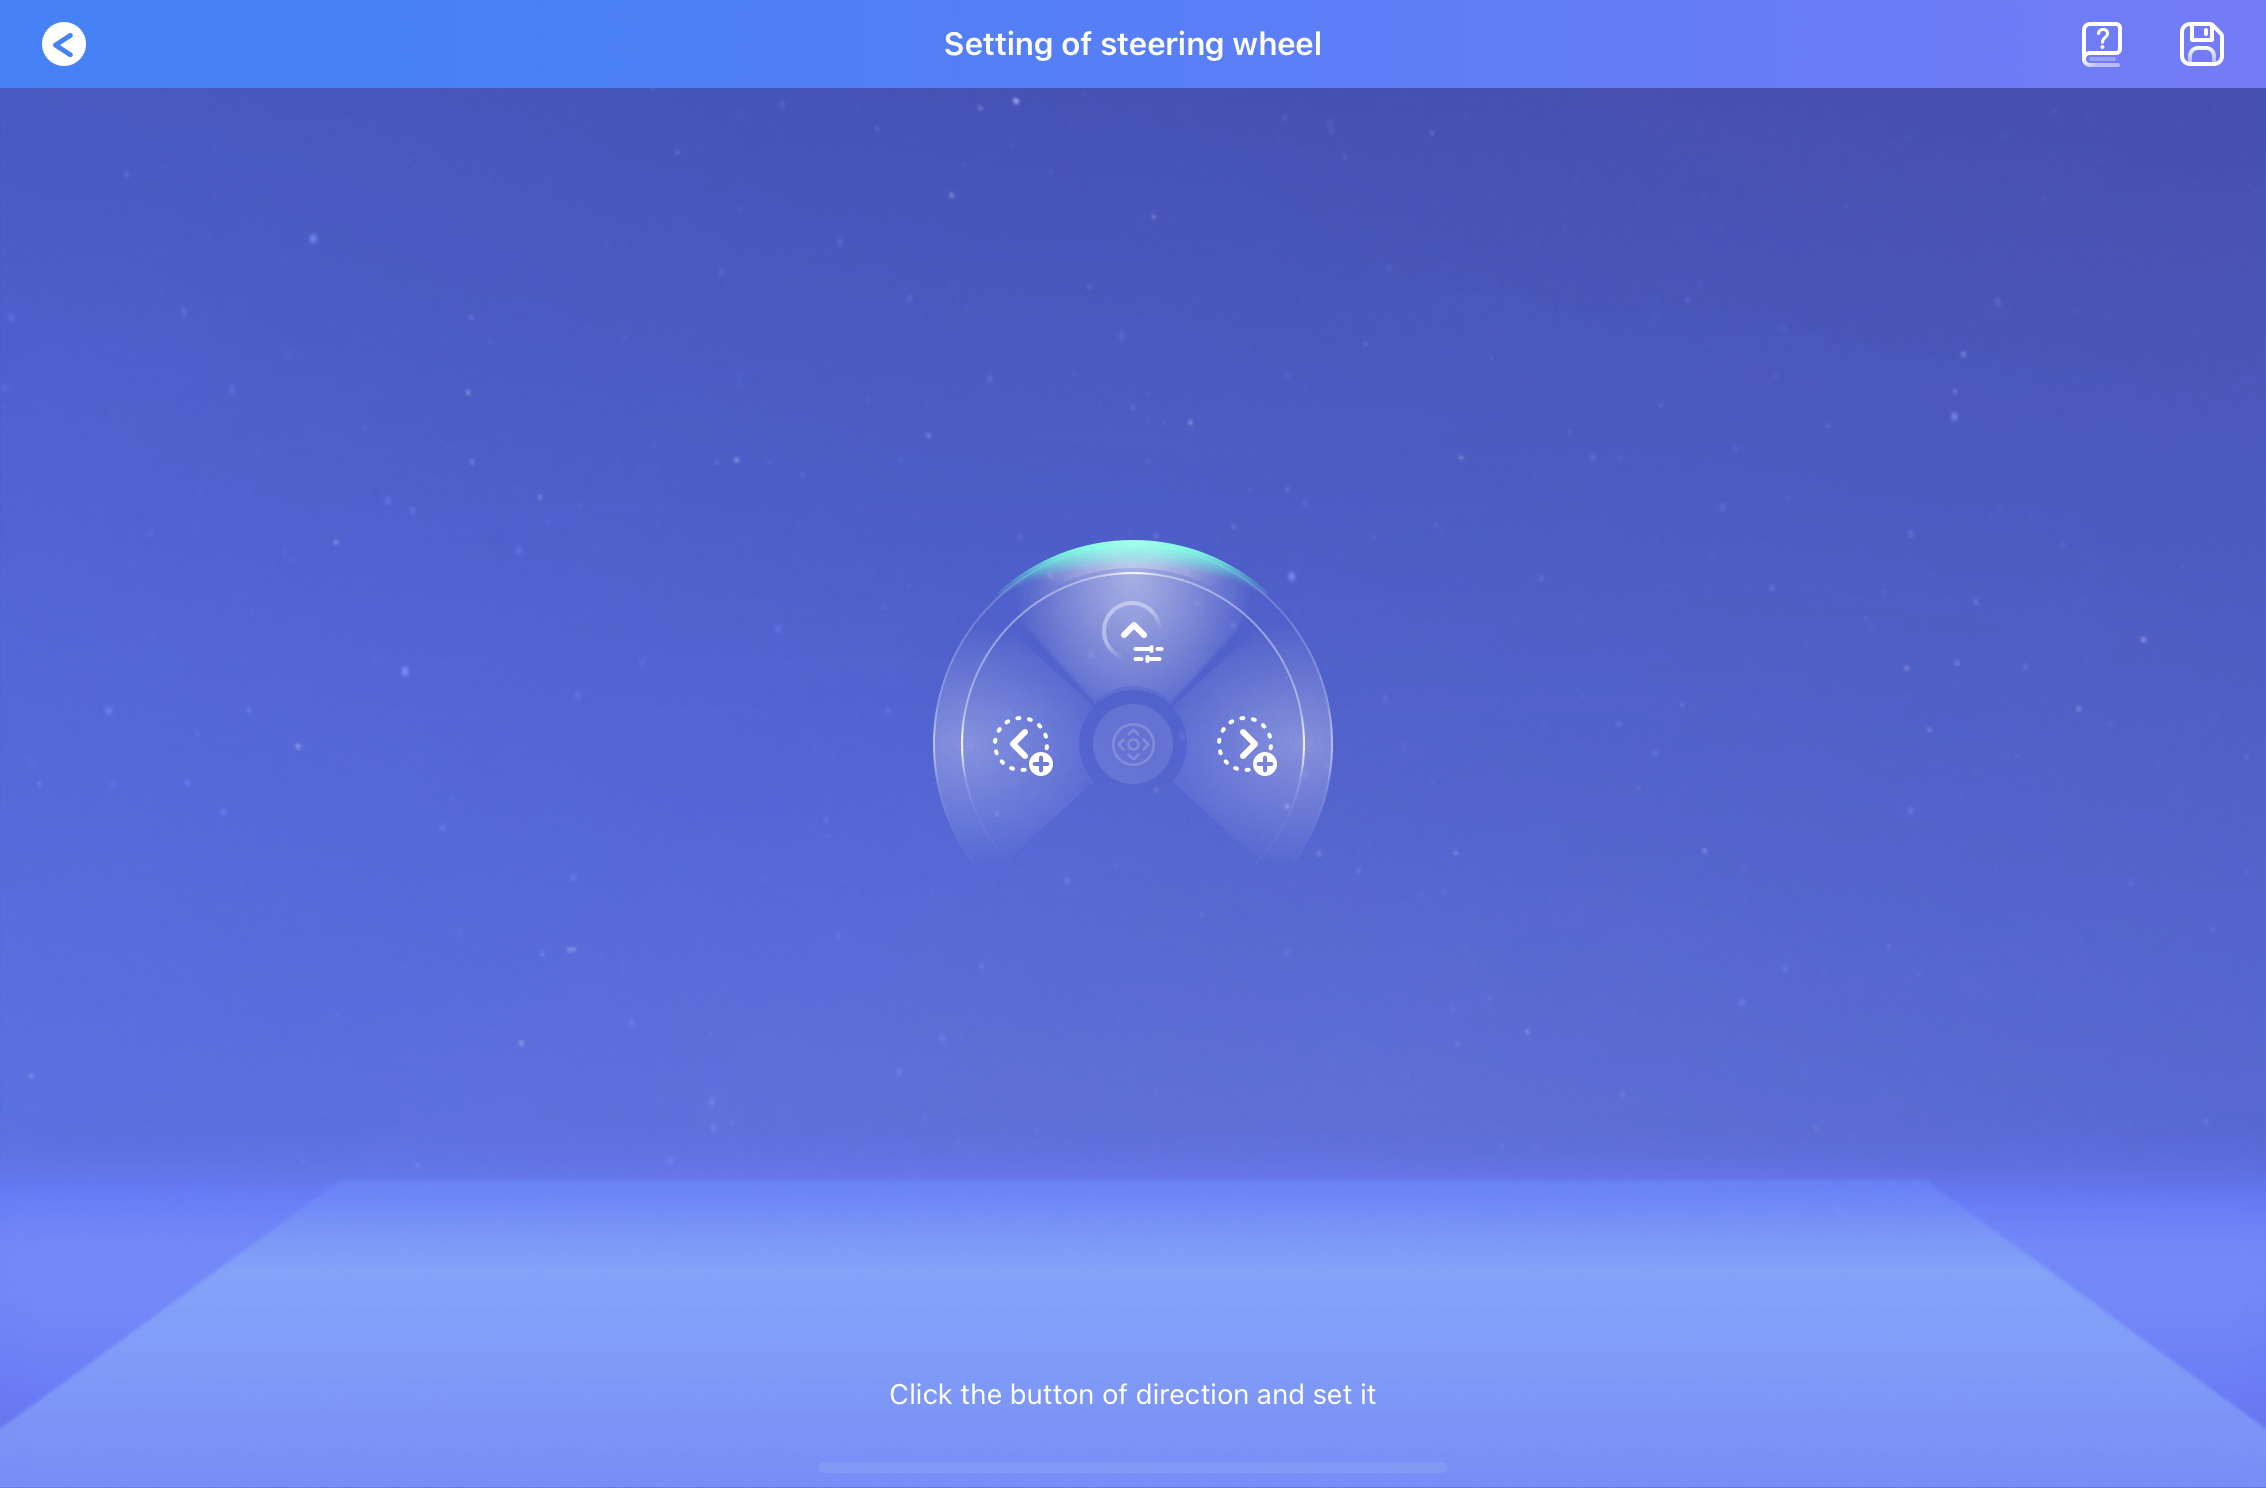
On the robot page, click the steering wheel button in the top right corner to create a new steering controller.
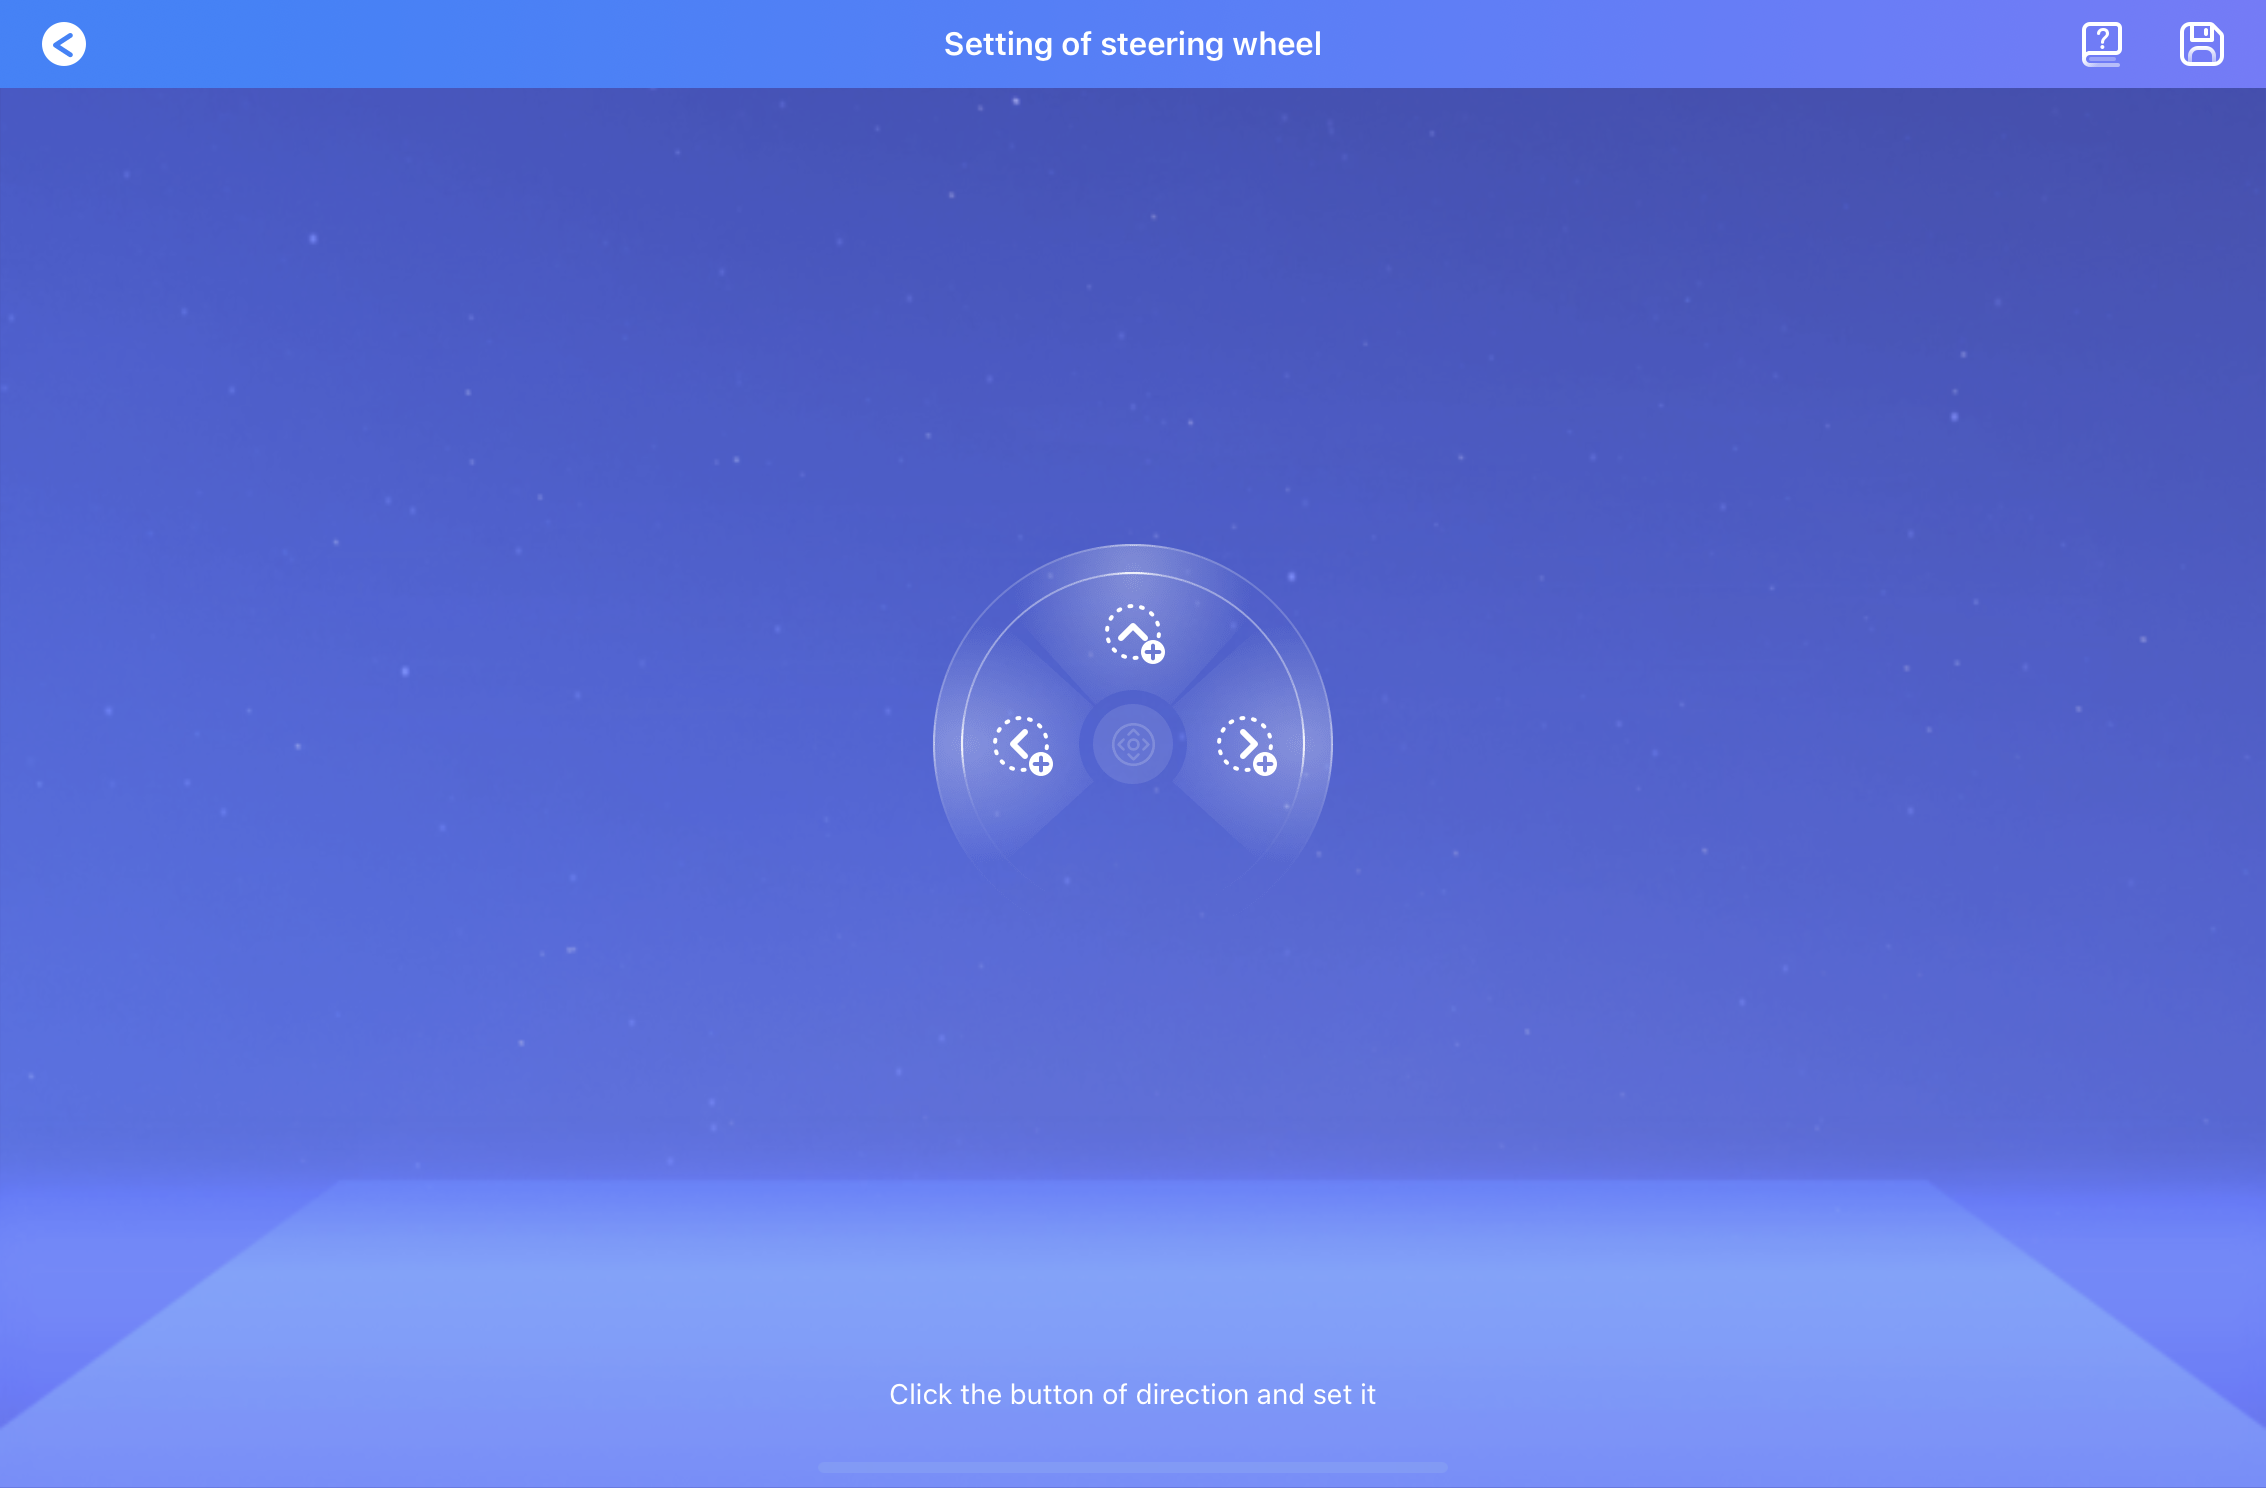
The following page comes up. Here you will define your forward steering, left turn, and right turn configurations. Go ahead and start with the forward motion.
Adjust your ClicBot's posture so that it's straight, and make sure it has a little room in front of it. Hit the next button in the bottom right.
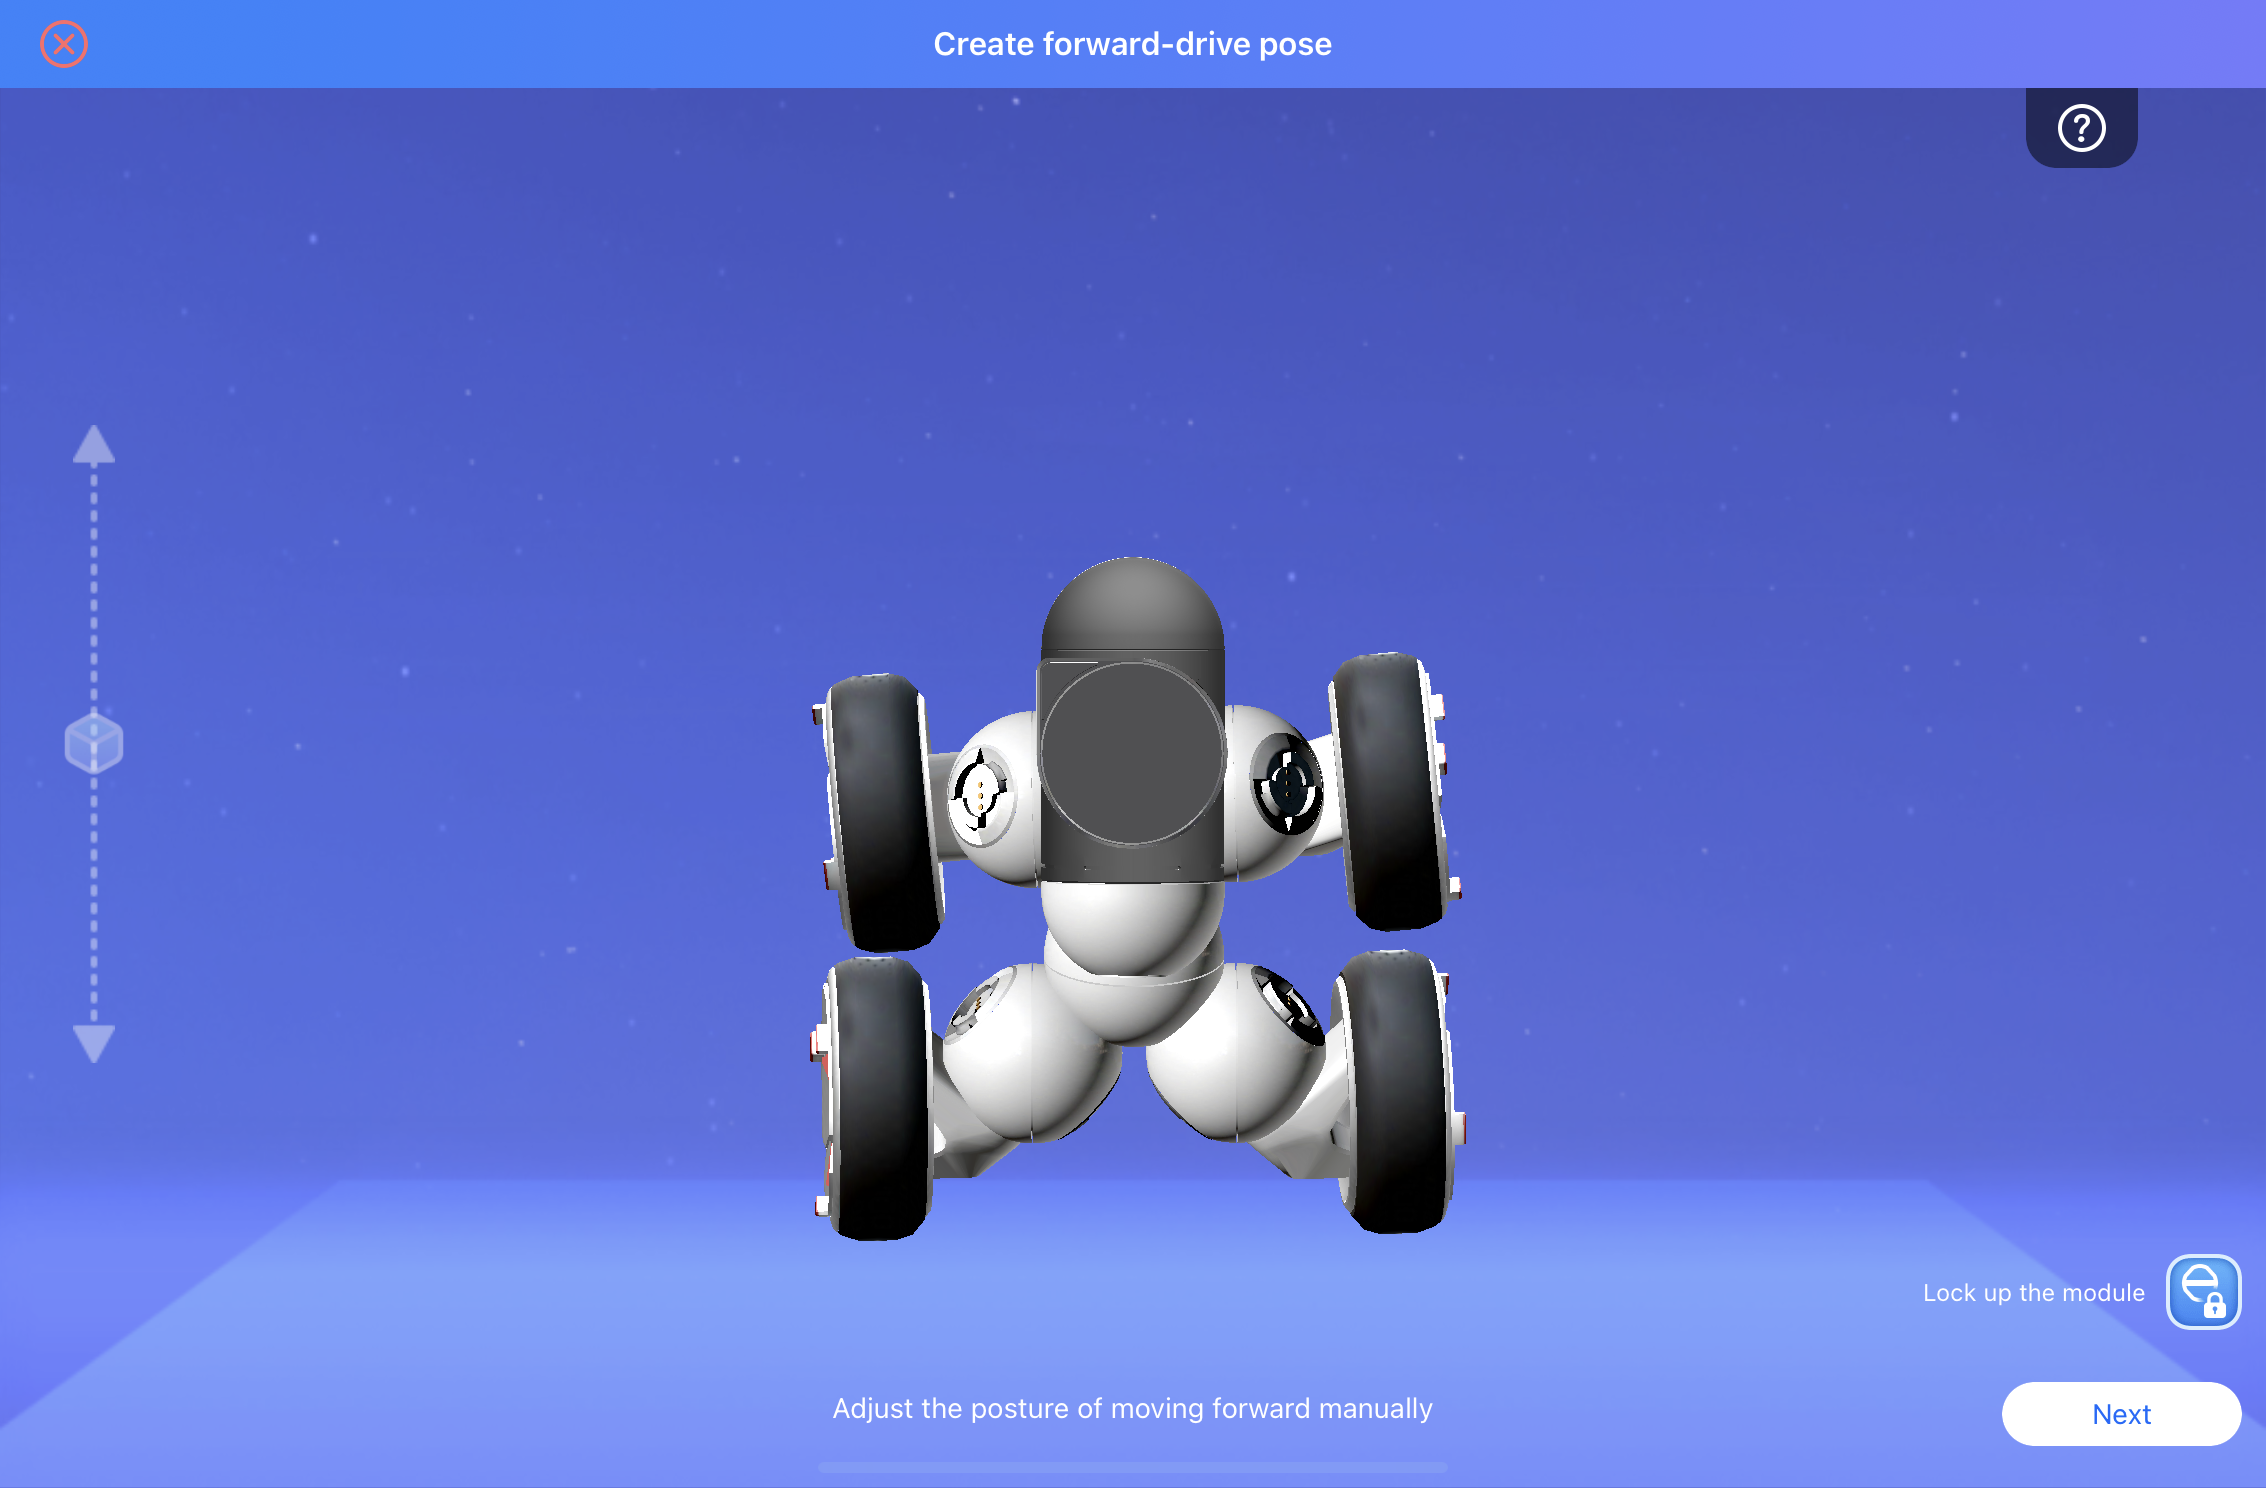
Once you see the joints highlighted red, "drive" your ClicBot in what you define as your forward direction by physically moving it forward on the table so that the wheels turn.
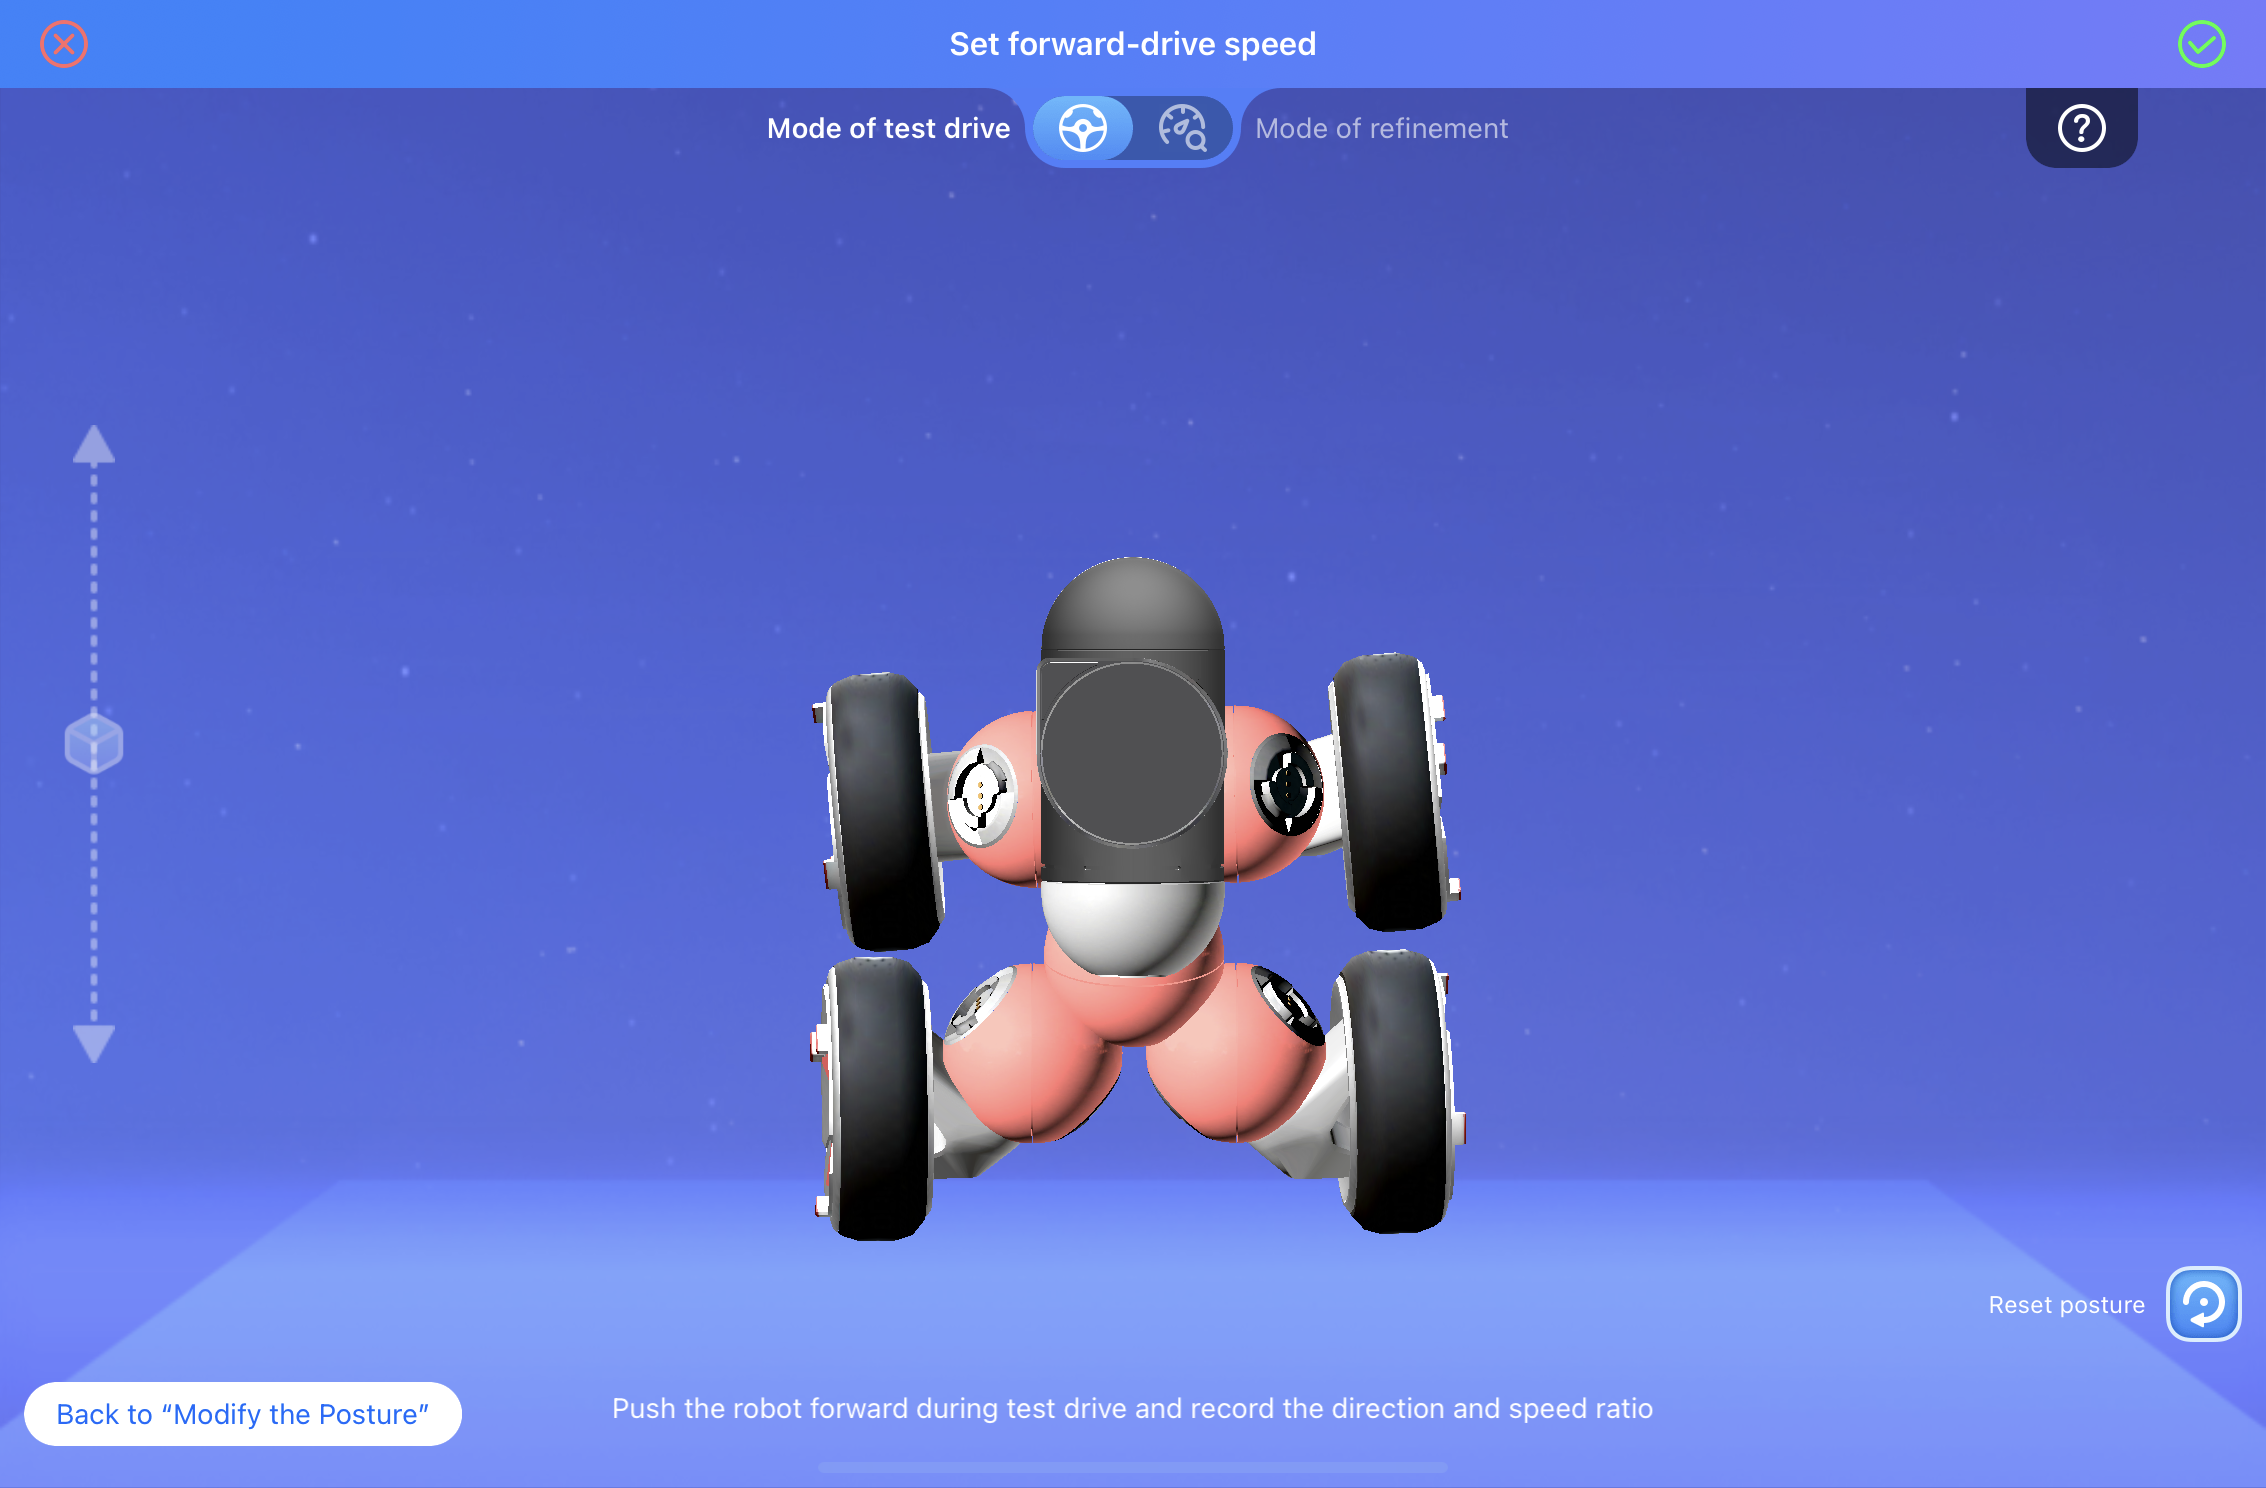
If you've done it correctly then the wheels should show arrows in the direction of travel.
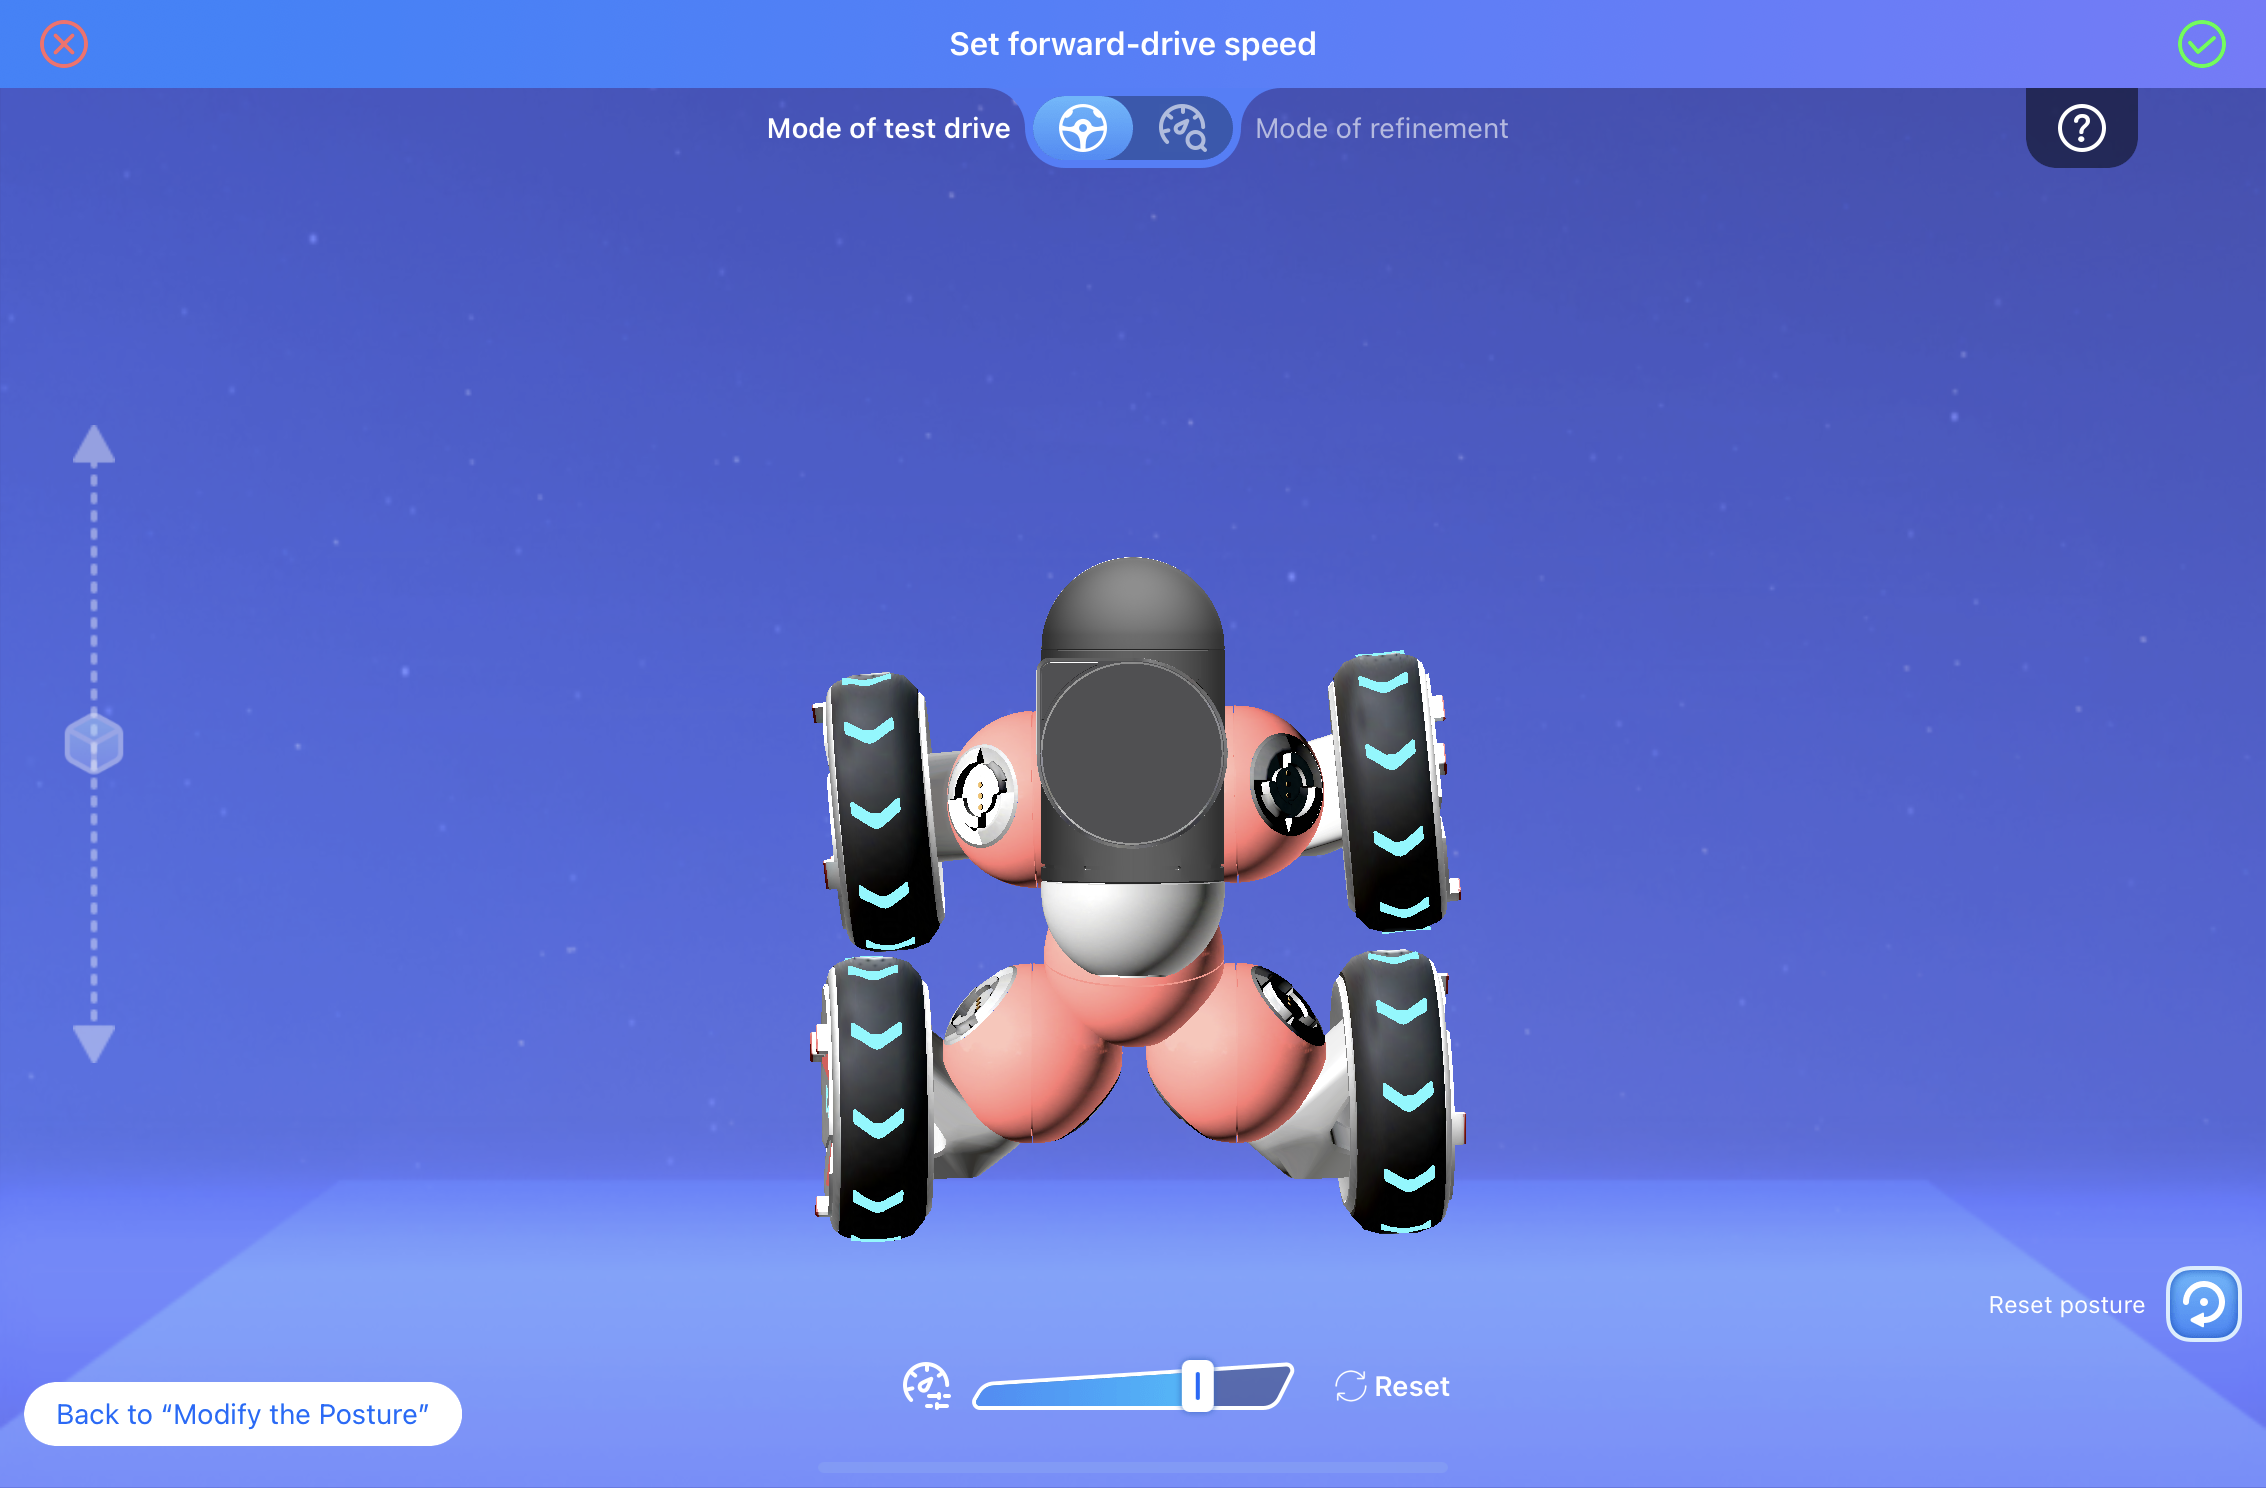
You can adjust the speed using the slider on the bottom. If you're happy with your forward motion, hit the checkmark in the upper right hand corner to save it.
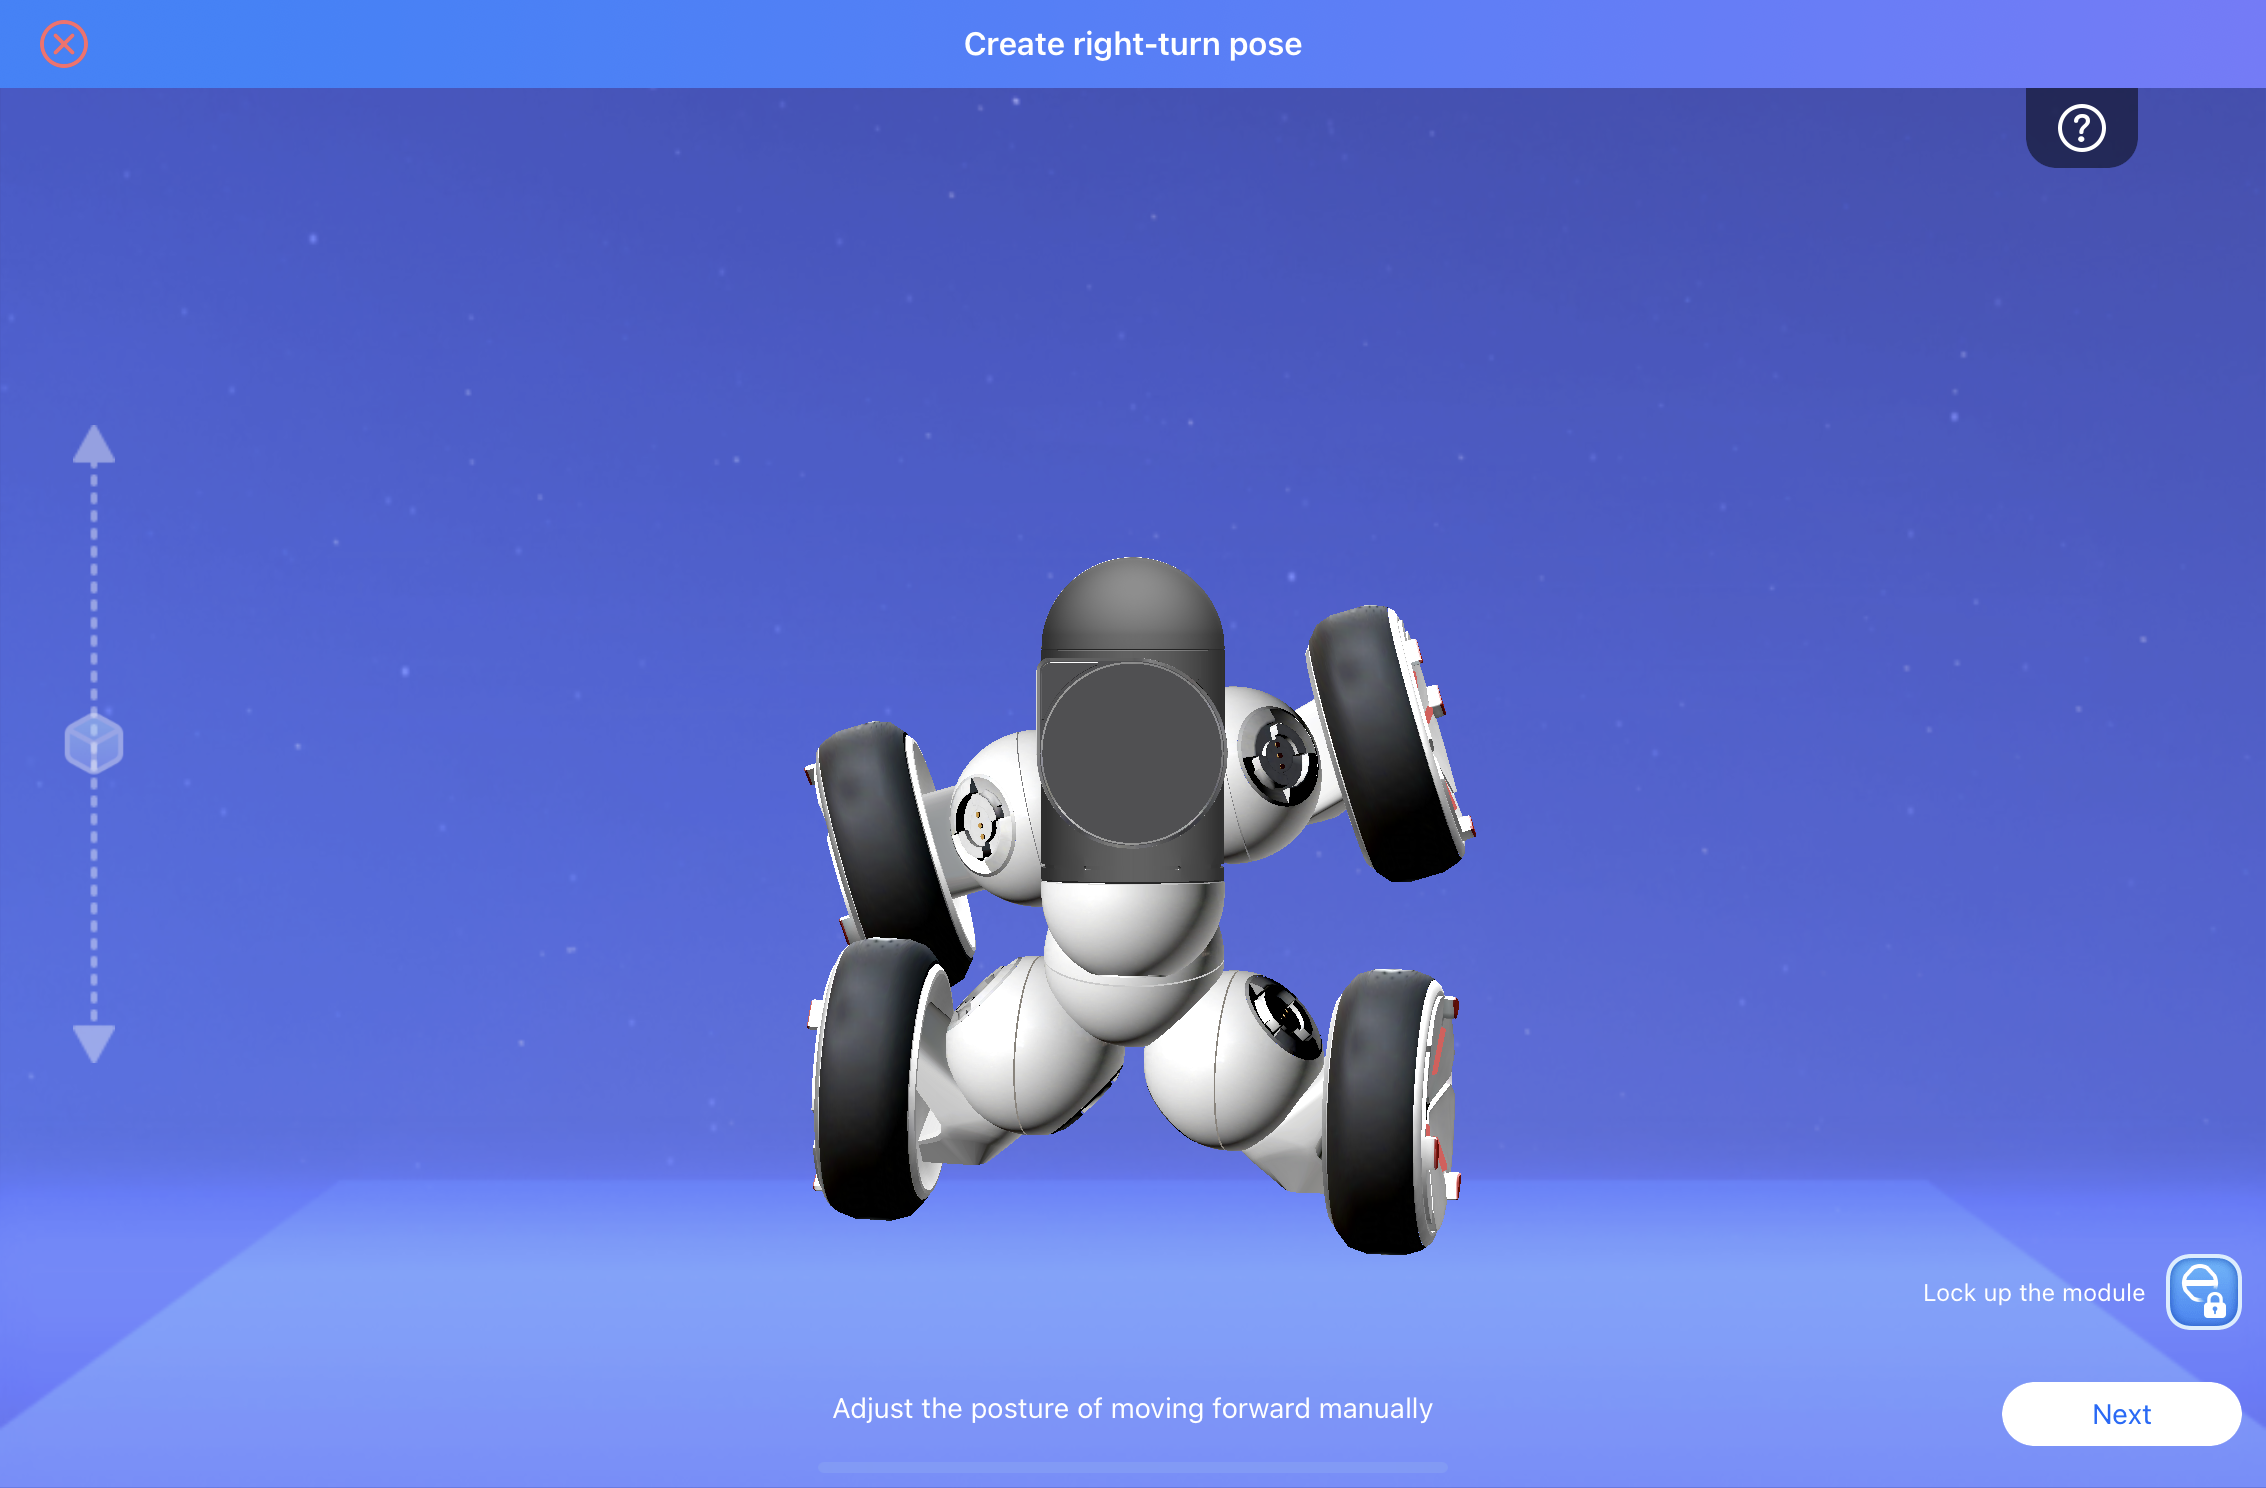
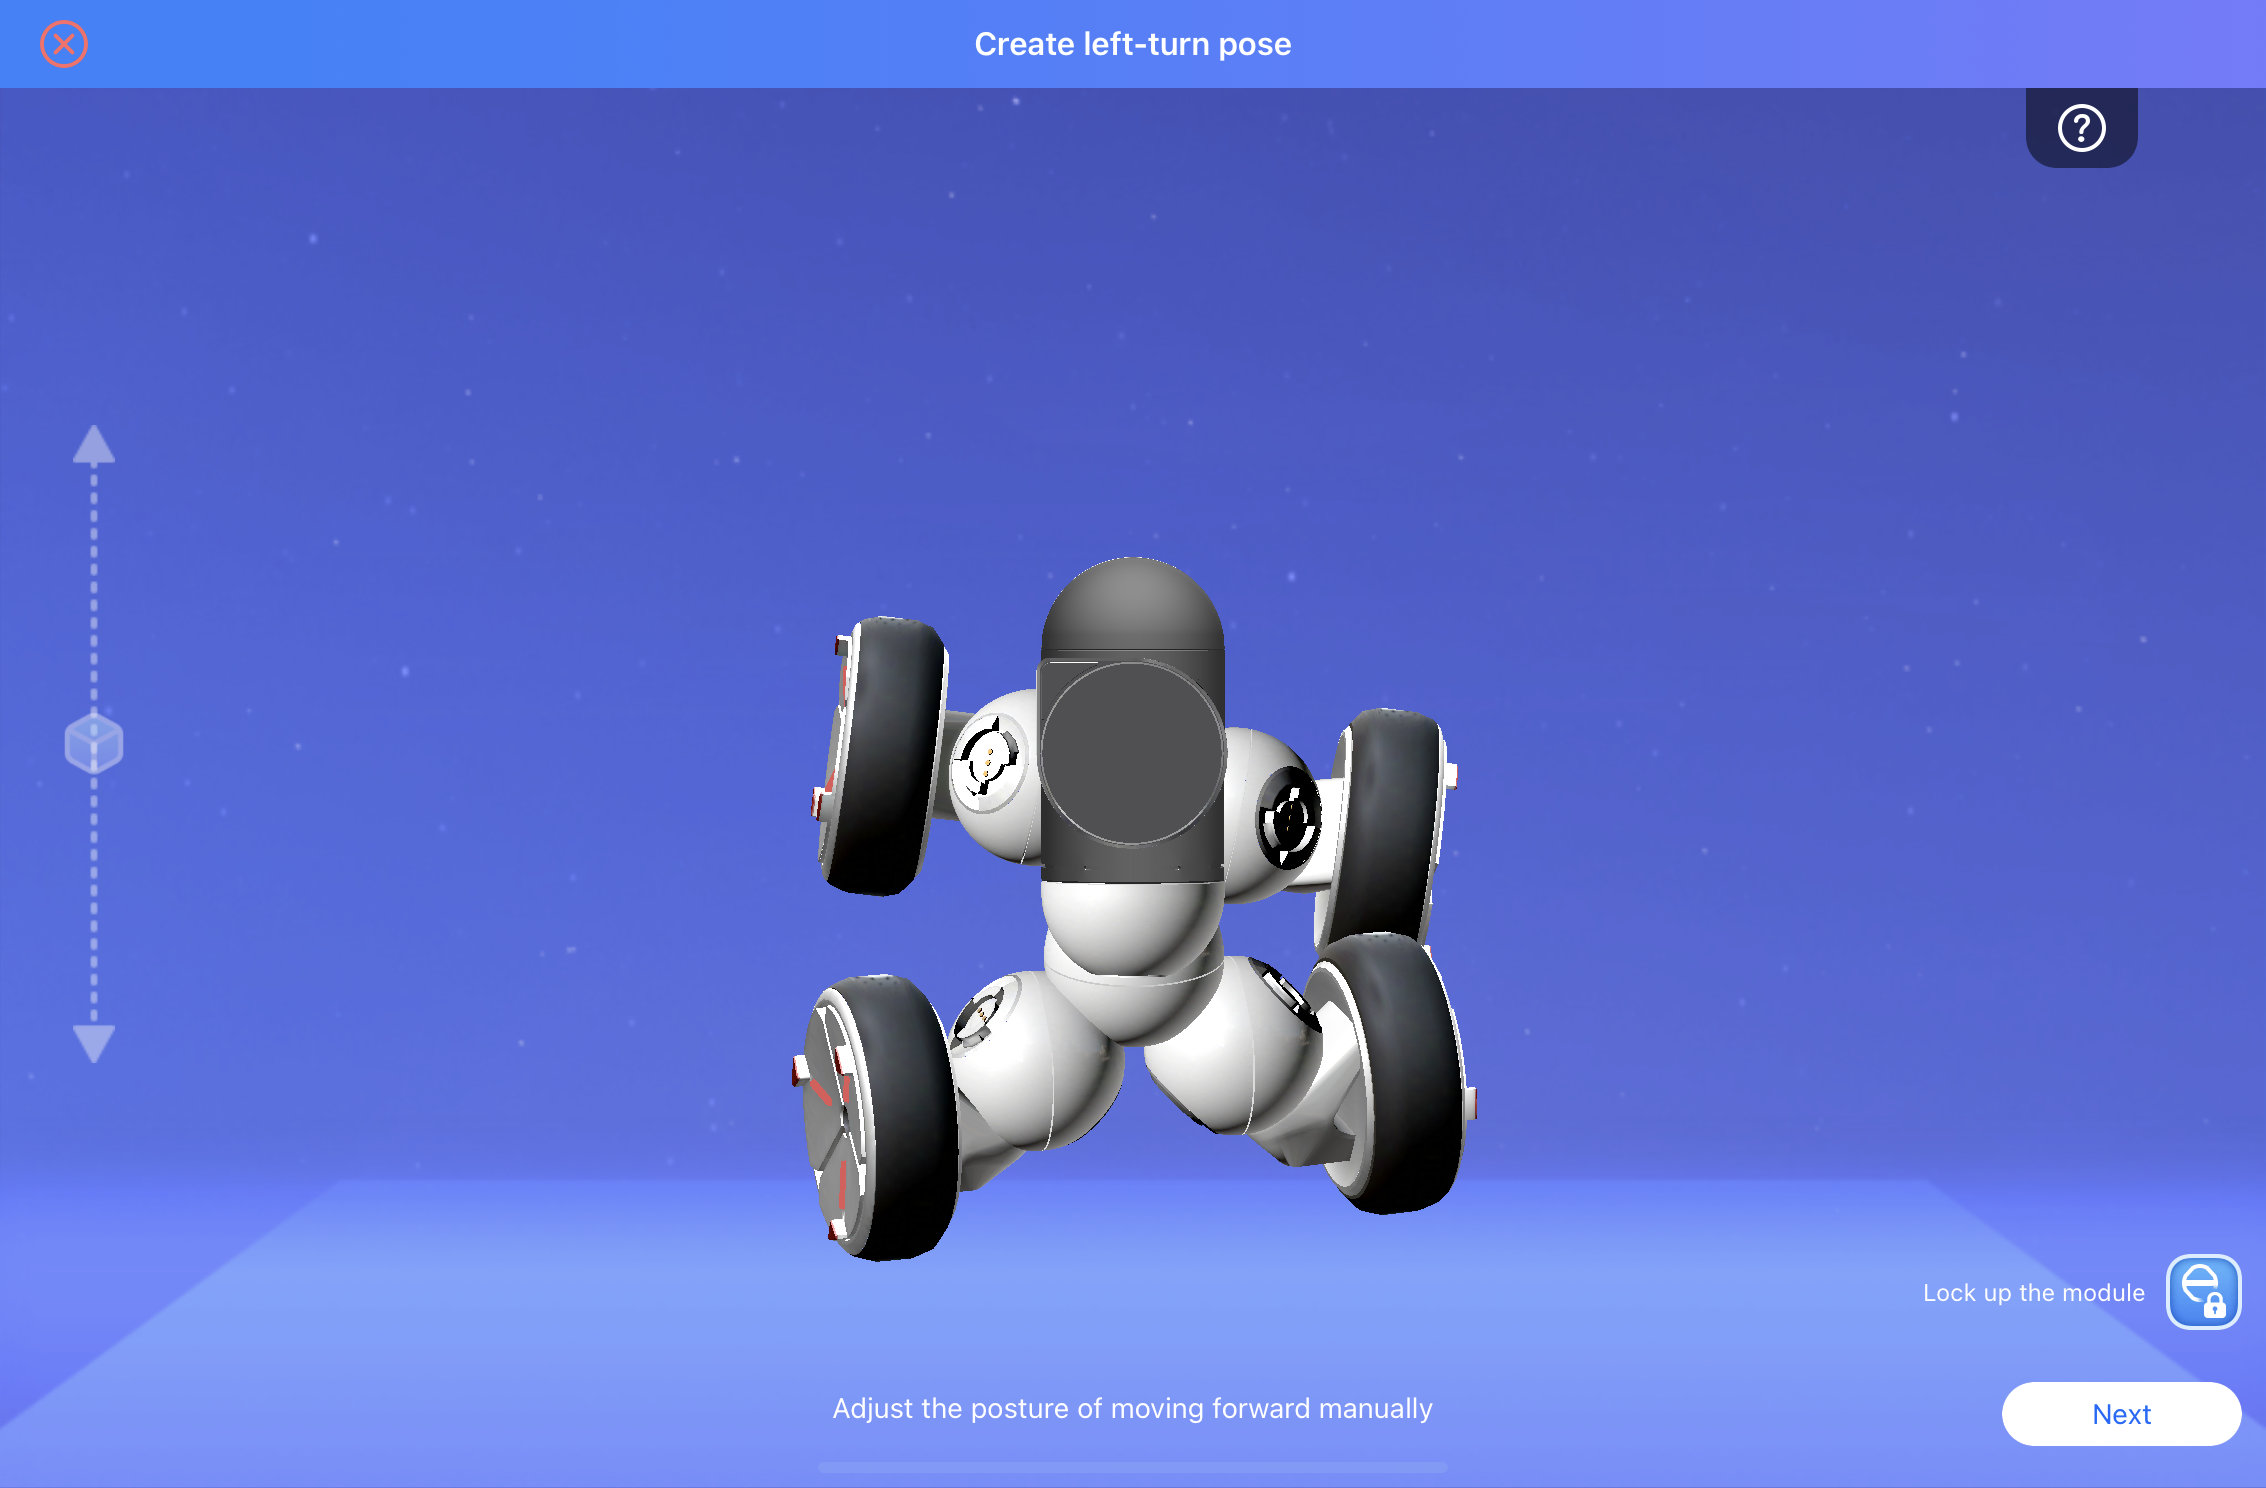
Now we'll define our right and left turns. Here we'll be changing the posture of the ClicBot before recording the motions. For example, your left and right movement postures may look something like the following. How you adjust your ClicBot's posture will control how tightly your ClicBot is able to turn.
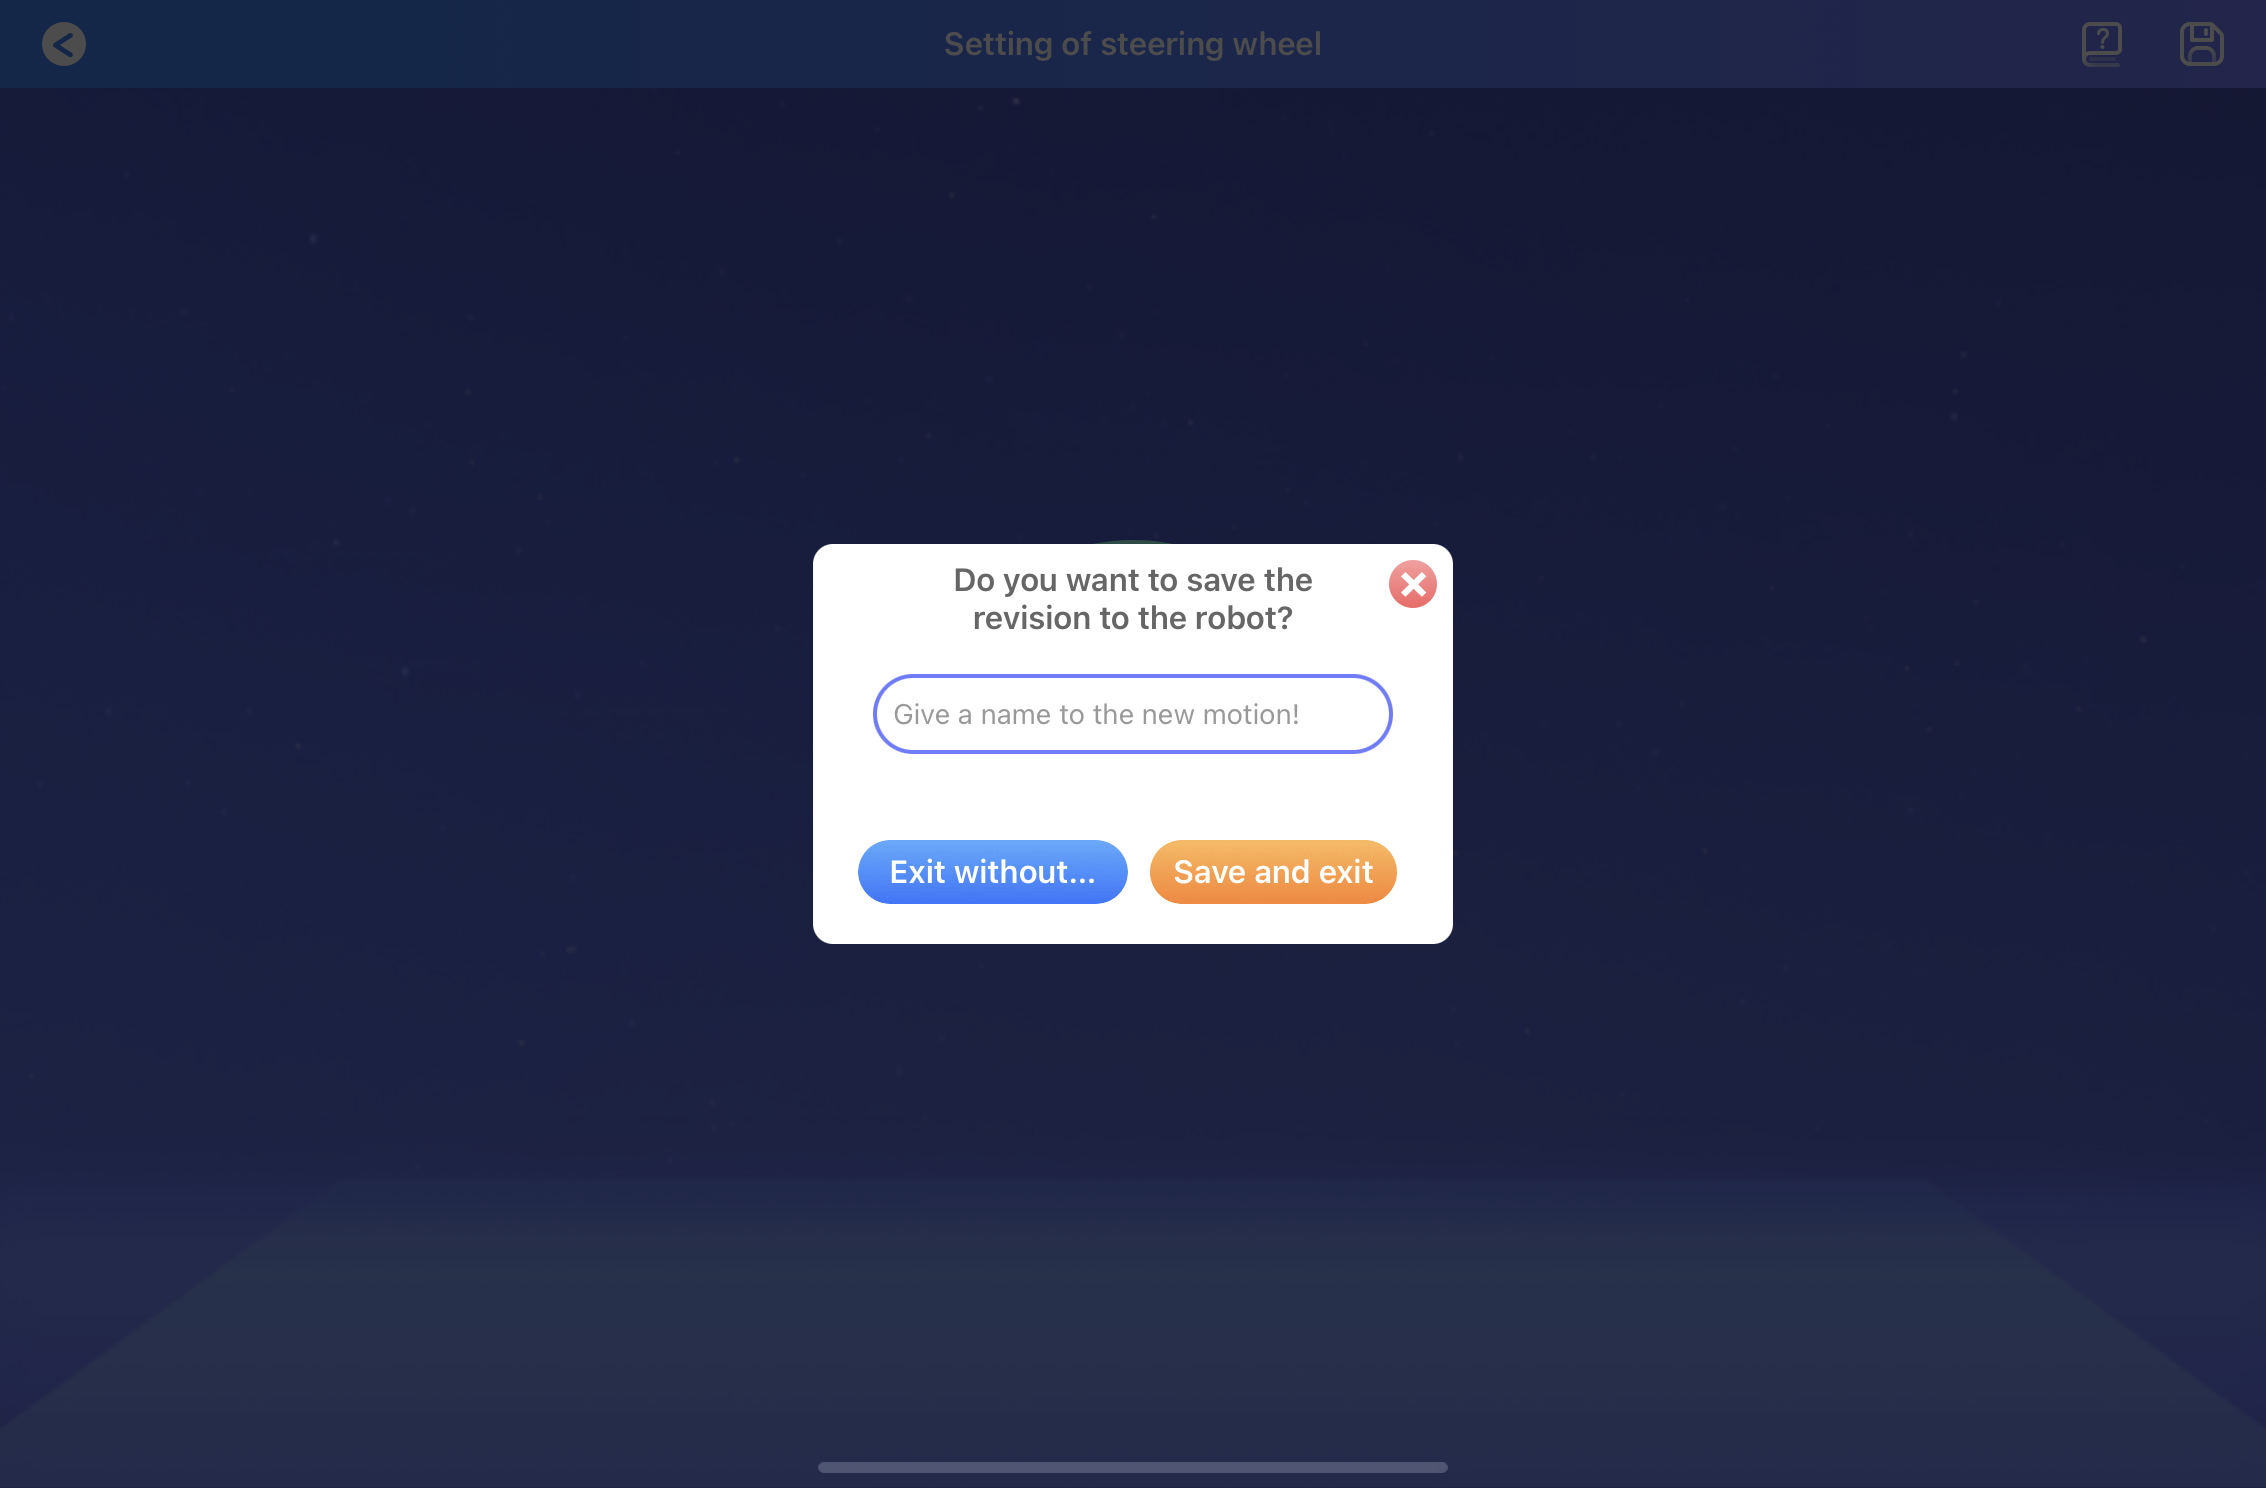
Once your group is happy with your turn angles and you've saved a forward, left, and right configuration, hit the play button in the center of the screen.

The steering interface should show up. Put your ClicBot on the floor before testing out your steering controller. Make sure everyone in the group has a chance to drive around. When you're satisfied with the performance, you can save the controller.
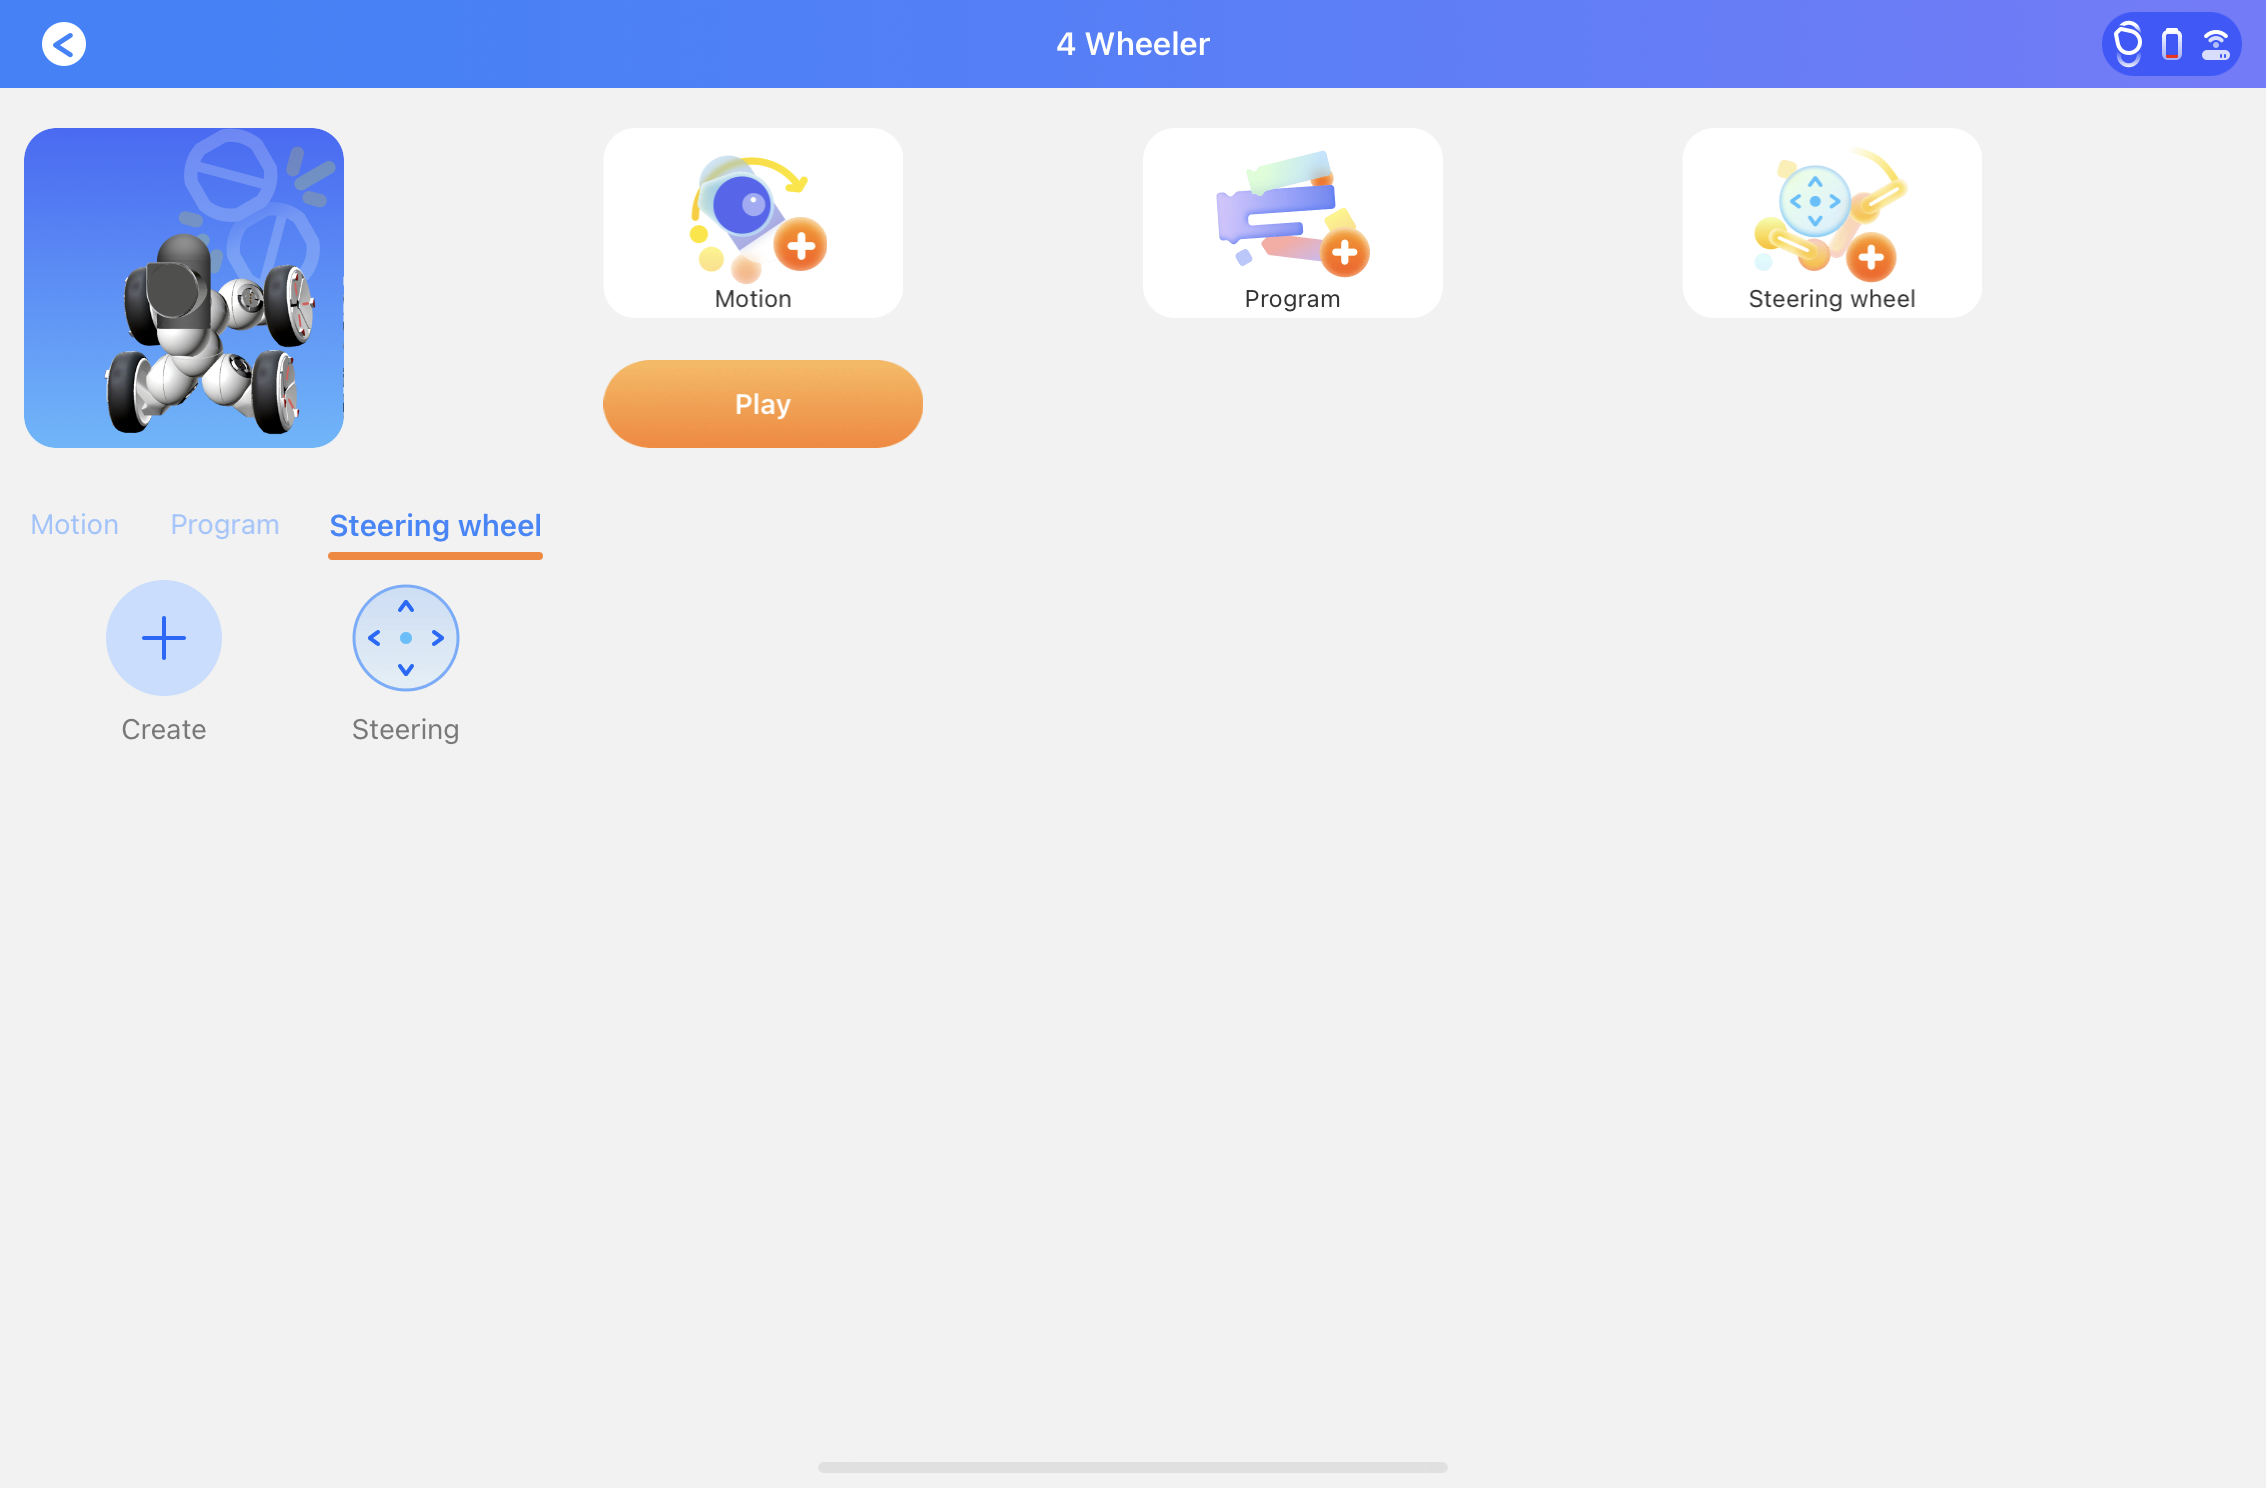
The steering controller should now show up under the steering wheel tab on your robot's main page. Try making a controller focused only on speed and another controller made for being easy to steer in tight spaces!
Exercise #3: Mini Obstacle Course
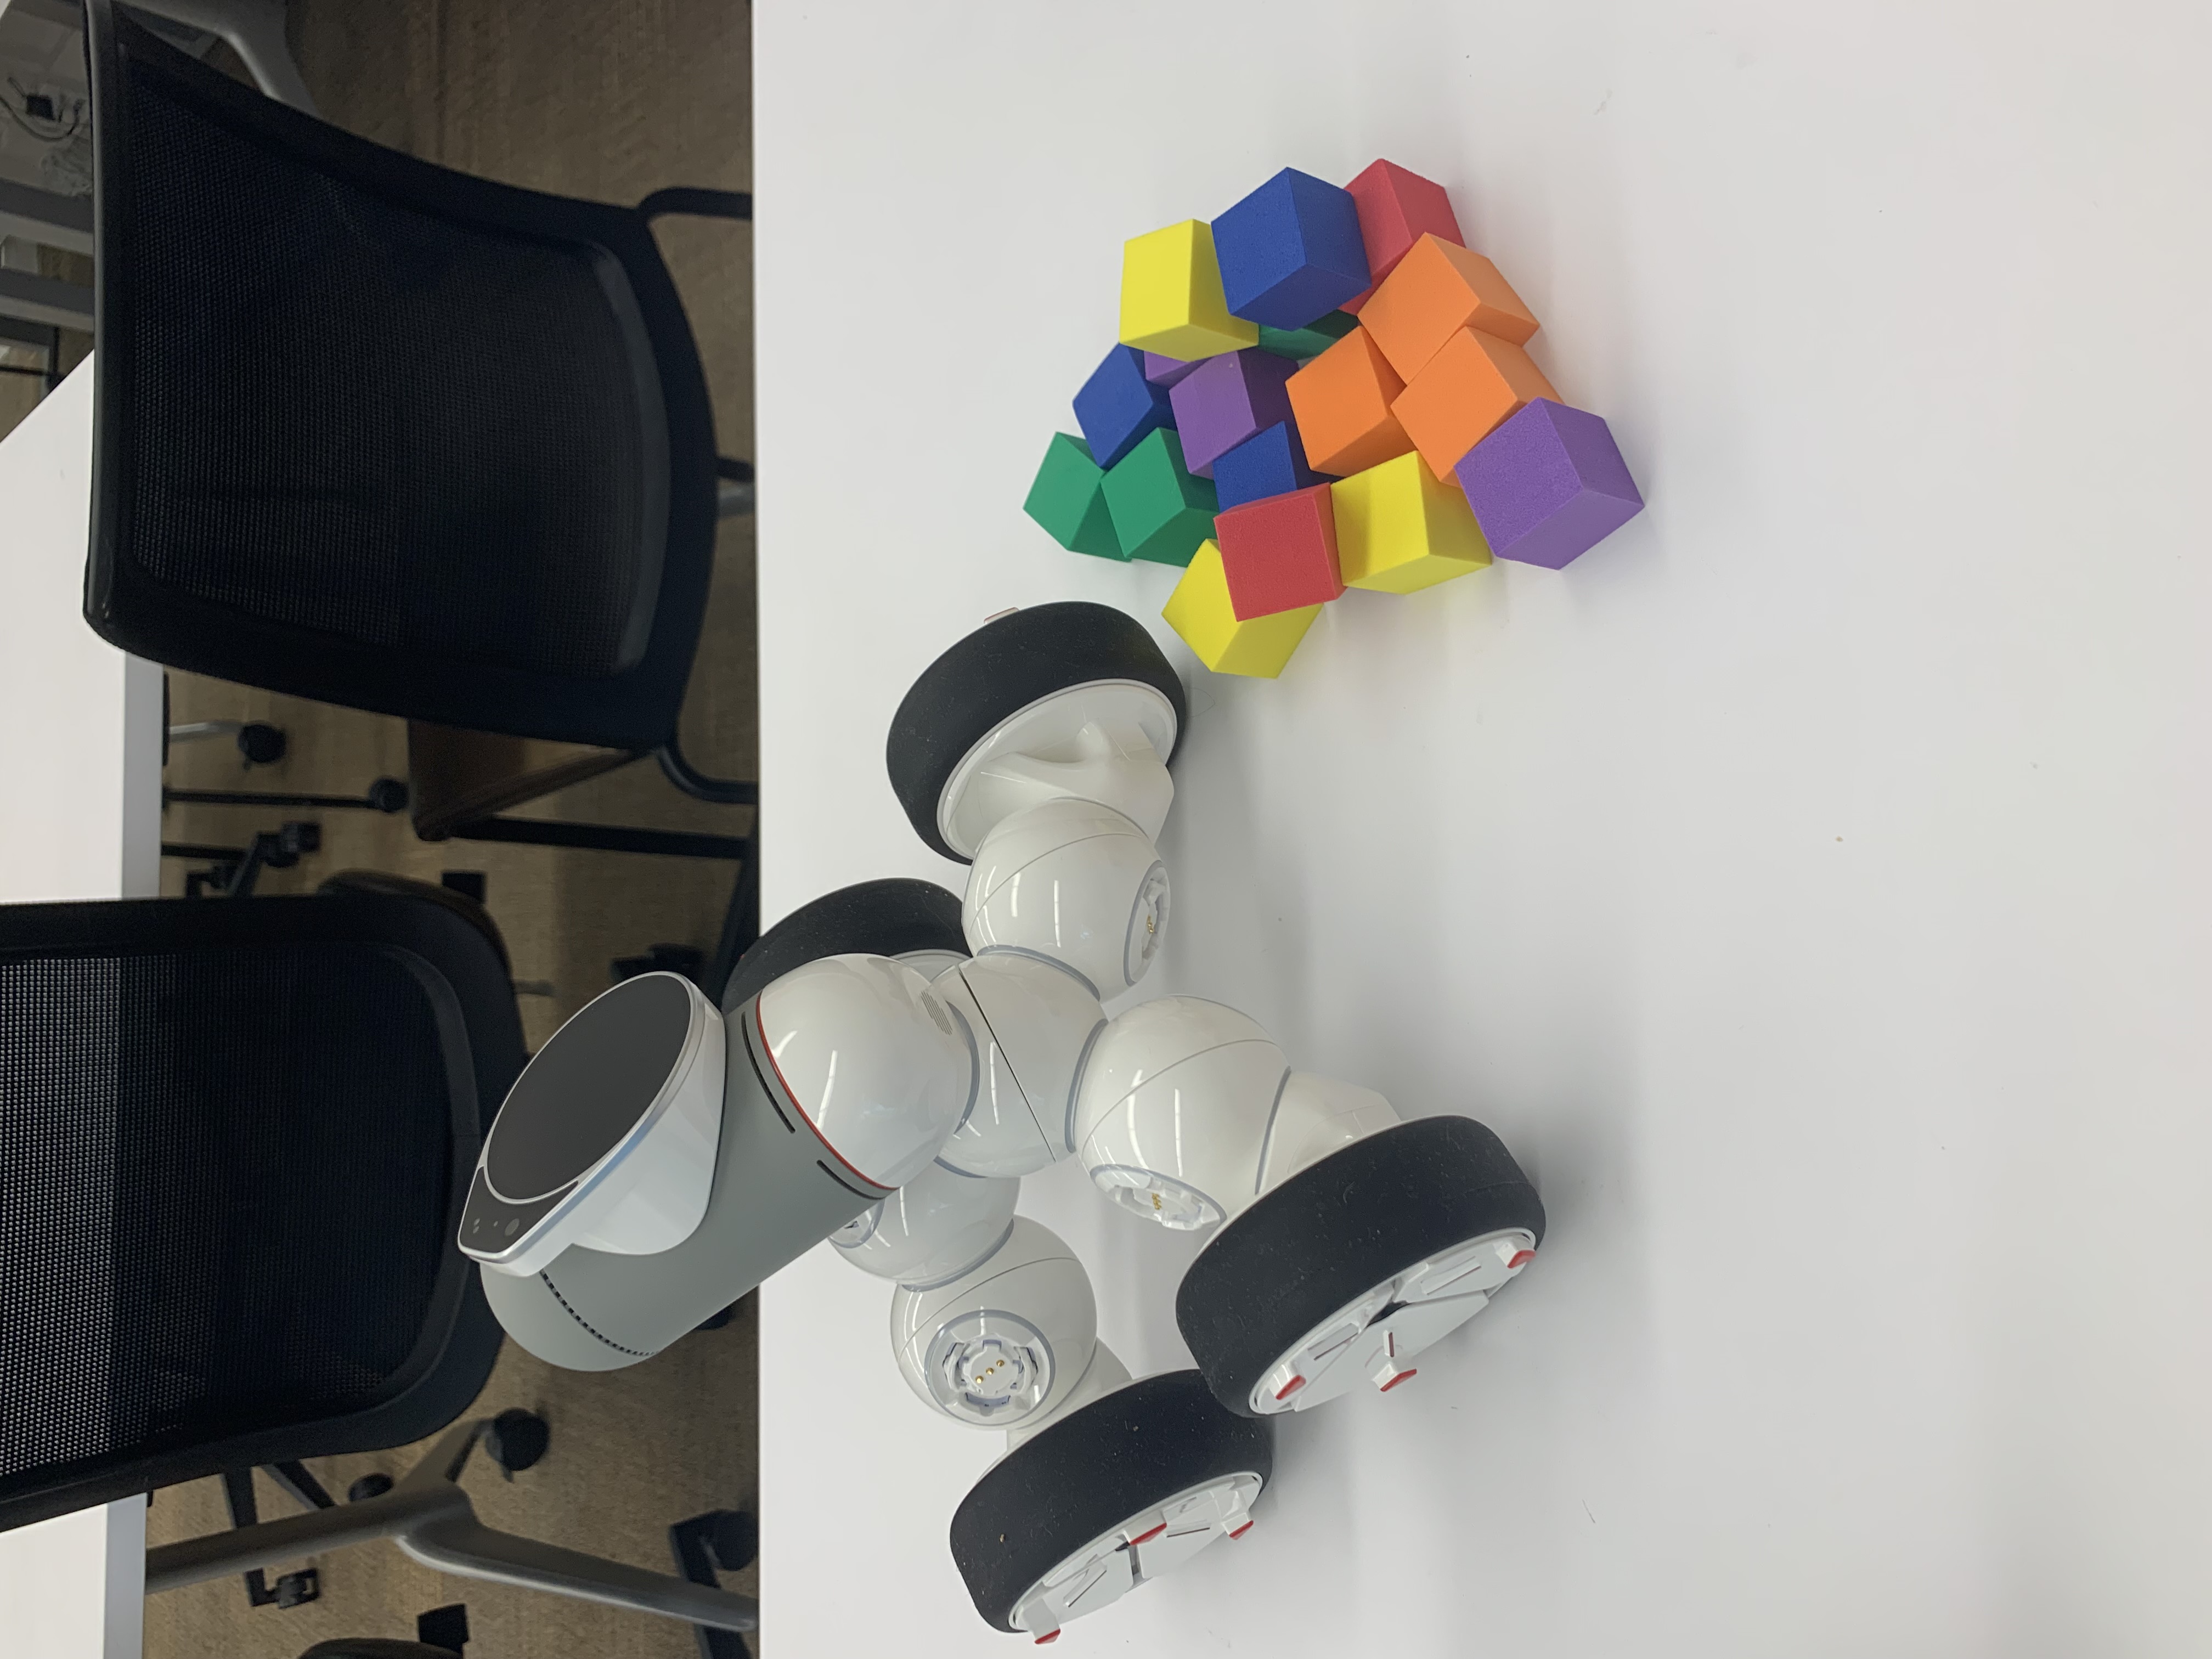
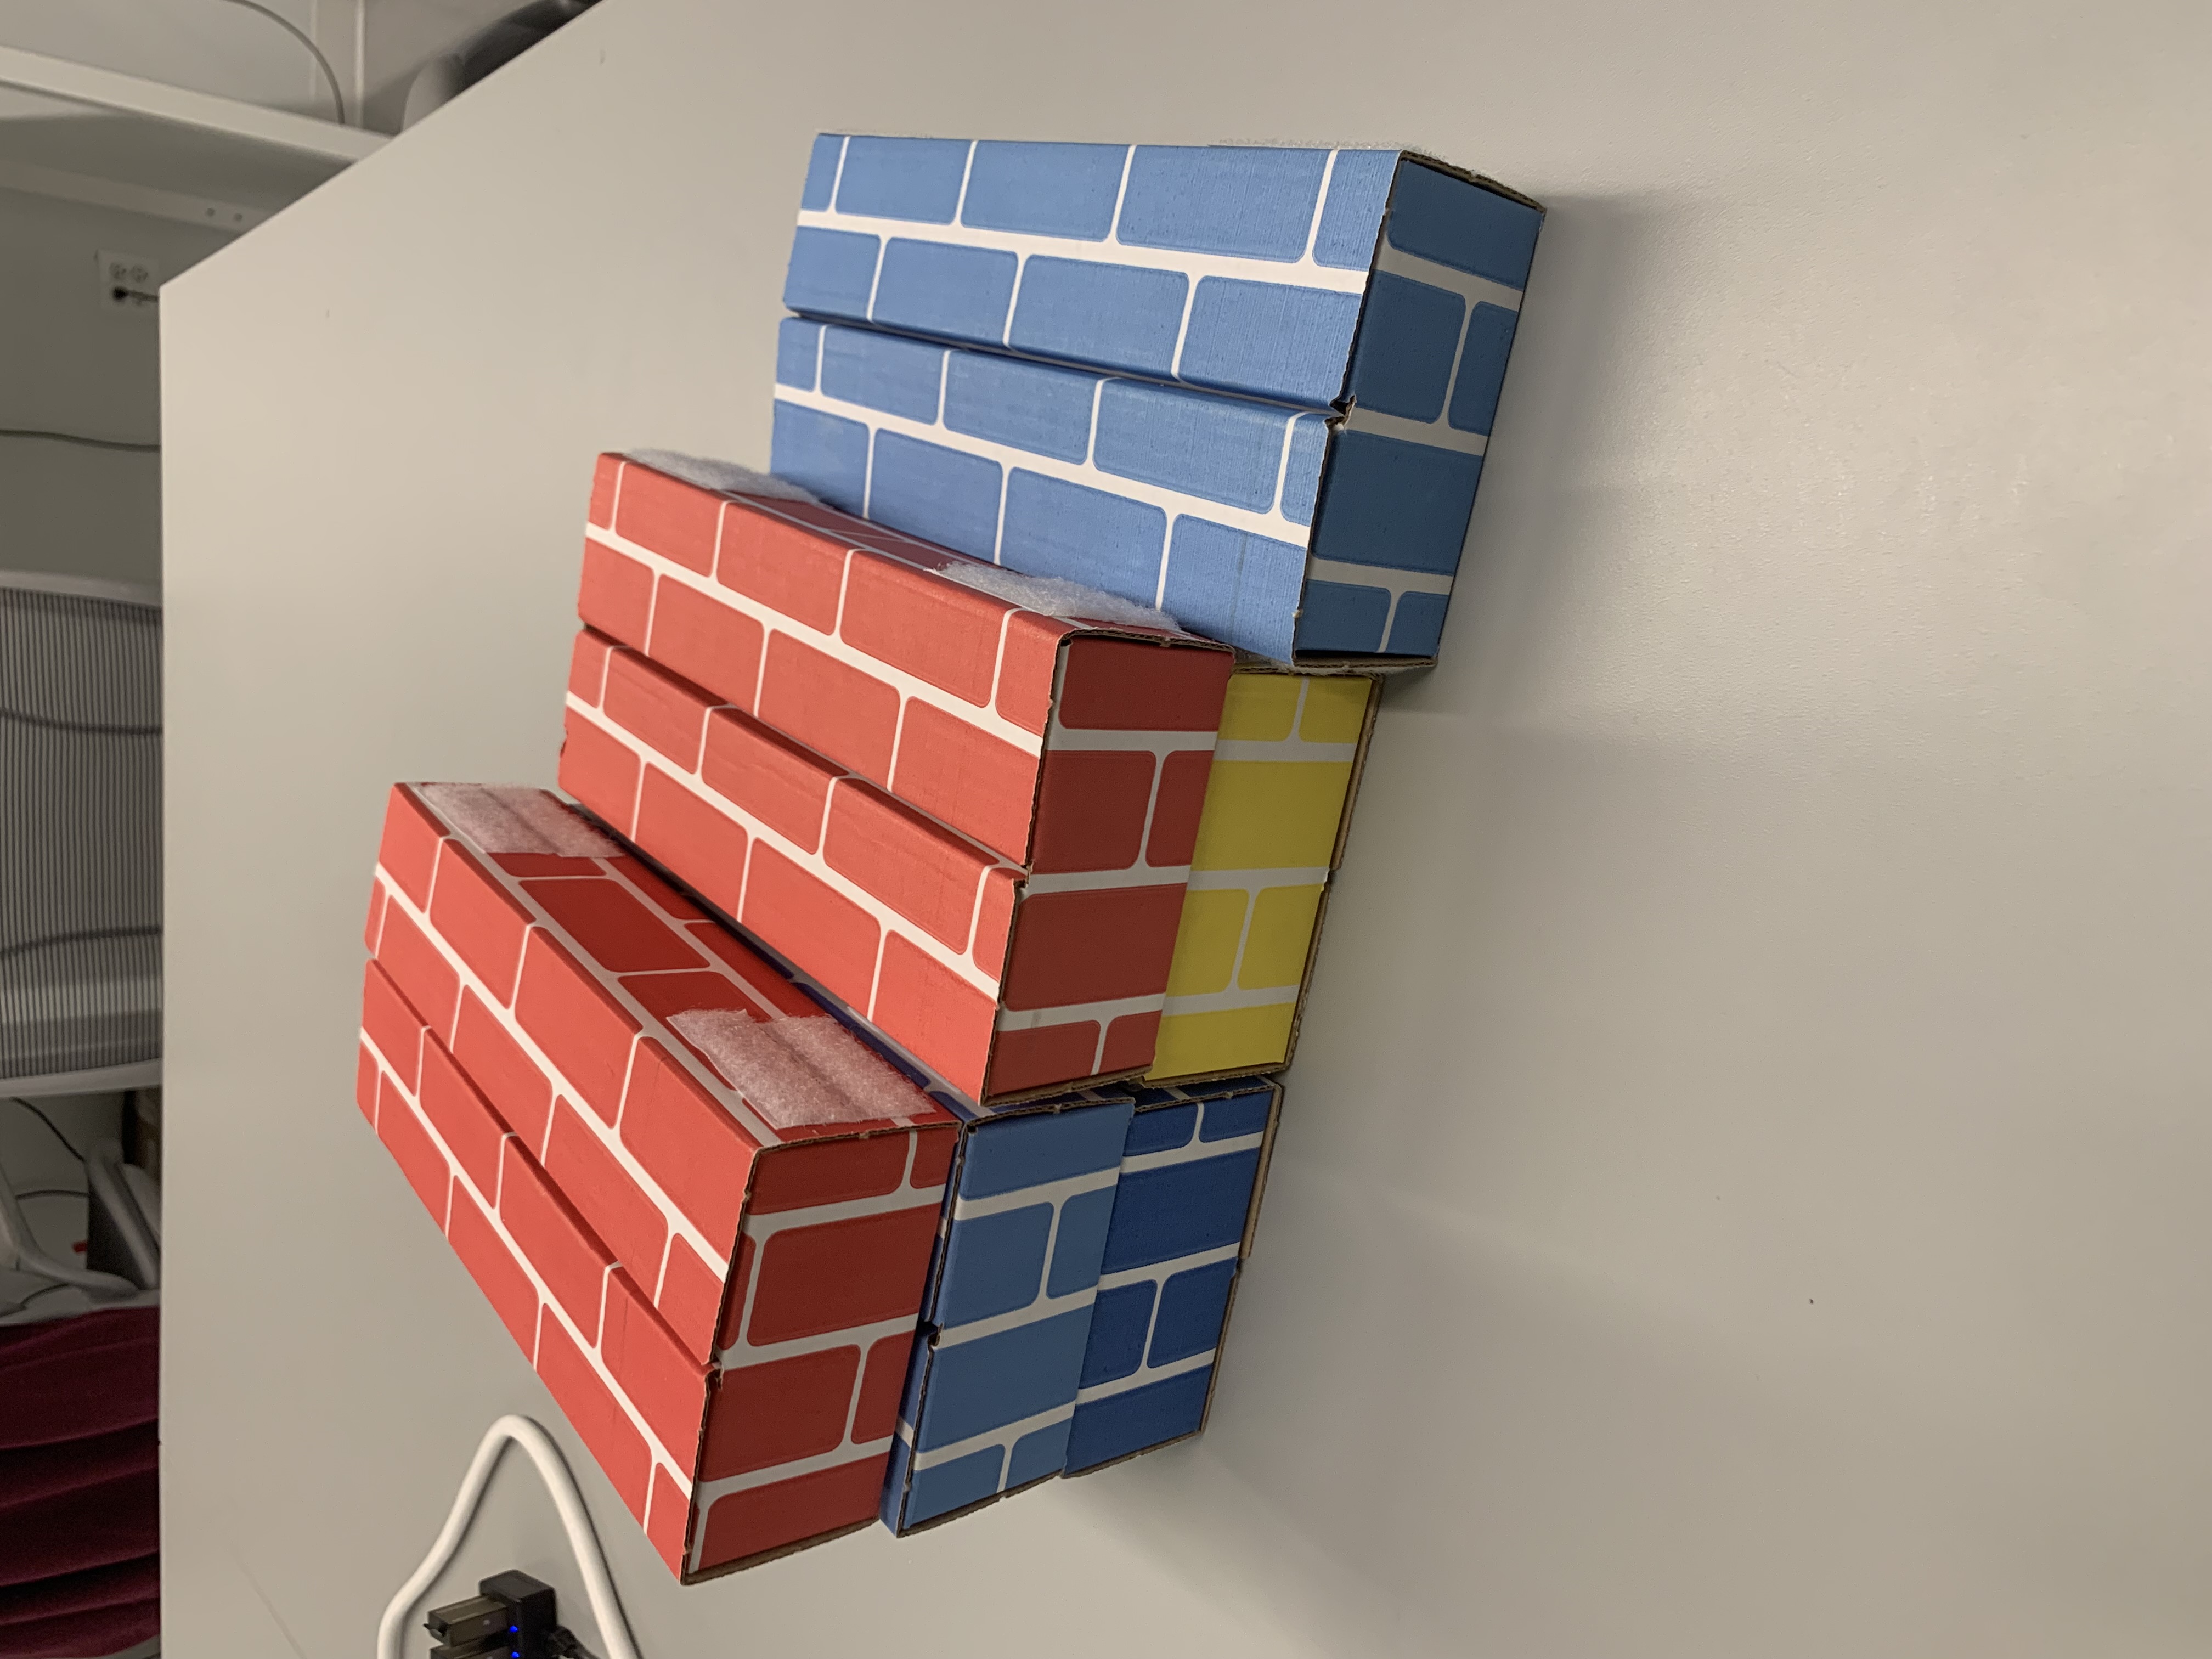
Now that you've learned how to build controllers to drive your ClicBot, it's your turn to design and control a robot capable of handling different obstacles in preparation for next week's obstacle course challenge. We'll have tape, cardboard bricks, and foam blocks available for you to work with. You should begin thinking about how different robot designs are better for certain tasks. Remember! You have a limited number of parts to use. A 4-wheeled ClicBot that can drive really fast may not be able to push the foam blocks around. A ClicBot that can climb cardboard bricks may not handle agility mazes. Try using some of the setups to test your ideas, and feel free to build your own obstacles!
Requirements to Meet Expectations for Today's Class
- Your group has successfully created a rotational motion controller (Exercise #1)
- Your group has successfully created a steering controller (Exercise #2)
- Your group has started to think about how to address different obstacles and has attempted at least 1 (Exercise #3)
Acknowledgments
Exercises #1 and 2: Rotational Motion and Steering Configuration were designed after the programming exercises from the ClicBot's makers KEYi TECH instructional YouTube videos.