CMSC 141 • HW 0, part 3 of 6
Git is a system for tracking changes to your code, storing it on a server, and sharing it with the course staff. It is used across CS courses, and later in internships and jobs for working with others. A Git repository holds your files along with a full history of the changes you have made to them.
You group related changes into a commit, a checkpoint that captures everything since the previous one. Because each commit is saved, you can look back at, or return to, an earlier version of your work. Do this section on your laptop, starting from a terminal window.
$ stands for the prompt. Type only what follows it.
You may already have Git. Check with:
$ git --version
If it prints a version, skip ahead to Configuring Git. If not, install it for your system.
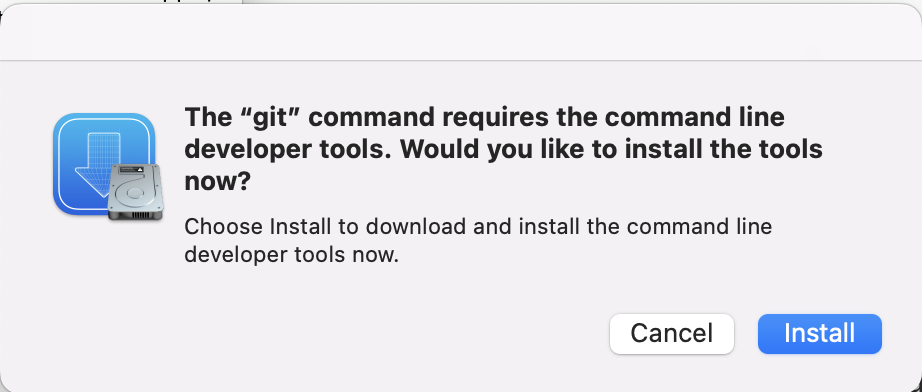
A missing Git usually triggers a pop-up offering to install the developer tools. Click Install (it can take a while).
If you do not get the pop-up, run:
$ xcode-select --install
Then click Install. When it finishes, confirm with git --version. If that
fails, ask for help.
$ sudo apt-get update
$ sudo apt-get install git
sudo may ask for your laptop password. Confirm with git --version when done.
Before your first repository, register your name and email so your commits are labeled:
$ git config --global user.name "YOUR NAME"
$ git config --global user.email "YOUR UCHICAGO EMAIL ADDRESS"
Set two more options. These will not mean much yet; set them anyway. The first makes main the
default branch name; the second simplifies pulling files later.
$ git config --global init.defaultBranch main
$ git config --global pull.rebase false
Check your settings with:
$ git config --list
Confirm user.name and user.email are right, and that you see
init.defaultbranch=main and pull.rebase=false. Rerun the relevant command if
anything is off. You only do this once per laptop.
Get the practice files for this section:
$ cd ~/cmsc141
$ curl -O https://uchicago-cs.github.io/student-resource-guide/_static/git-tutorial.zip
$ unzip git-tutorial.zip
$ cd ~/cmsc141
$ wget --no-check-certificate -nv https://uchicago-cs.github.io/student-resource-guide/_static/git-tutorial.zip
$ unzip git-tutorial.zip
$ cd ~/cmsc141
$ wget -nv https://uchicago-cs.github.io/student-resource-guide/_static/git-tutorial.zip
$ unzip git-tutorial.zip
Move into the new directory and look around:
$ cd ~/cmsc141/git-tutorial
$ ls
hello.py  hola.py
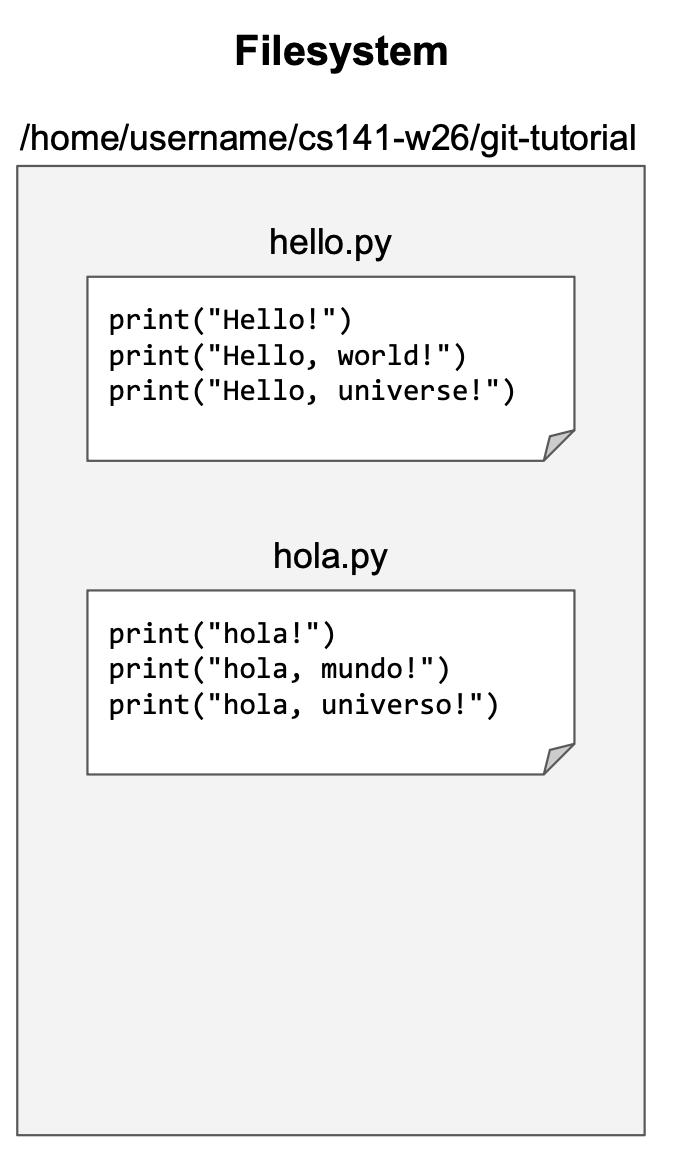
You will edit these files as you go, so open the directory in your editor:
$ codium .
The . tells codium to open the current directory. Double-click a file name to
open it.

git-tutorial directory open in the editor, with both files in the sidebar.To put a directory under version control, run the init command from inside it. Confirm where you are first:
$ pwd
/home/username/cmsc141/git-tutorial
$ git init
Initialized empty Git repository in /home/username/cmsc141/git-tutorial/.git/
/Users rather than /home.
This creates a hidden .git folder where Git tracks the repository. Notice it says
empty even though the directory has two files. That is the key idea: Git's view of your
files and what is actually on disk are tracked separately, and you bring them into sync with commands.
Check Git's view with:
$ git status
On branch main

No commits yet

Untracked files:
  (use "git add <file>..." to include in what will be committed)
        hello.py
        hola.py

nothing added to commit but untracked files present
The files are untracked: Git sees them but is not managing them yet.

Making a commit is two steps. First you stage the files you want, then you create the
commit. Stage with git add:
$ git add hello.py hola.py
This is silent on success. Run git status again and the two files have moved to "Changes to
be committed."

git add, both files sit in the staging area, ready to commit.Now package them into a commit with a short message after -m:
$ git commit -m"Add Python files"
[main (root-commit) e1d3a0f] Add Python files
 2 files changed, 6 insertions(+)
-m, Git opens a text editor expecting a message, which is confusing the first
time it happens. Just include -m"your message".
After committing, git status reports a clean working tree, meaning disk and Git agree.

Edit hola.py to capitalize the h in each line, and save. Now
git status shows the file under "Changes not staged for commit."

hola.py on disk no longer matches the version Git has stored.Staging and committing again brings things back in sync. You can stage one file by name, or stage all tracked files you have changed with:
$ git add --update .
The --update (short form -u) flag stages only files Git already tracks; the
. limits it to the current directory.
git add * and git add . They sweep in everything, including editor backups
and stray data files that do not belong in a repository. Be deliberate about what you add.
$ git add --update .
$ git commit -m"Capitalize the Spanish greetings"

print("Hello, multiverse!") to hello.py and
print("Hola, multiverso!") to hola.py. Save both.git status . and confirm both files appear as changed.git add -u . and confirm with git status .git commit -m"Add more greetings", then confirm the tree is clean.bonjour.py with a few print lines, save it, and notice it shows
up as untracked. Stage it with git add bonjour.py, commit, and confirm a clean tree.
If you do not have one, sign up at https://github.com/join. Use your CNetID as your username if you can; if it is taken, use it as a prefix.
Next you will create an SSH key and give it to GitHub, which lets you reach your repositories from the terminal. You only do this once per laptop. Start in your home directory:
$ cd
An SSH key is a file in your home directory that works like an extra-secure password. Create one with:
$ ssh-keygen -t ed25519 -C "Laptop SSH Key"
When prompted for a file to save the key, press Enter to accept the default. When prompted for a passphrase, press Enter twice to leave it empty.
n, back up the old key, and rerun:
$ mv ~/.ssh/id_ed25519 ~/.ssh/id_ed25519.bak
$ mv ~/.ssh/id_ed25519.pub ~/.ssh/id_ed25519.pub.bak
A successful run prints a key fingerprint and a "randomart" picture. Now give the key to GitHub.
Log in at https://github.com, click your account icon, choose Settings, then SSH and GPG keys, then the green New SSH key button. Give it a title (such as "Laptop SSH Key") and choose Authentication Key for the type.
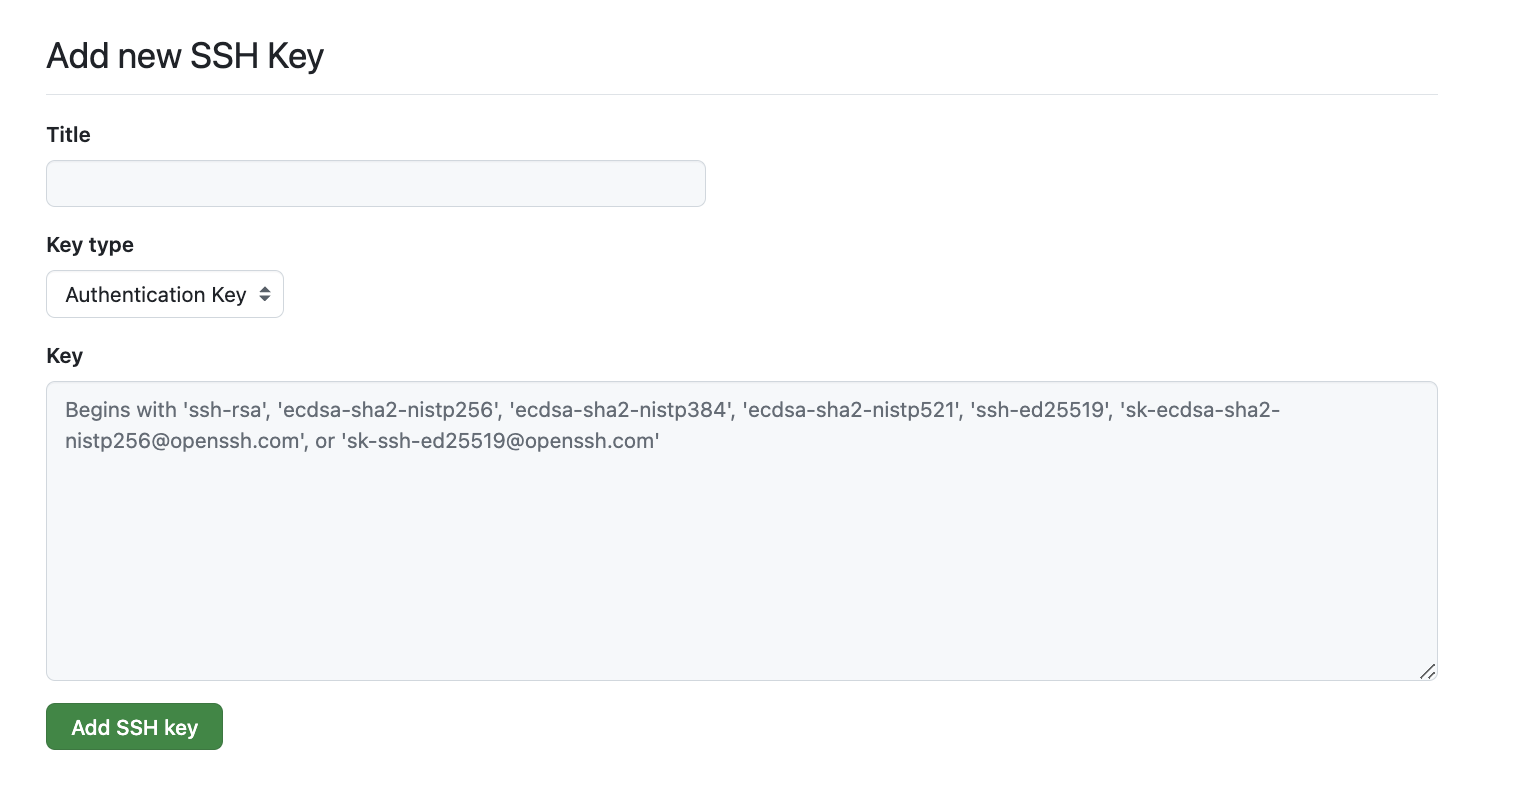
The key's value is in ~/.ssh/id_ed25519.pub. Print it and copy the whole thing:
$ cat ~/.ssh/id_ed25519.pub
Paste it into the "Key" field and click Add SSH Key. Test it with:
$ ssh -T git@github.com
If asked whether to continue connecting, type yes. A message like "Hi username! You've
successfully authenticated" means your key is set up. The note about no shell access is normal. If you cannot
get this working, ask for help before going on; the rest of the section depends on it.
To connect your local repository to GitHub, first make an empty one on the website. Log in, click the
+ at the top right, and choose New repository.

+ menu at the top right. Choose New repository.Name it git-tutorial, leave the other settings alone, and click
Create repository.
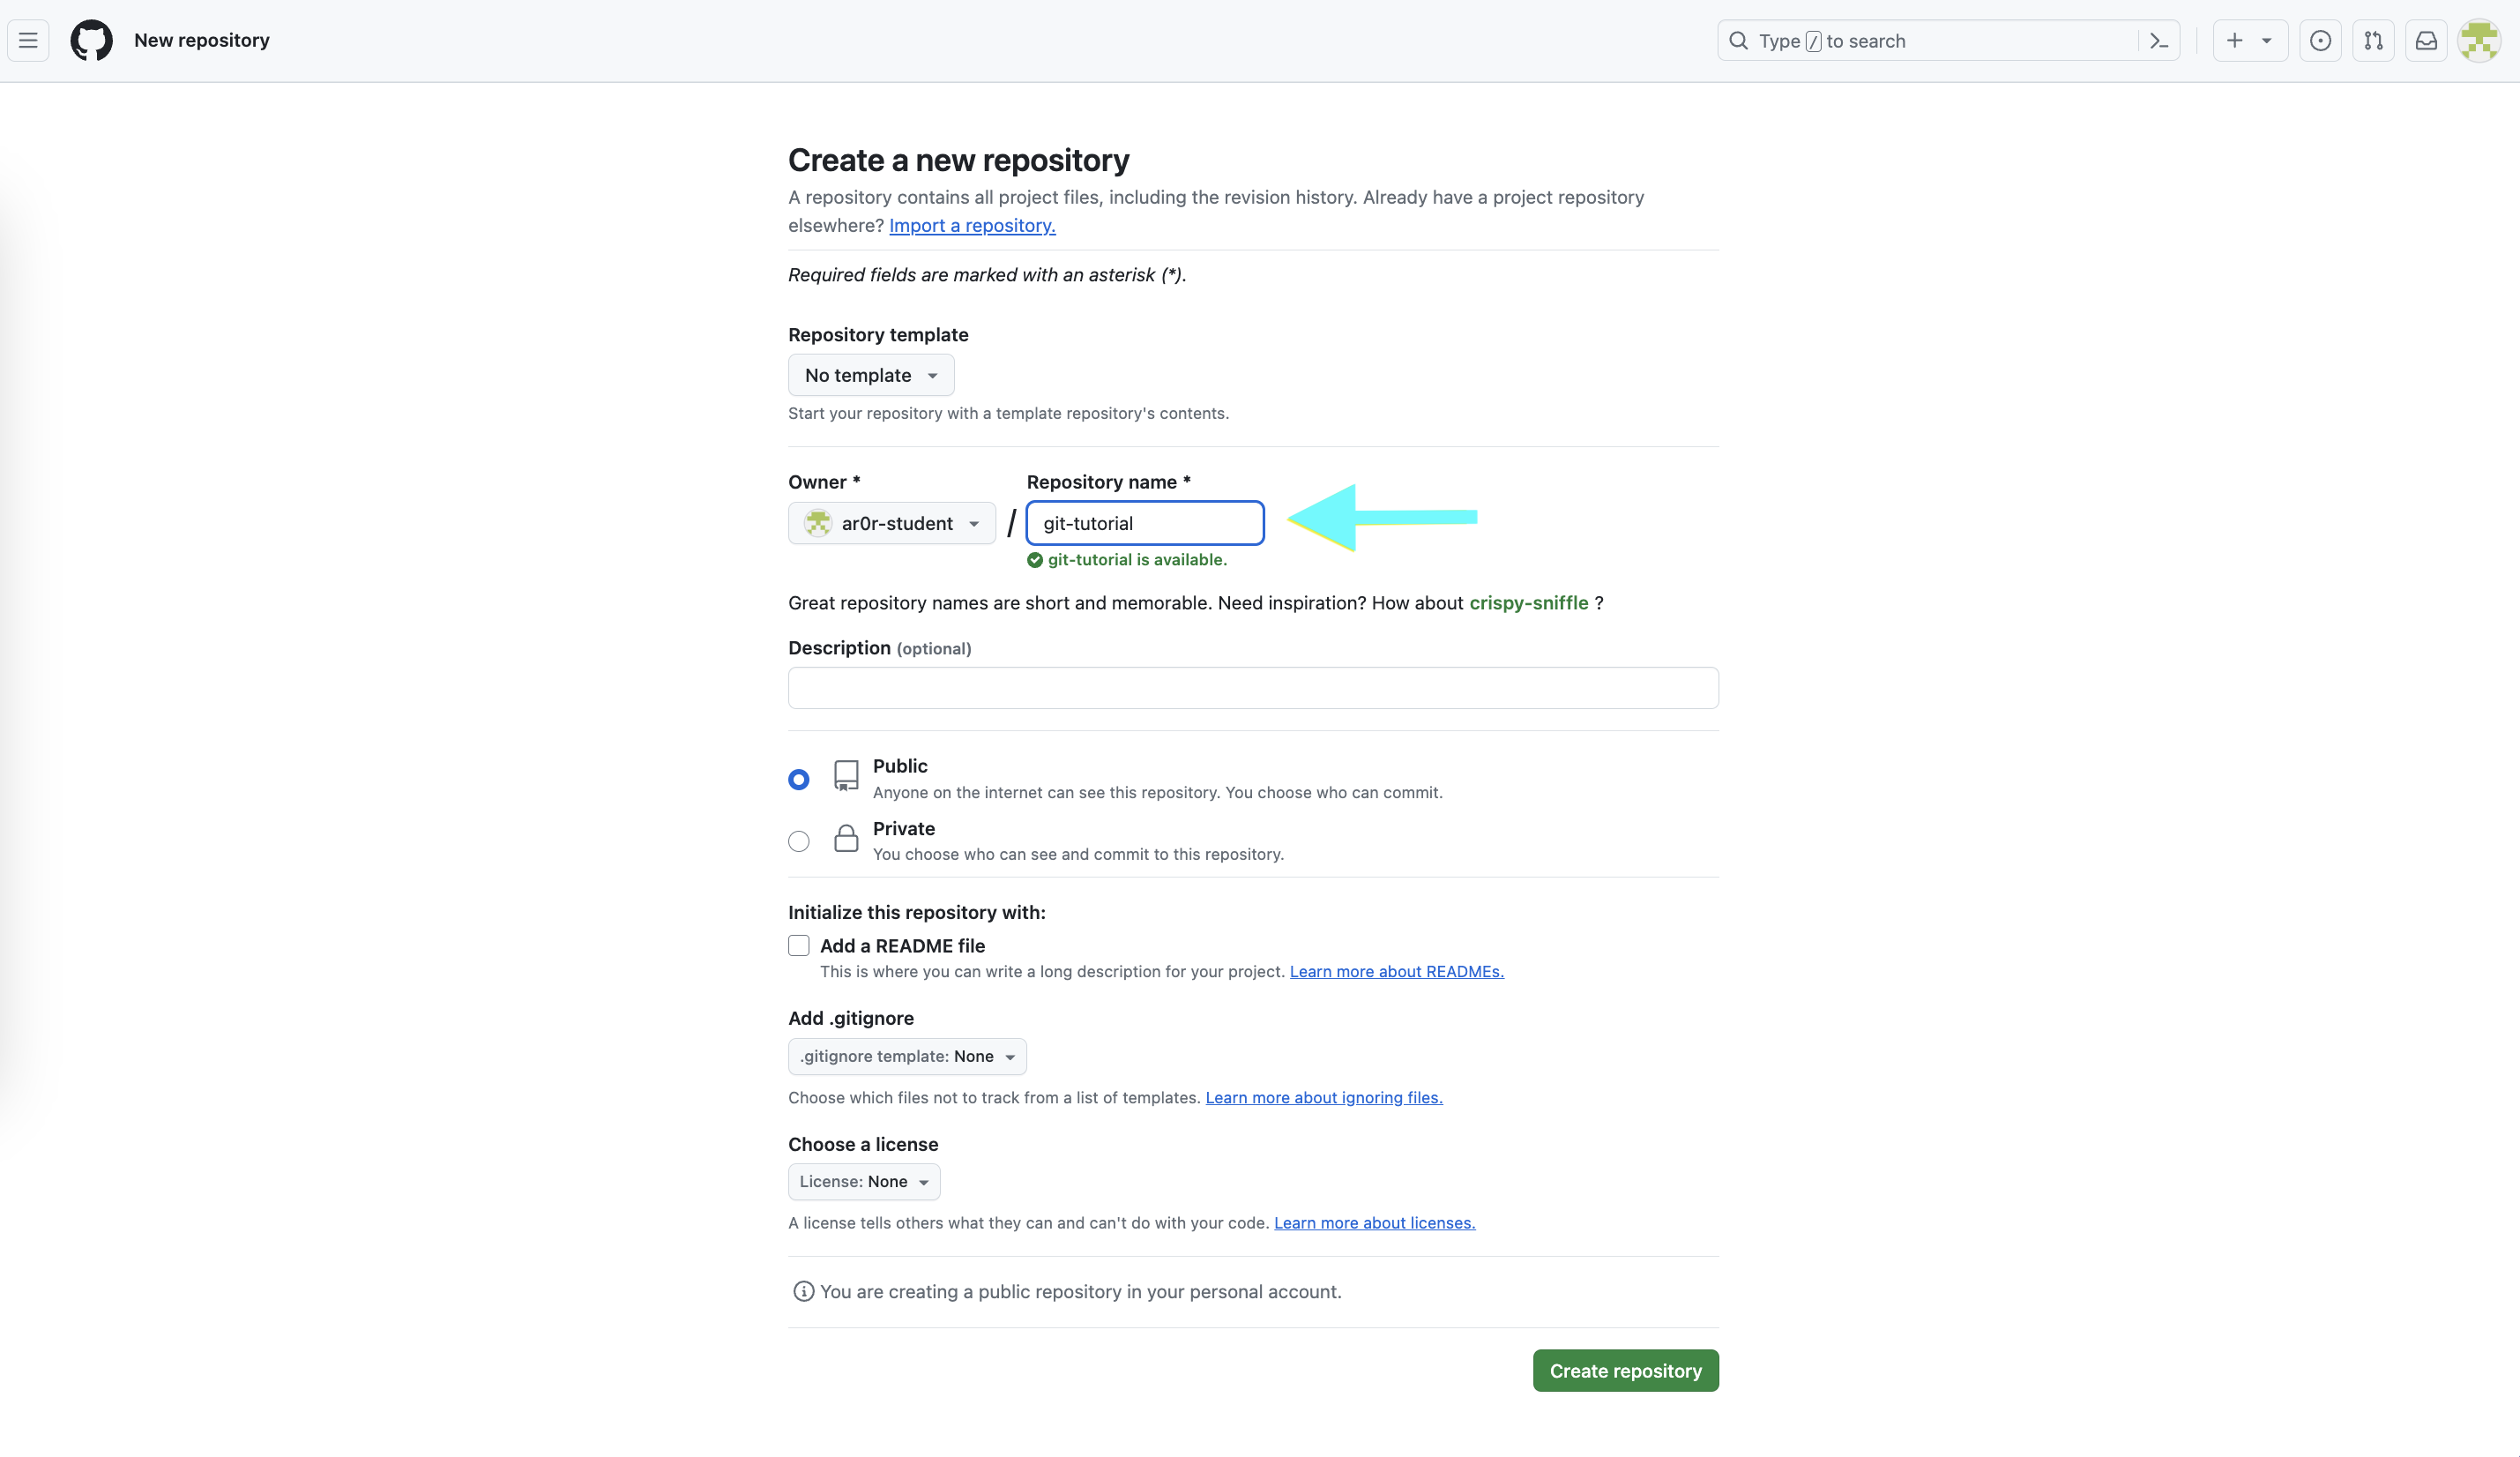
git-tutorial as the name.Back in your terminal, confirm you are in git-tutorial, then link it to the remote. Copy the
command from the "push an existing repository" section of the GitHub page; it looks like:
$ git remote add origin git@github.com:GITHUB_USERNAME/git-tutorial.git
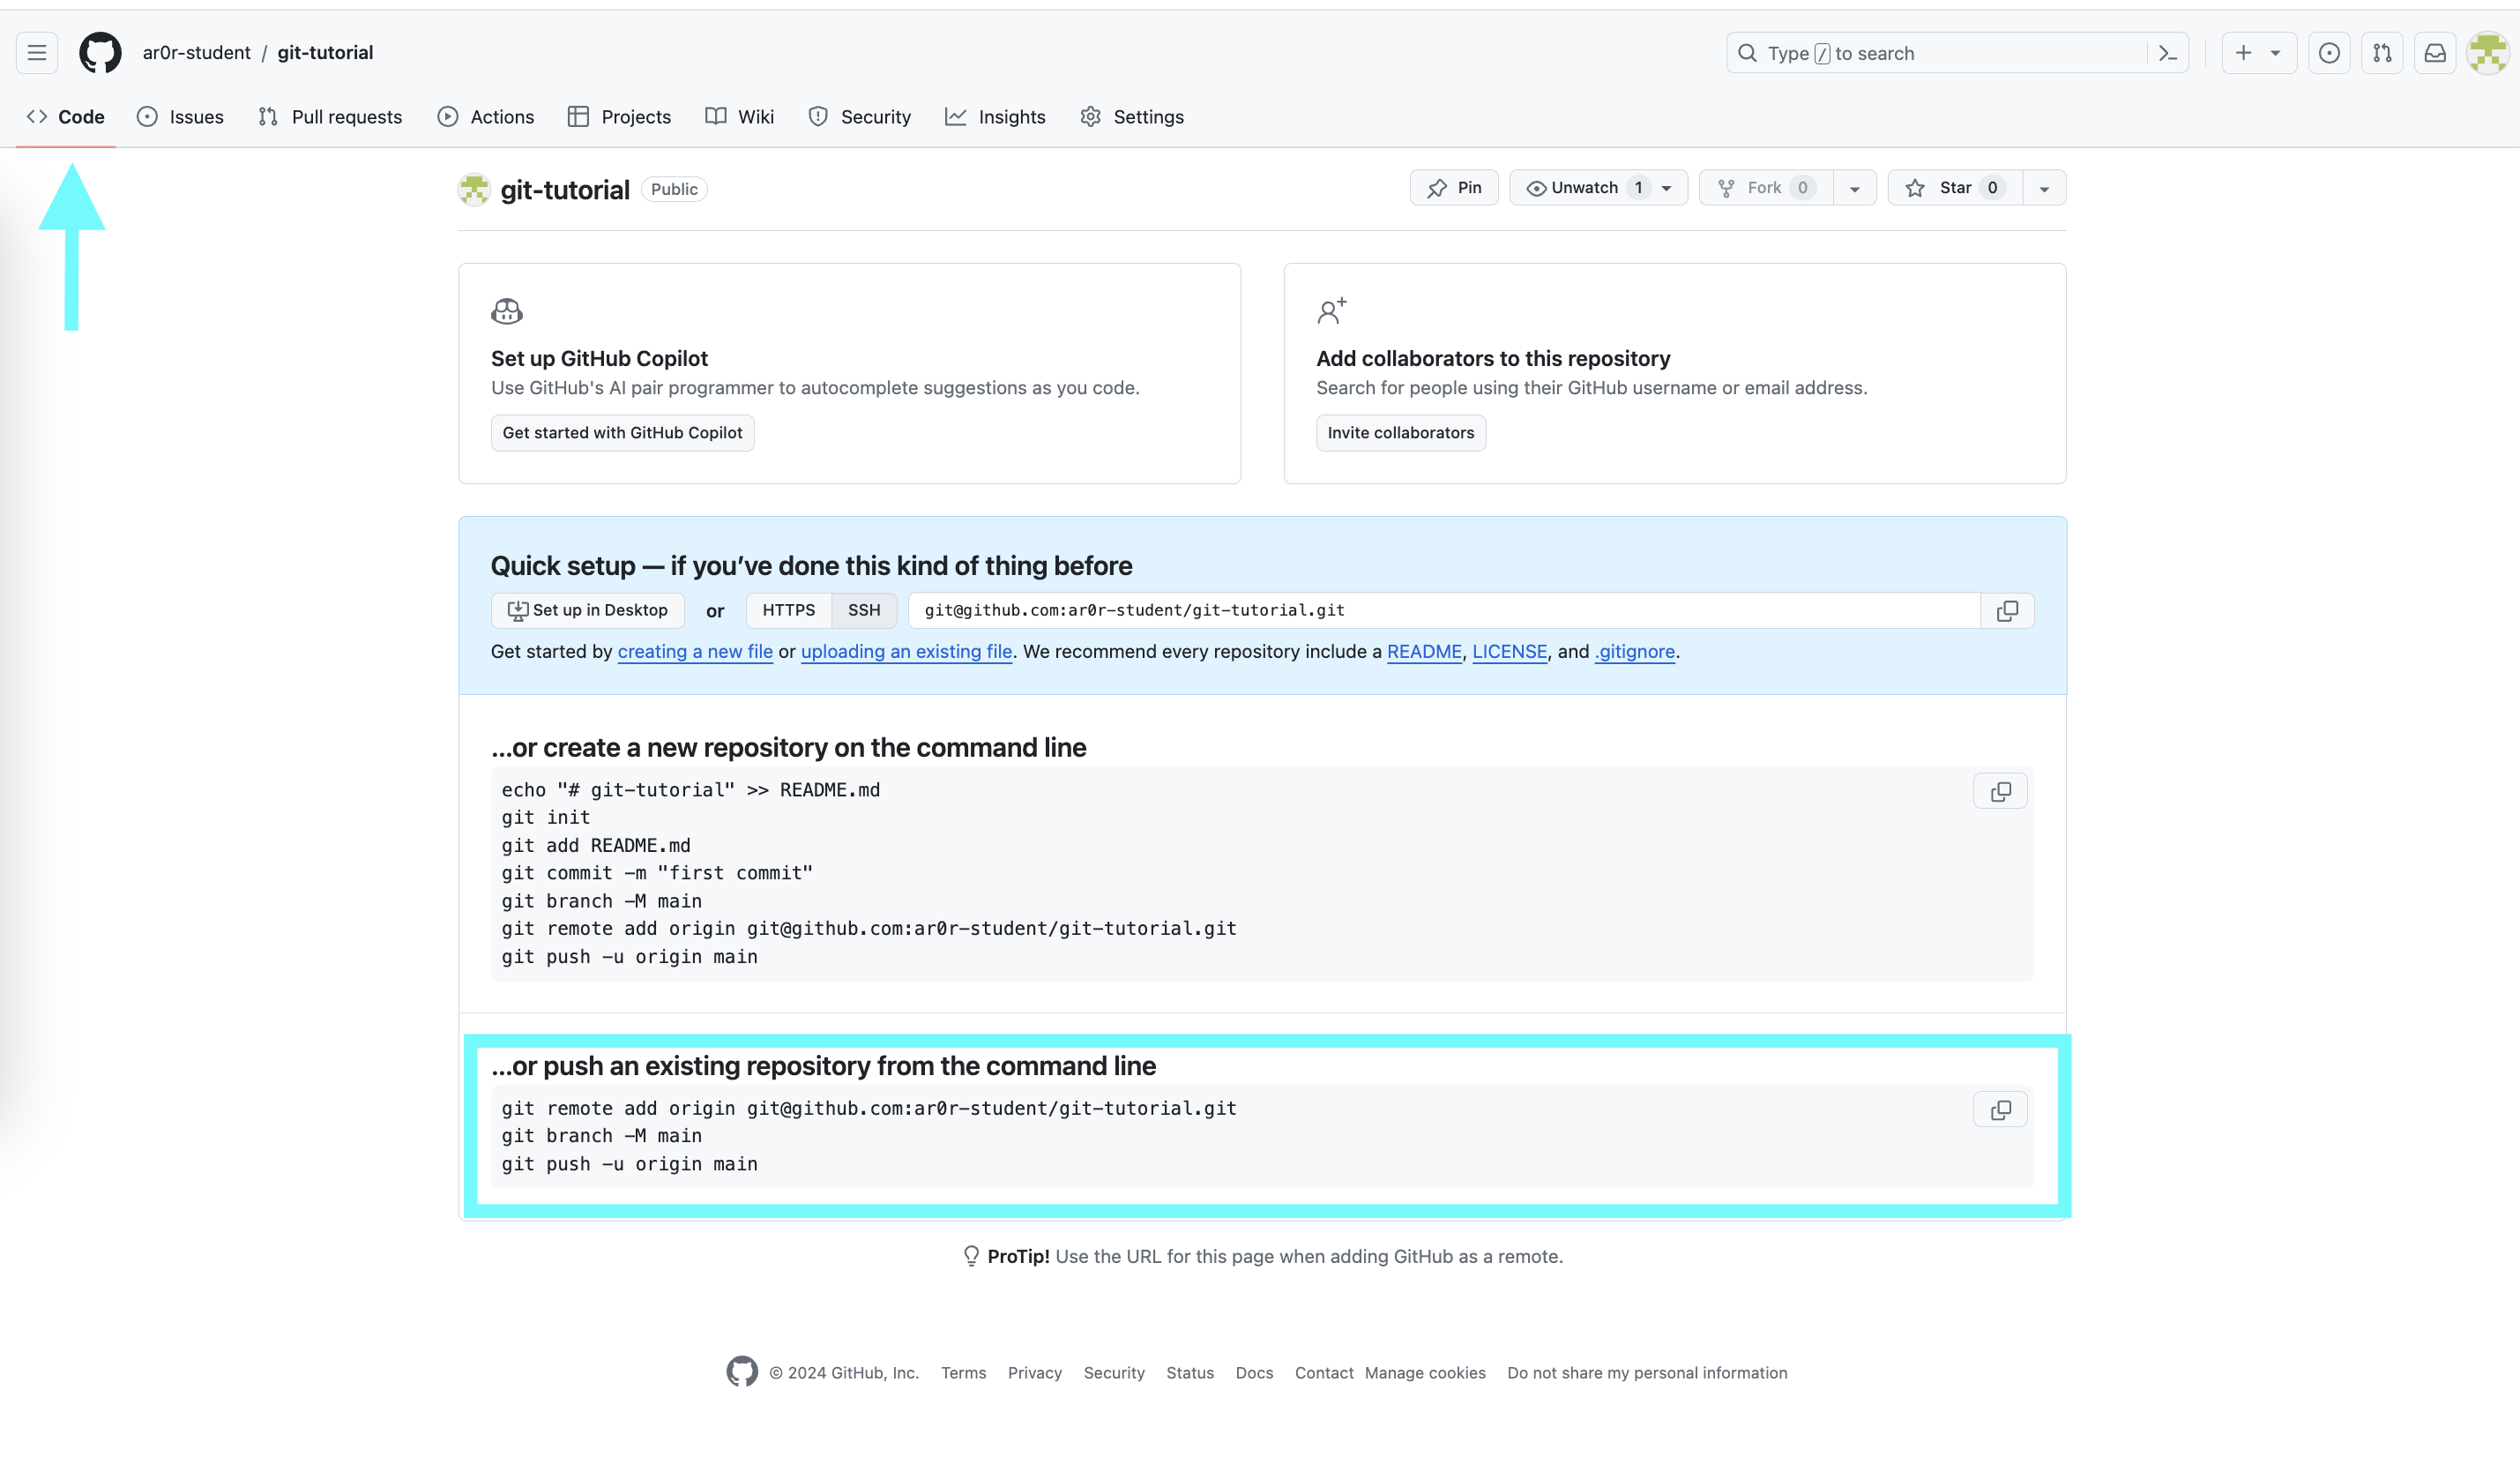
The URL should start with git@github.com:. If it starts with http://, ask for help.
Confirm it:
$ git config --get remote.origin.url
Now push your commits to GitHub:
$ git push -u origin main
If asked about the host key, answer yes. When the push finishes, git status reports
your branch is up to date with origin/main. Reload the repository page on GitHub and you will see
your files.
You now have two copies of the repository, one local and one on GitHub. Changes you make locally are not visible on GitHub until you push them. Create a new file, commit it, and push:
$ git add hej.py
$ git commit -m"Add Danish version"
$ git push
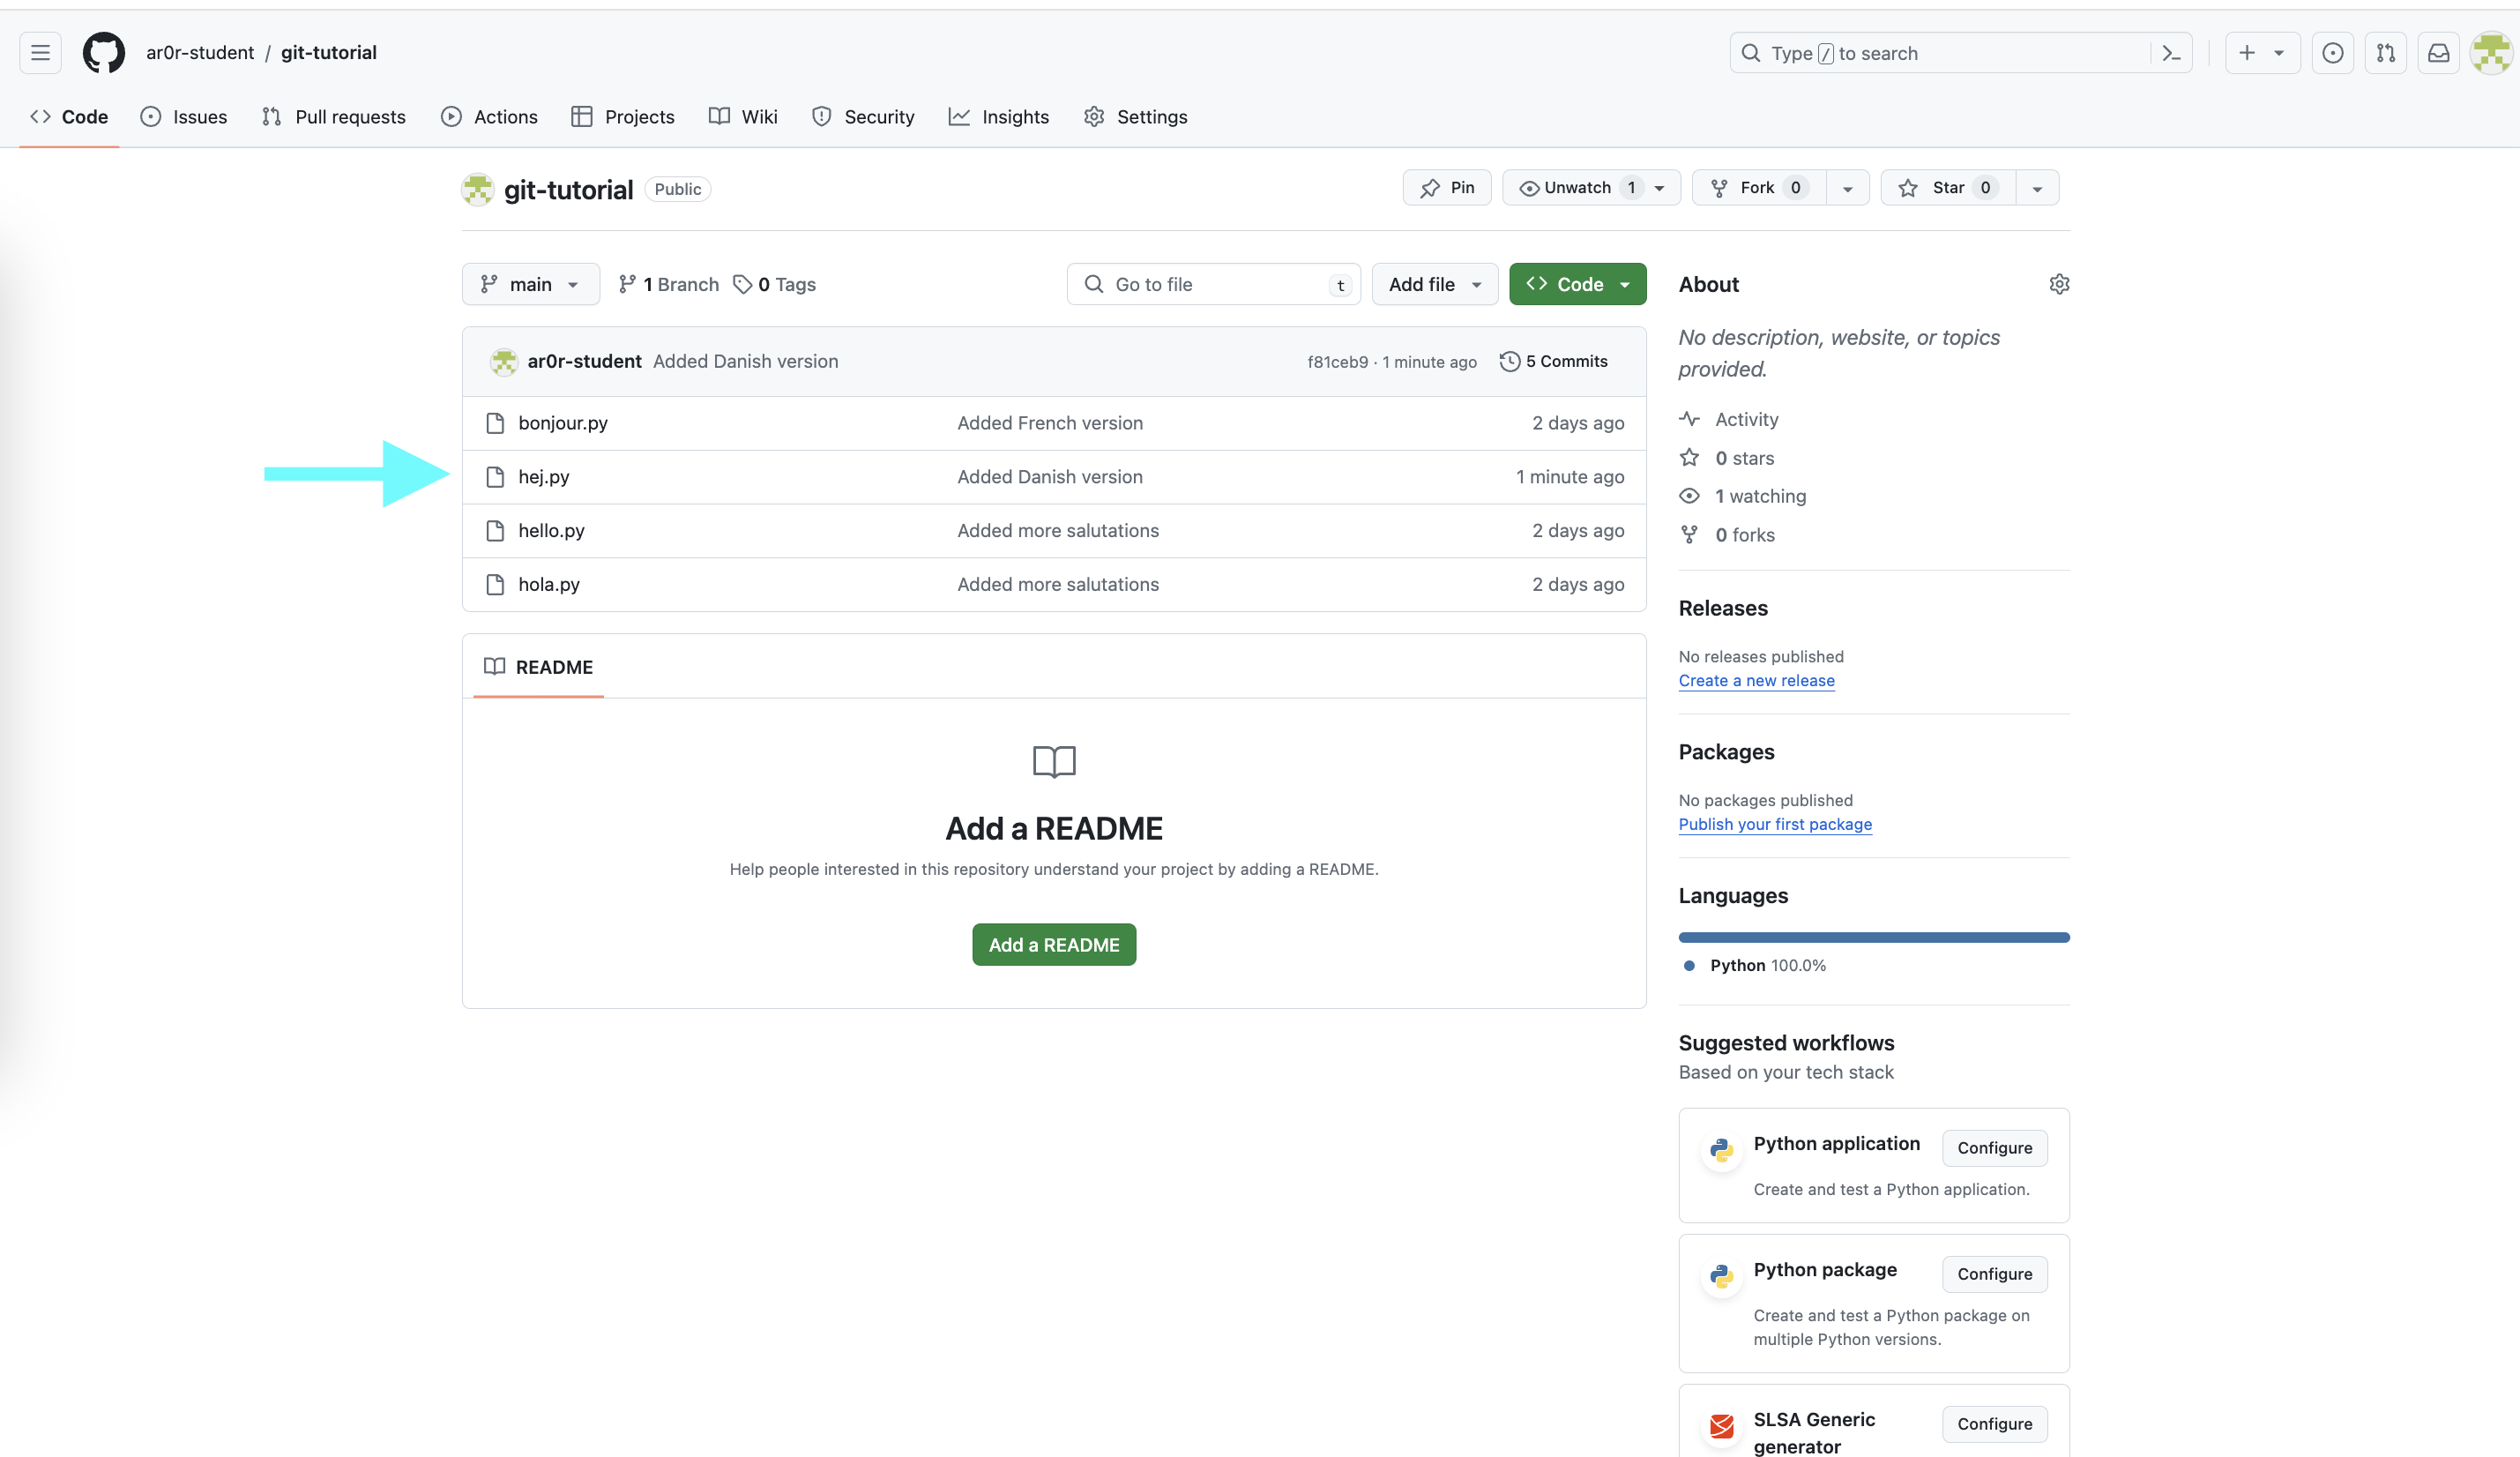
In short, syncing is always three steps: stage the changes, commit them, push the commit. When you start out, get in the habit of ending every work session by syncing, and sync before you ask the staff to look at your code so they see your latest work.
README.md containing "Git Tutorial" and your name.
Add it, commit it, and push. Confirm git status shows a clean tree and that
README.md appears on GitHub.
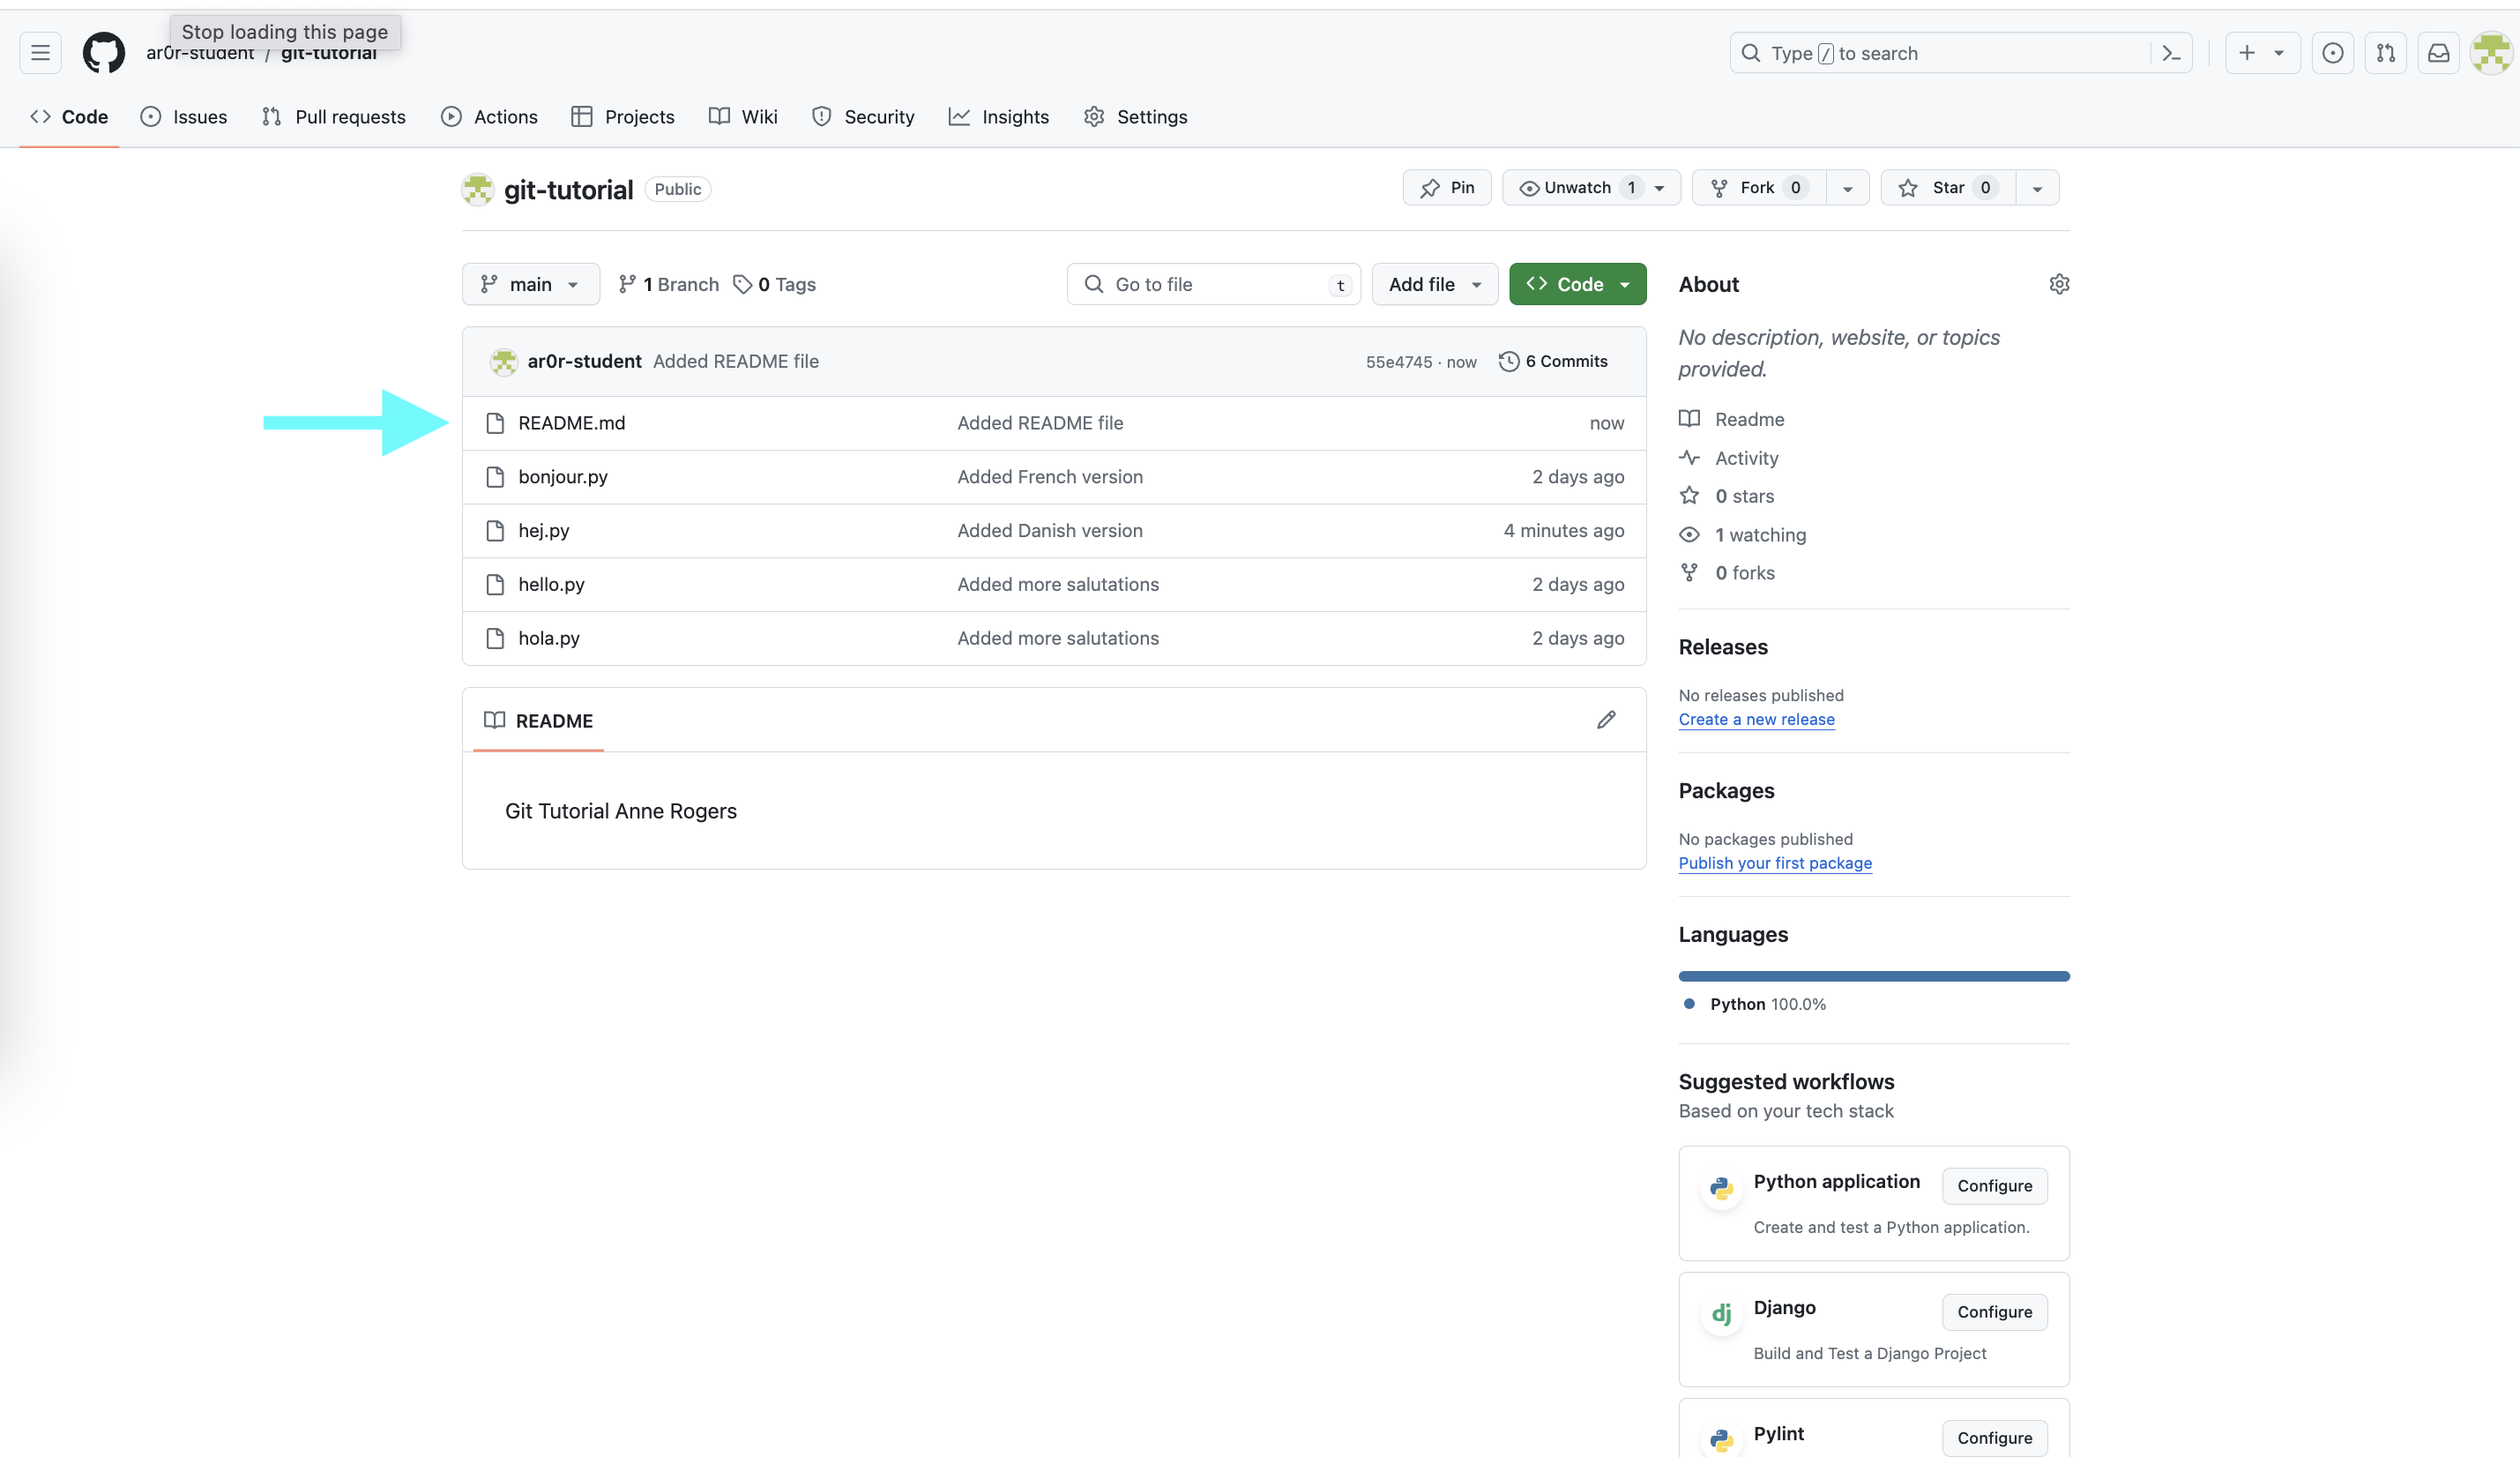
README.md automatically beneath the file list.One benefit of version control is easy undo. If you edit a file and want to throw the changes away before committing, follow the hint Git gives you:
$ git restore README.md
If you have already staged a file but change your mind, unstage it with:
$ git restore --staged README.md
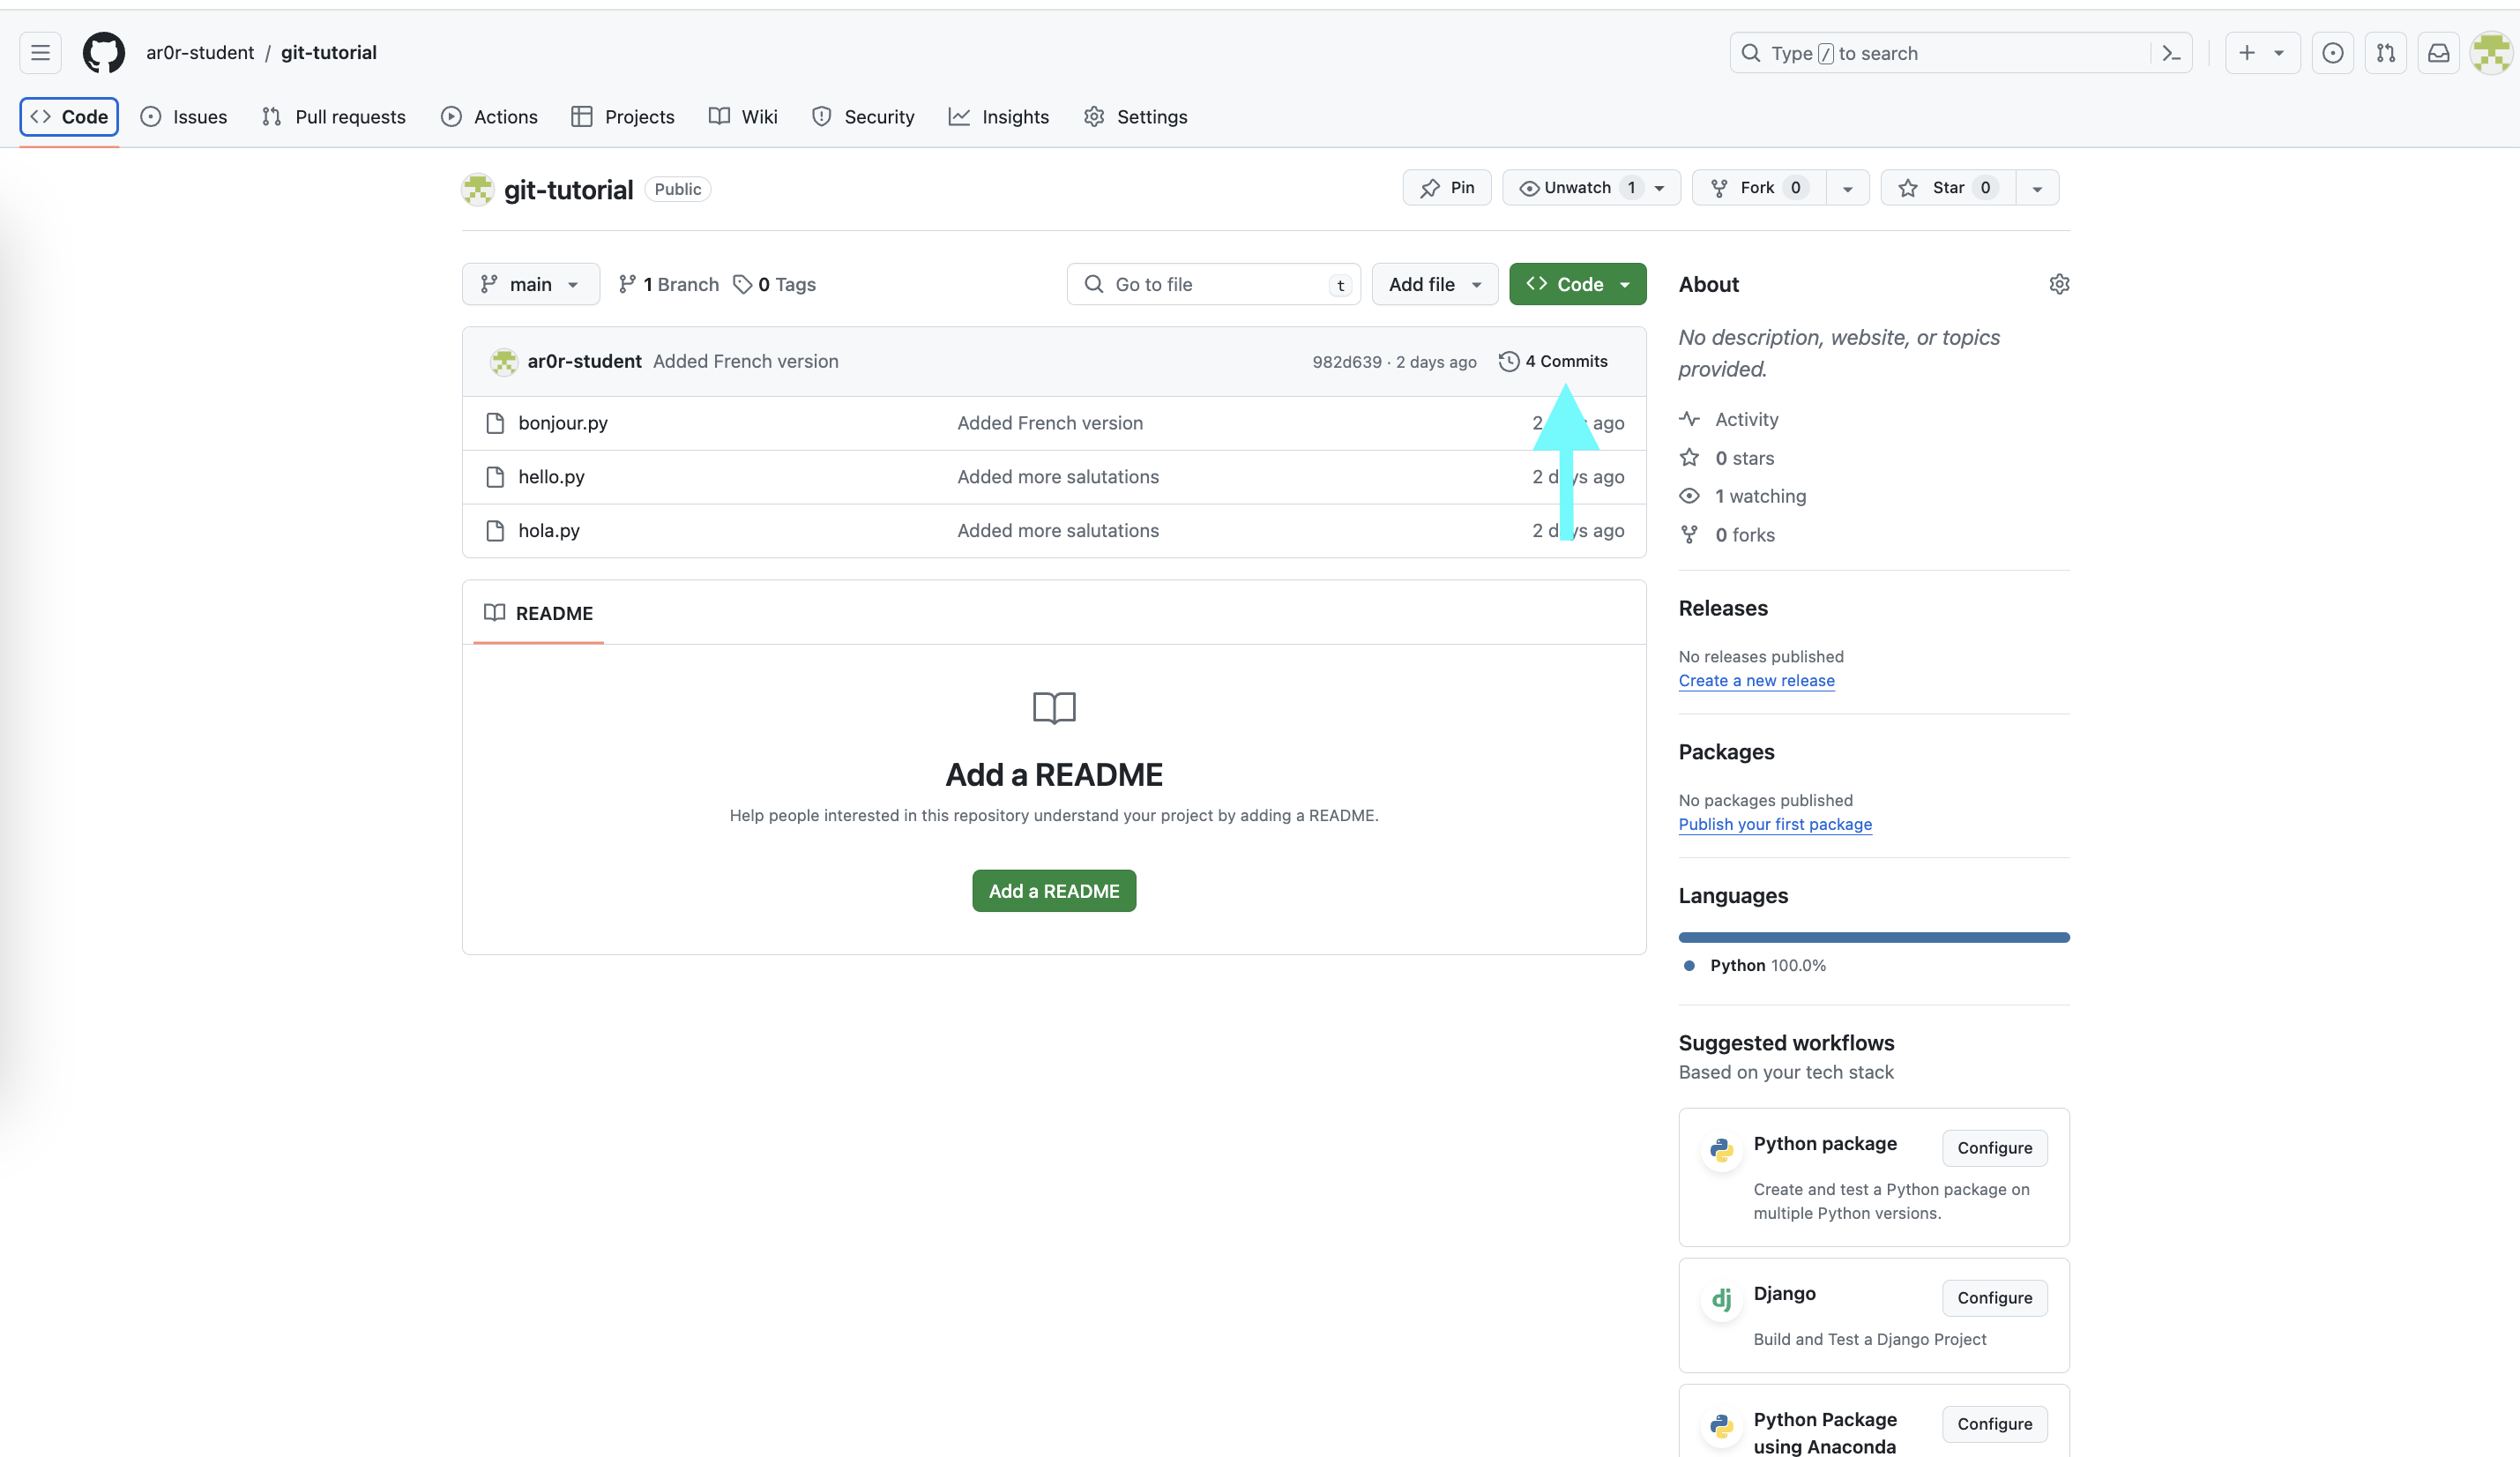
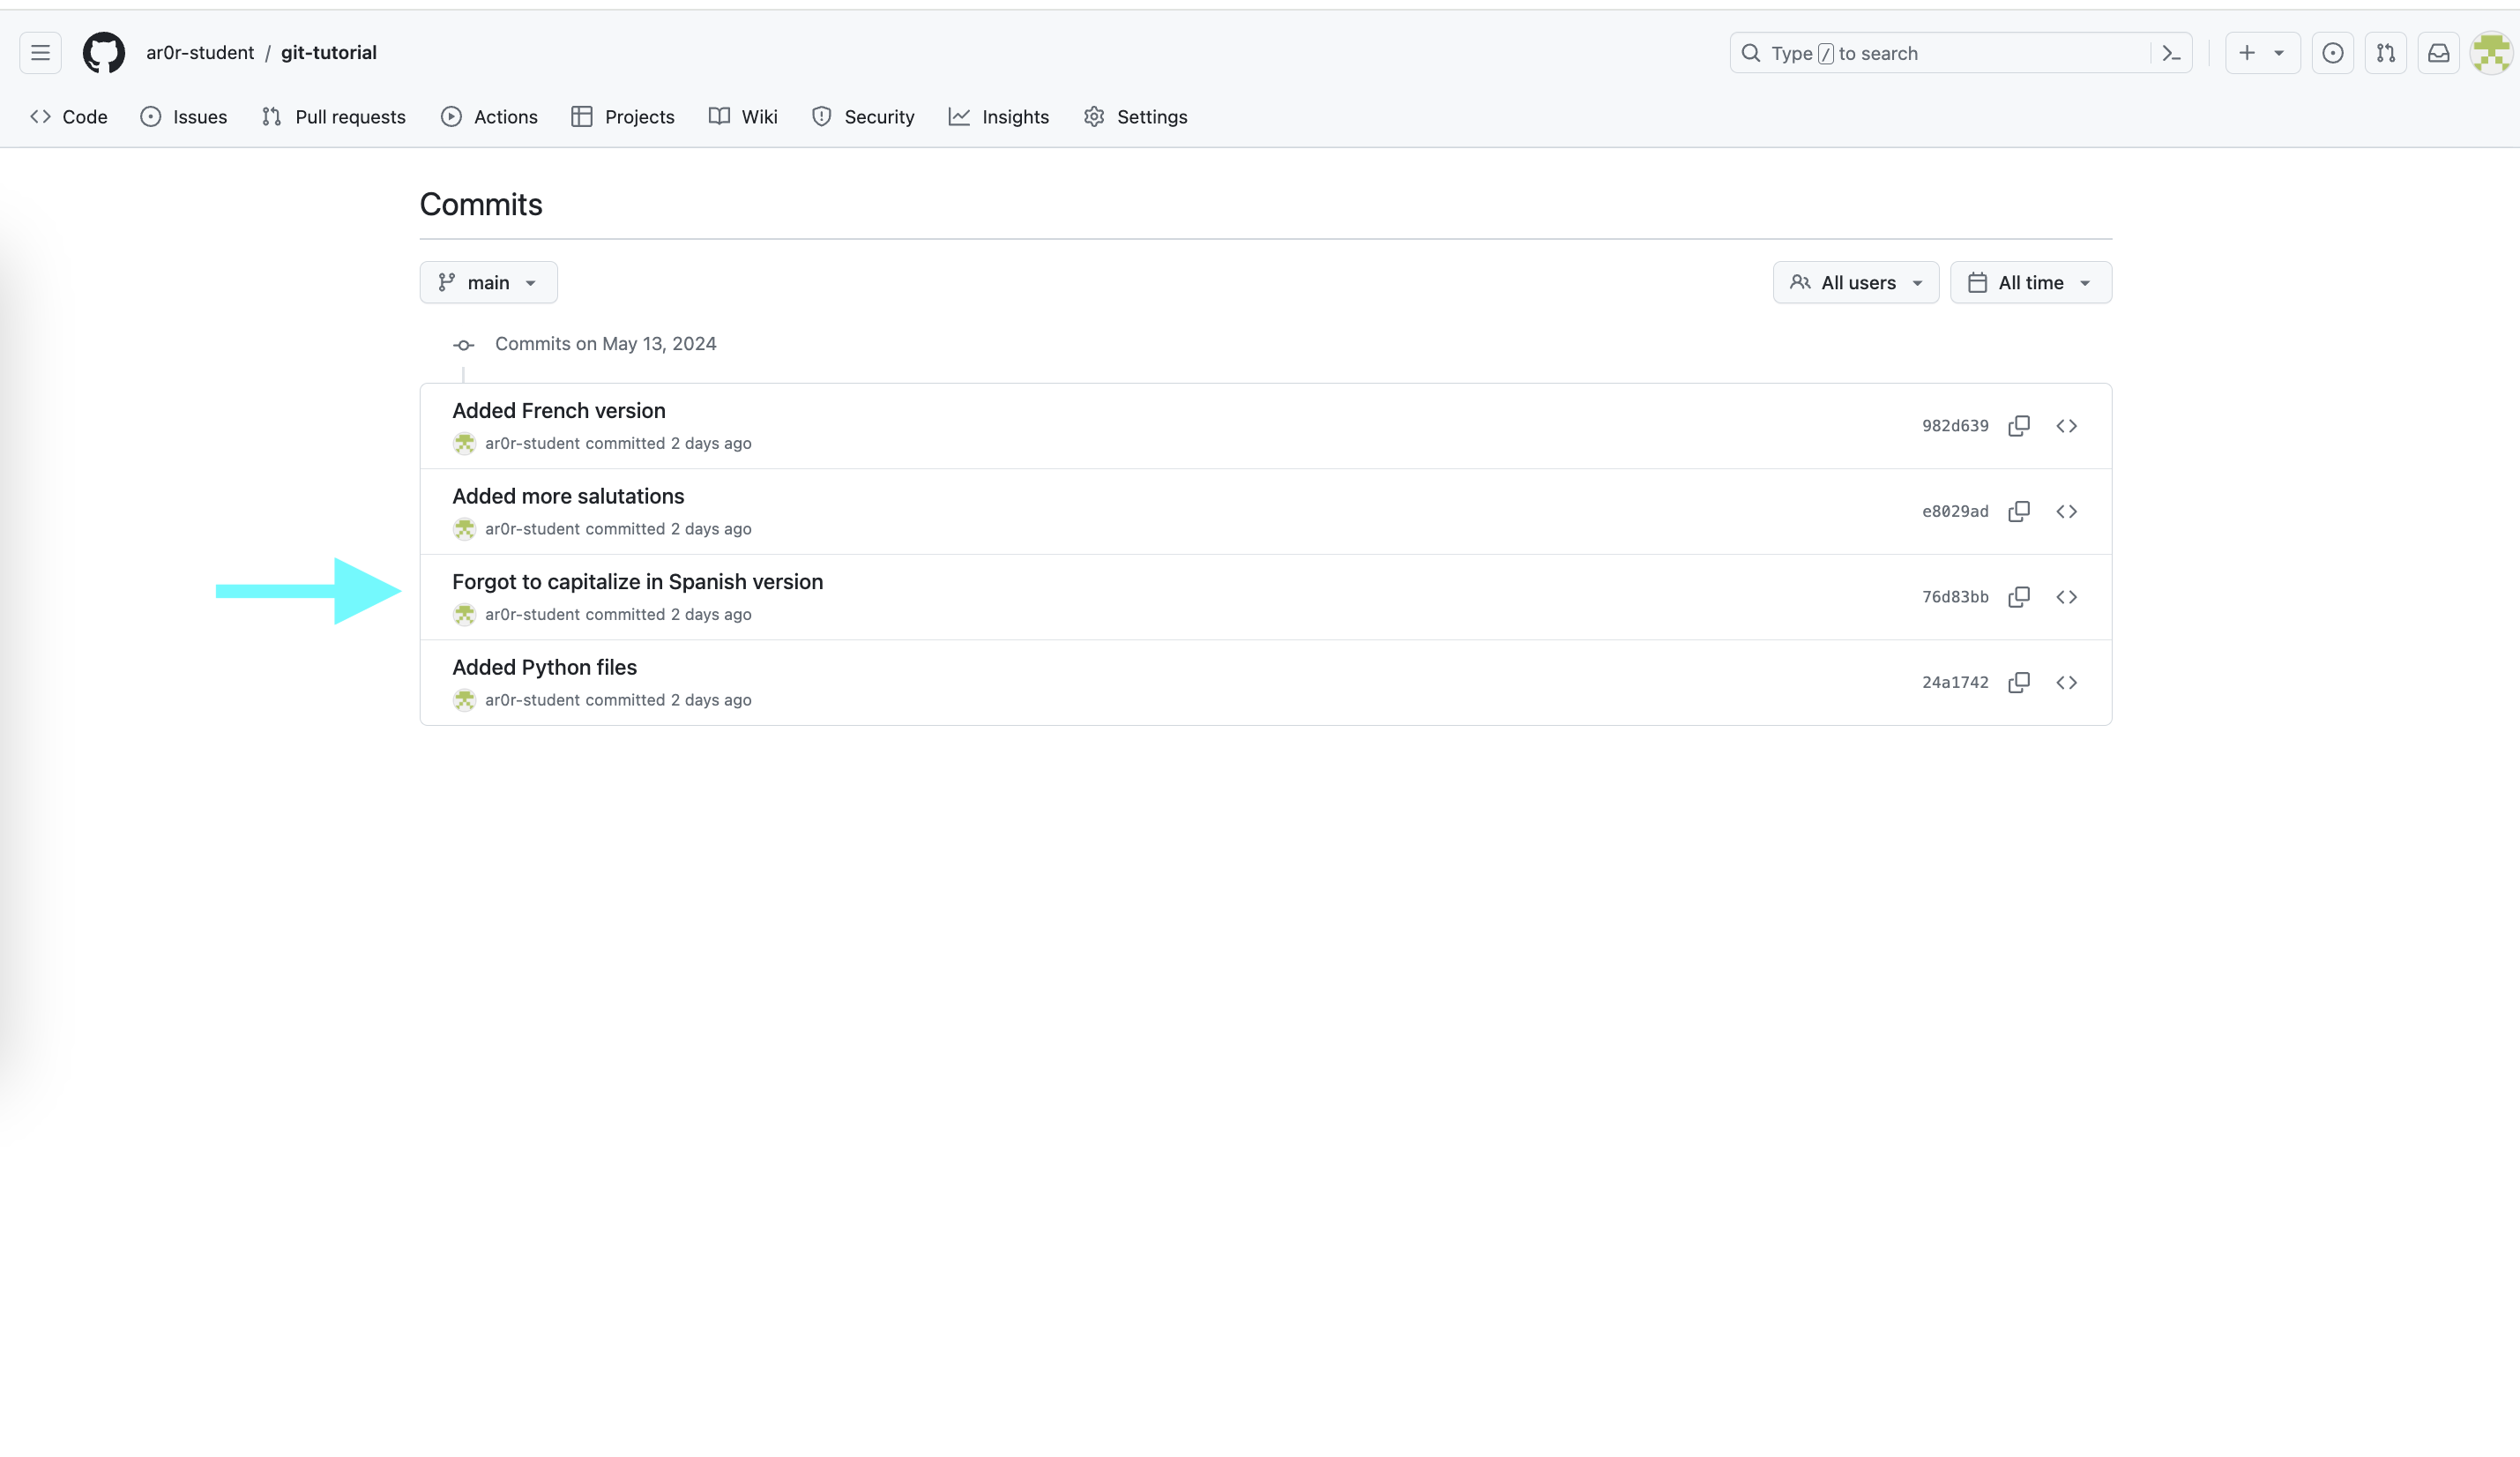
Once you have several commits, see them with:
$ git log
This opens a scrollable view (arrow keys to move, q to quit) listing each commit's author,
date, and message. GitHub shows the same history under the commits link on the repository page.
git log shows, viewed on GitHub.Every commit has a unique identifier called its SHA. To see exactly what a commit changed:
$ git show COMMIT_SHA
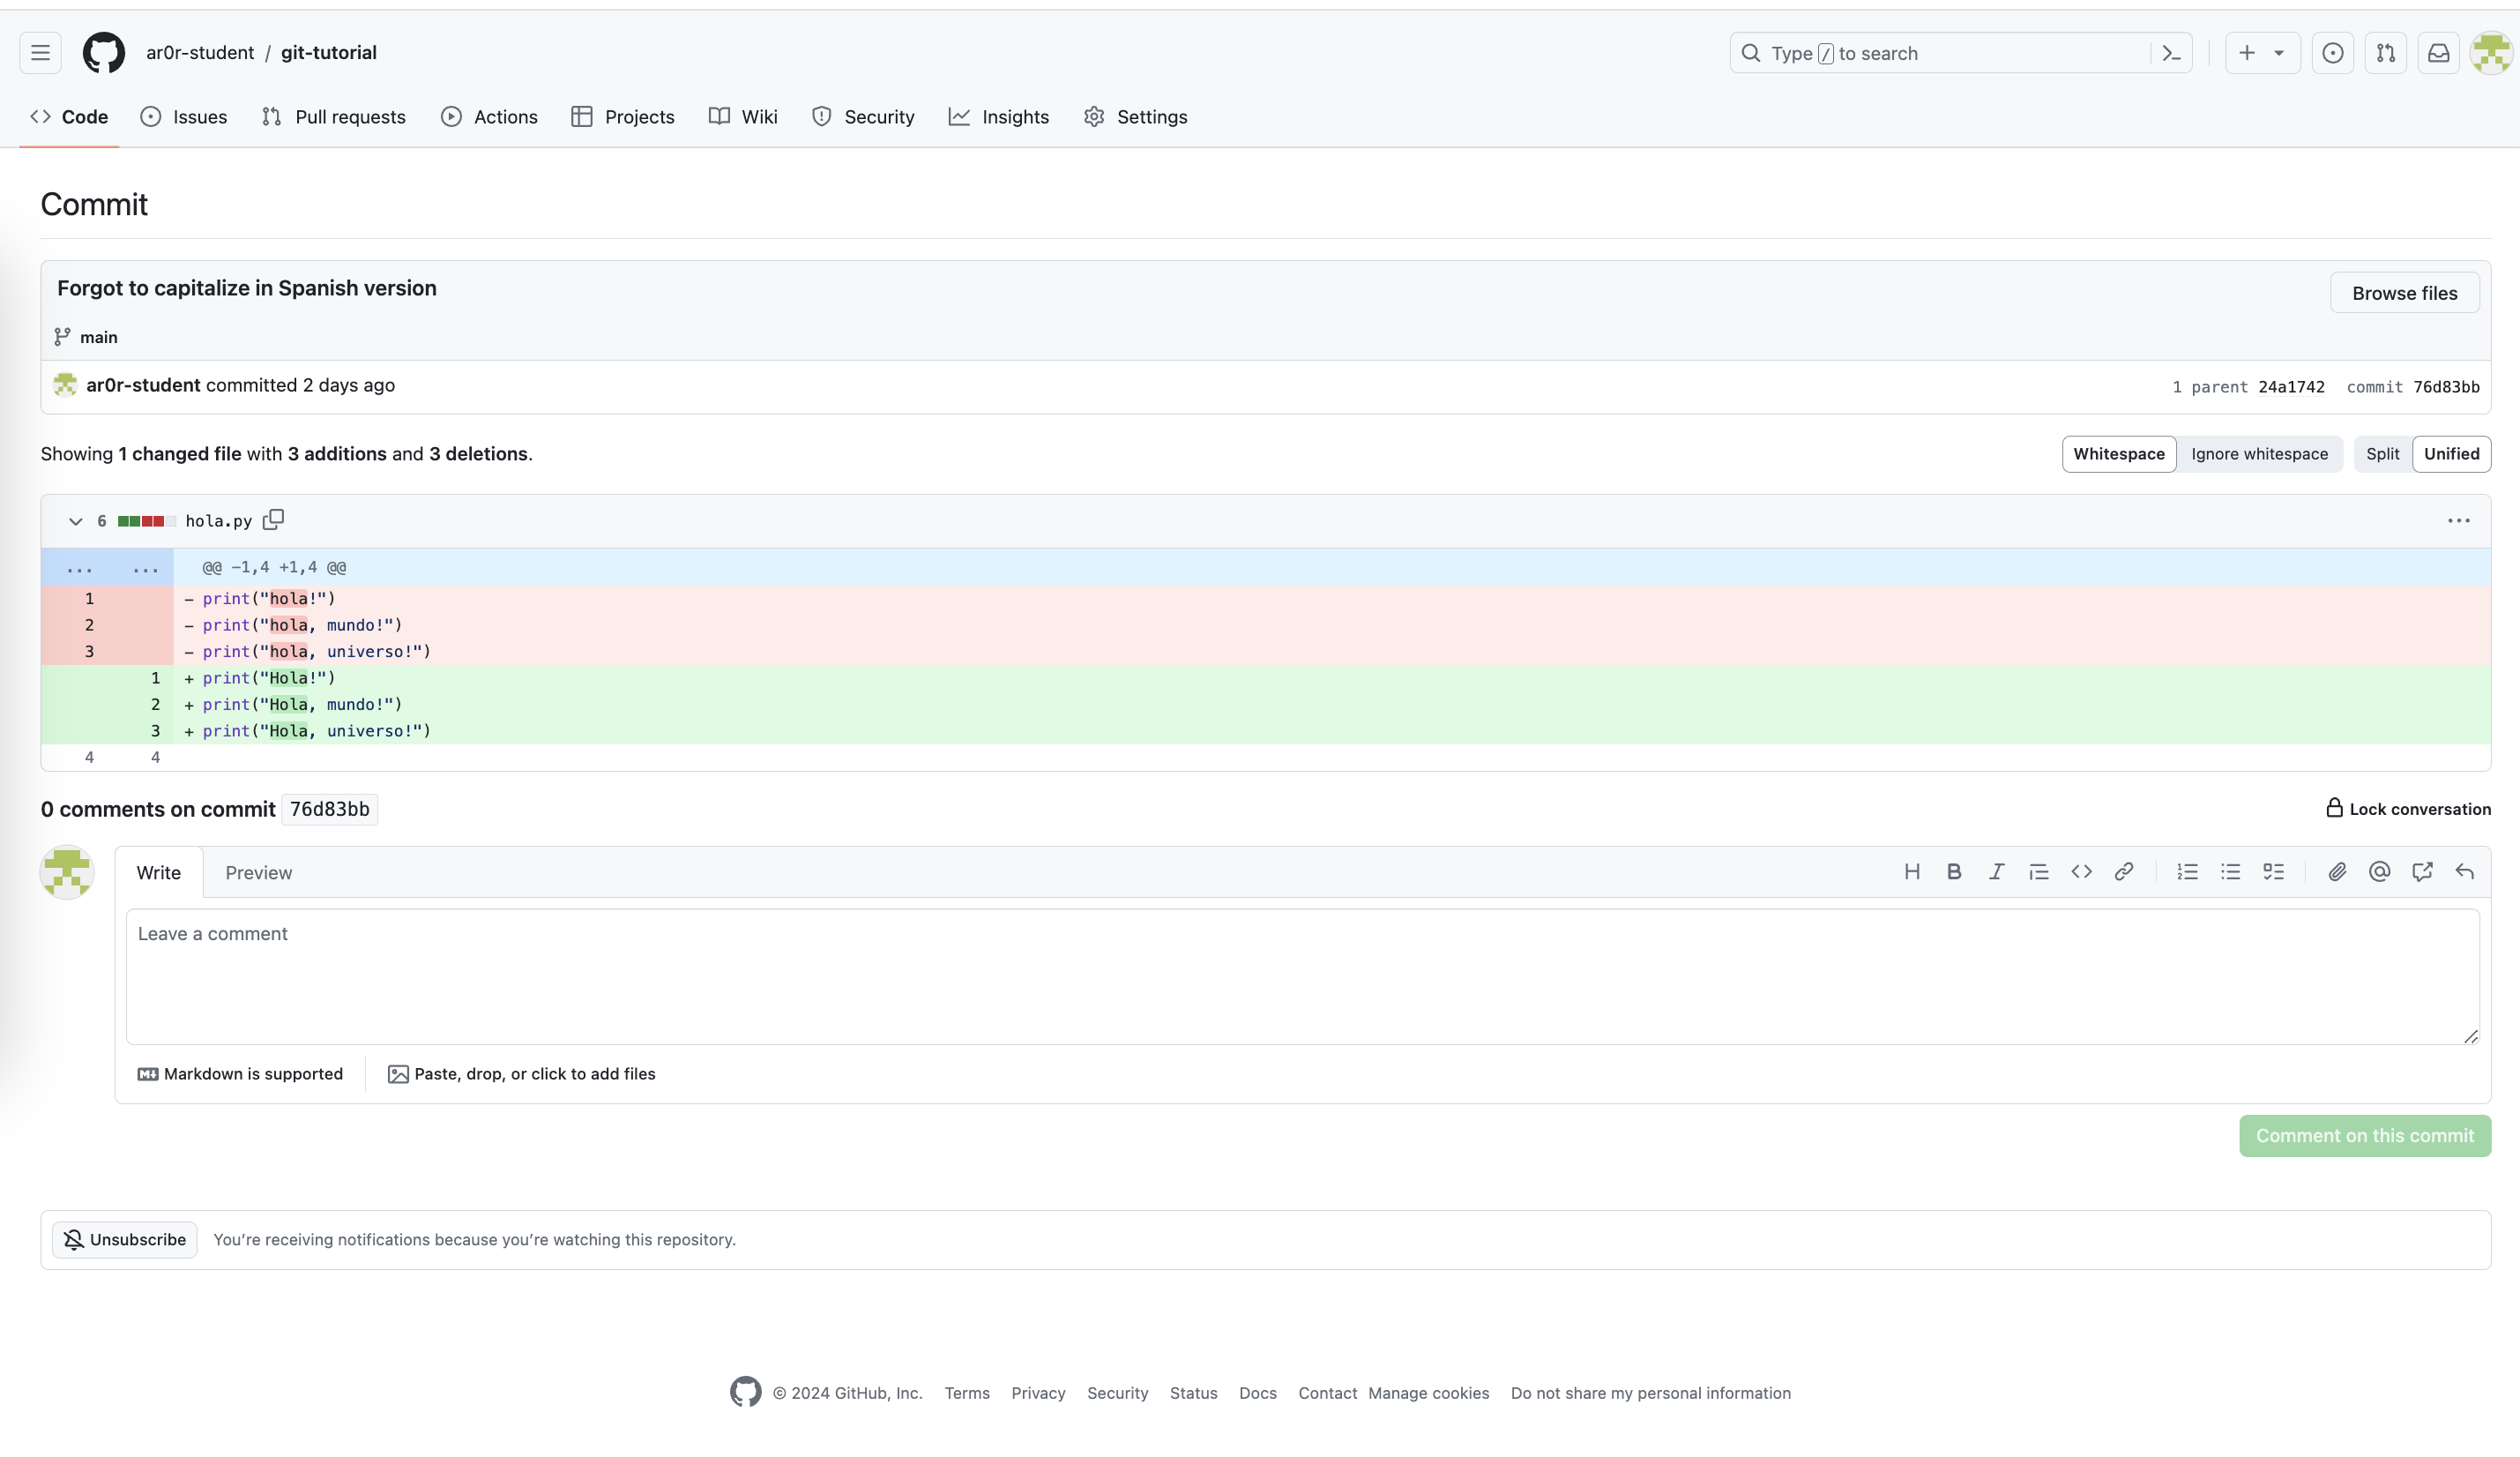
- lines were removed; green + lines were added.Lines starting with + were added; lines starting with - were removed. You can use
just the first few characters of a SHA, as long as they are unique.