Extended Linux Lab
While you will be able to do subsequent labs on your Virtual Machine, you must complete this lab in the Computer Science Instructional Lab (CSIL).
Objectives
- Become familiar with the Linux environment
- Learn basic terminal commands and how to work with a text editor
- Learn to run a Python program from the command-line
- Learn about file permissions
- Learn about redirection and pipes
- Learn about remote access tools.
Linux
Linux is an operating system much like OS X or Windows. It has windows, programs, web browsers etc. Files are stored in directories which, in turn, are stored in other directories. You can access all of these features by using your mouse and double clicking on icons. As we perform more and more complex tasks we find that interacting with the computer graphically using the mouse is ineffective. Linux allows us to interact with the computer entirely through text using a program called the terminal. (Macs provide a similar terminal application, and there are ways to use text-based commands on Windows too. But, Linux provides the lowest barrier to entry.) In this lab you will learn how to use the terminal to perform some basic operations in Linux. You will need these skills for the rest of the course.
We show many examples of sample output below. The output you see when you run the commands may vary a bit. For example, most of you are not named “Gustav Martin Larsson”.
Terminal/Shell
On your personal computer, you probably navigate your hard drive by double clicking on icons. While convenient for simple tasks, this approach is limited. For example, imagine you wish to delete all of the music files over 5 MB that you haven’t listened to in over a year. This task is very hard to do with the standard double-click interface but is relatively simple using the terminal.
Click the Application button (at the top left) and type “terminal” in
the input box. Click the “terminal” icon to open the terminal
window. Alternatively, you can use the keyboard shortcut
Ctrl-Alt-T.
A terminal window will open and you will see a string of the form:
username@computer:~$
where username has been replaced by your CNetID and computer
is the name of the machine you happen to be using. This string is
called the prompt. When you start typing, the characters you type
will appear to the right of the $. The program that runs within a
terminal window and processes the commands the you type is called a
shell. We use bash, which is the default shell on most Linux
distributions, but there are other popular shells, such as ksh,
tcsh, etc.
The procedure for completing this lab is as follows. For each section, read through the explanatory text and the examples. Then, try these ideas by doing the exercises listed at the bottom of the section.
Navigating the File System
Files in Linux are stored in directories/folders, just like in OS X/Windows. Directories can hold files or other subdirectories and there are special directories for your personal files, your Desktop, etc.:
| Name | Linux | Mac | Windows |
|---|---|---|---|
| Root directory | / | / | C:\ |
| Home directory | /home/username | /Users/username | C:\Documents and Settings\username |

All of the computers in the lab are connected through a network file system. Effectively there is one very large shared hard drive. Your files are available from any lab computer and all of our directories live in the same space.
The figure above illustrates how Linux organizes the file system. Your
own computer might have a slightly different organization
(i.e. you might replace / with C:), but the idea is the
same.
For the above and from this point forward, consider that the text “username” is replaced with your own actual username, which is just your CNetID.
Show Files
The terminal will start in your home directory, /home/username/,
which is a special directory assigned to your user account. No matter
which computer you will use in the CSIL it will automatically connect
to your home directory and all files that you created or changed in
previous sessions in CSIL will be available to you.
Two very useful commands are pwd and ls:
pwd |
Prints your current Working Directory - tells you where you are in your directory tree. |
ls |
Lists all the files in the current directory. |
The following is an example using these two commands in a terminal window:
username@computer:~$ pwd
/home/username/
username@computer:~$ ls
Desktop  Documents  Downloads  Music  Pictures  Public  Templates  Videos
username@computer:~$
Try these commands yourself and verify that everything looks similar.
Notice that the directory path and list of files that you see if you
open your home folder graphically are identical to those provided by
pwd and ls, respectively. The only differences are the way you
obtained the information and how it is displayed.
Change Directory
cd <path-name> |
change to the directory path-name |
cd .. |
move up/back one directory |
cd |
move to your home directory |
How can we move around in the file system? If we were using a
graphical system we would double click on folders and occasionally
click the “back” arrow. In order to change to a different directory in
the terminal, we use cd (change directory) followed by the name of
the destination directory. (A note about notation: we will use text
inside angle brackets, such as <path-name> as a place holder. The
text informally describes the type of value that should be supplied.
In the case of <path-name>, the desired value is the path-name for
a file. More about path-names later.) For example if we want to
change to the Desktop directory, we type the following in the
terminal:
cd Desktop
Here is an example of changing to the desktop directory in the terminal.
We use pwd and ls to verify where we are and where we can go:
username@computer:~$ pwd
/home/username/
username@computer:~$ ls
Desktop  Documents  Downloads  Music  Pictures  Public  Templates  Videos
username@computer:~$ cd Desktop
username@computer:~/Desktop$ pwd
/home/username/Desktop/
username@computer:~/Desktop$ ls

username@computer:~/Desktop$
Notice that after we cd into the Desktop the command pwd now
prints out:
/home/username/Desktop/
rather than:
/home/username/
In the beginning, there are no files in the Desktop directory, which is
why the output of ls in this directory is empty.
We can move up one step in the directory tree (i.e. from
/home/username/Desktop to /home/username or from
/home/username to /home) by typing cd .. Here “up” is
represented by “..” This command will move us up one level back to
our home directory:
username@computer:~/Desktop$ pwd
/home/username/Desktop/
username@computer:~/Desktop$ cd ..
username@computer:~$ pwd
/home/username/
Notice that the current working directory is also shown in the prompt string.
The tilde (~) directory is the same as your home directory: that is, ~ is shorthand for /home/username. Here’s another useful shorthand: a single dot (.) refers to the current directory.
Usually when you use cd, you will specify what is called a
relative path, that is, you are telling the computer to take you to
a directory where the location of the directory is described relative
to the current directory. The only reason that the computer knows that
we can cd to Desktop is because Desktop is a folder within
the /home/username directory. But, if we use a / at the
beginning of our path, we are specifying the path relative to the
the “root” or top of the file system. For example:
username@computer:~$ pwd
/home/username/
username@computer:~$ cd /home/username/Desktop
username@computer:~/Desktop$ pwd
/home/username/Desktop
username@computer:~/Desktop$ cd /home/username
username@computer:~$ pwd
/home/username
These commands achieve the same thing as the ones above: we cd
into Desktop, a folder within our home directory, and then back to
our home directory. Paths that start with a / are known as
absolute paths.
Running cd without an argument will take you back to your home
directory without regard to your current location in the file system.
For example:
username@computer:~/Desktop$ cd
username@computer:~$ pwd
/home/username
Setting up your CS121 directory
Before we practice these commands we need a set of files to practice on. Unfortunately your home directories are mostly empty. In this section we’re going to download a set of files for you to work with. We will do this using Git, a version control system and code-sharing tool. Git will be described in more depth in tomorrow’s Git workshop. For now please execute the following steps:
Make sure that your departmental Git account is correctly set up. Using a browser, go to https://mit.cs.uchicago.edu/ and try logging in with your CNetID and password. When you type in your username, use only your CNetID username (without “@uchicago.edu”). If you are unable to log in, please speak with a TA.
- Back in a terminal window, make sure that you are in your home directory
/home/username using the
pwdcommand. If you are not in that directory then usecdto change to it.
- Back in a terminal window, make sure that you are in your home directory
Run the following command in the terminal if you are on a CSIL computer:
cs-setup-script cmsc12100-aut-17
Note
Copy-Paste: In Windows (Mac) you usually copy-paste with
Ctrl-C (Command-C) and Ctrl-V (Command-V). These
short-cuts are available in graphical programs in Linux but not in
the Terminal. Instead you can copy text just by selecting it with
your mouse. Select the line that starts with cs-setup-script...
above to copy it. You can paste by middle clicking where you would
like it to go. Middle click in the terminal. You should also be
able to use Ctrl-Shift-C and Ctrl-Shift-V, but you may
find that this method does not work.
The setup script will ask you first to enter your CNetID:
Enter your CNetID [username]:
Where your CNetID will appear in place of
username. You can either type in your CNetID, or hit enter to accept the username in brackets. Next, you will be asked for your CNetID password:Enter your CNetID password:
Your password will be handled in a secure manner by the script, which simply needs it to access your information on the CS department’s Git server.
Note
When you type in your password in a web browser, you may be accustomed to seeing an asterisk character appear for each character you type. This behavior is not replicated when typing passwords into the terminal: the password is not “echoed” back in any way (not even with asterisks) so don’t be alarmed if it looks as if you’re password isn’t being typed in.
Next, the script will print this:
You are a member of the following repositories.
Please select the one you want to use:

[1] username

[X] Exit

Choose one:
Just choose
1. Later in the quarter, you will become a member of other repositories as you work in groups with other students.If successful, the script will print out the following:
Setting up your Git repository...
Your git repository has been created in /home/username/cmsc12100-aut-17-username

Setting up chisubmit...
chisubmit has been set up. You can use chisubmit commands inside /home/username/cmsc12100-aut-17-username
Where, once again, your CNetID will appear in place of
username.This output indicates that your Git repository has been correctly set up. The script also configured your CS121 directory for
chisubmit, a tool you will use to submit your programming assignments. We’ll discusschisubmitin tomorrow’s Git workshop.After running the setup script, list the files in your home directory. You should see a new directory
cmsc12100-aut-17-username. This directory will contain all of your work for this class. It contains a subdirectory,lab1, that has some files for us to play with. You will learn how to manipulate these files in the next section.Note that you will also see subdirectories named
pa0,pa1. You can ignore these for now. Usepwd,ls, andcdto navigate to thelab1subdirectory.
Using an editor
List the files in the lab1 directory. You should see the following:
echo.py hello_world.py test.txt
How do we view and edit the contents of these files? There are many high quality text editors for Linux. Today we will use Sublime Text, which is good for writing code.
You can open a specific file, say test.txt, using sublime-text
(aka subl) from the Linux command-line by typing:
sublime-text test.txt
or by typing:
subl test.txt
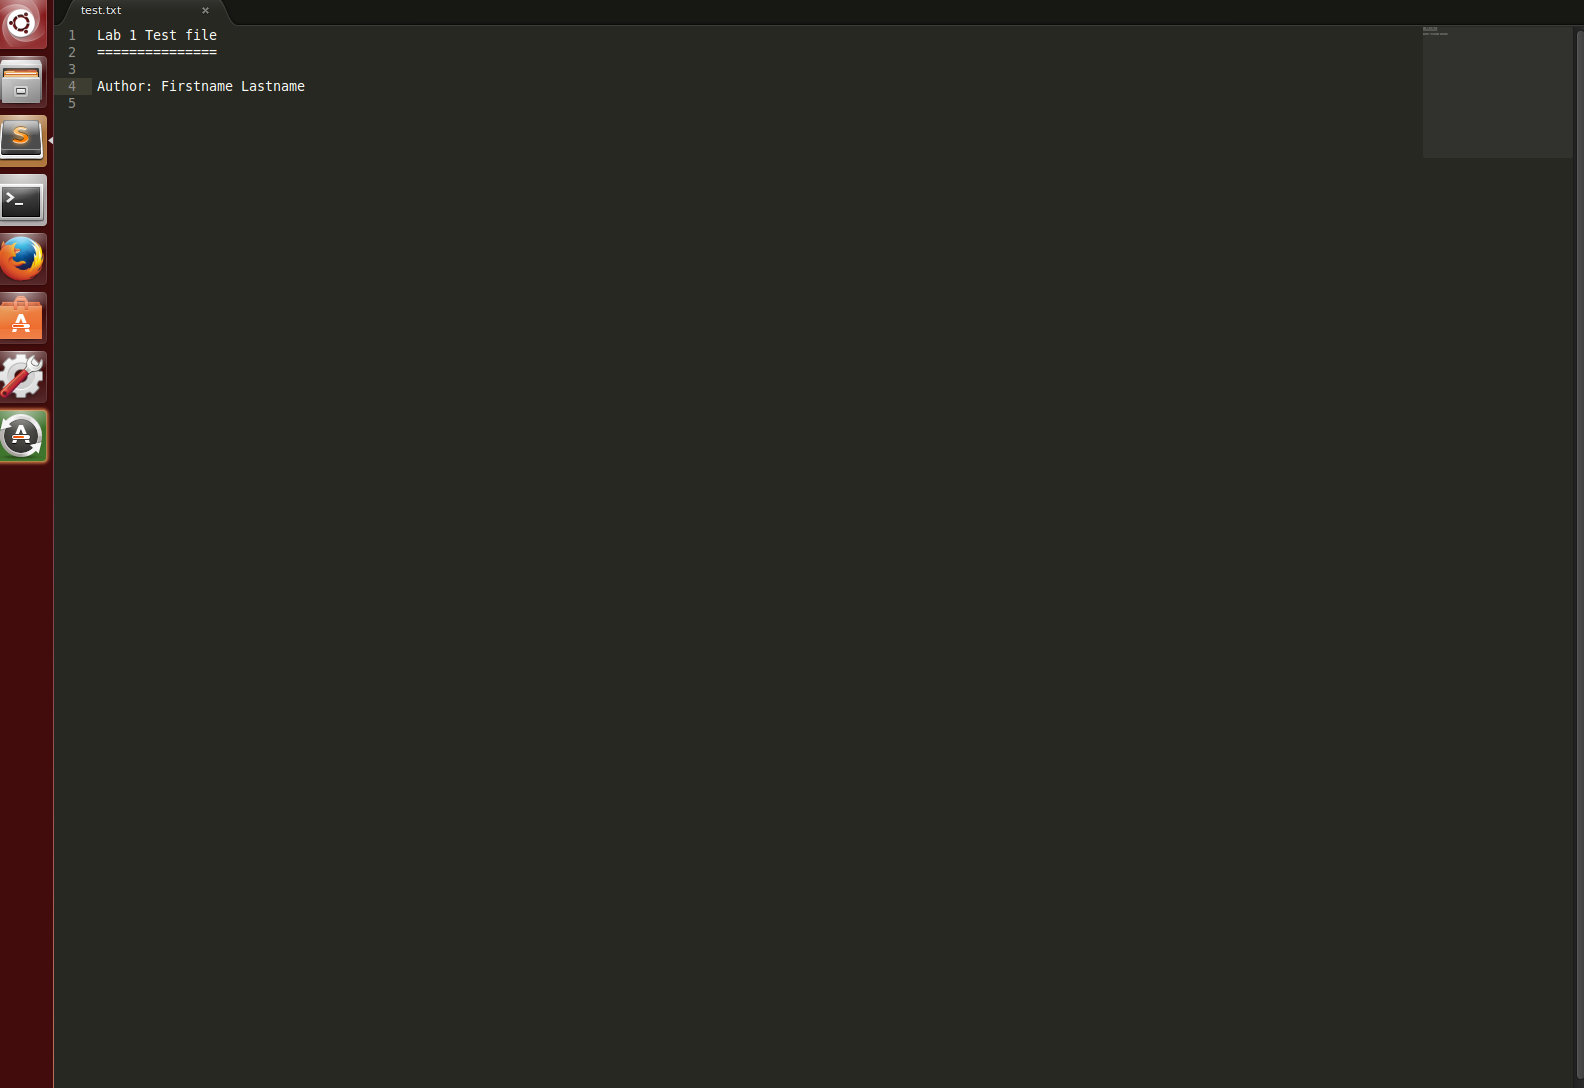
When you run either command, you should get a new window showing the following text:
Lab 1 Test file
===============

Author: Firstname Lastname
If the file is blank, quit sublime-text and ensure that the file
test.txt exists in your local directory (use ls to list the
files in your local directory). If it does not then use cd to
navigate to the lab1 subdirectory inside the
cmsc12100-aut-17-username directory.
For now, we will use sublime-text in a very basic way. You can
navigate to a particular place in a file using the arrow keys and then
type standard characters and use the delete key as you would in a
regular text editor. You can save your changes using the save
option in the file menu or better, use the keyboard shortcut
Crtl-s. To quit, you can use the file menu quit option or the
keyboard shortcut Ctrl-q.
As an aside, you can also launch sublime-text from the application
launcher: simply click the Application button (at the top left of your
screen), type “sublime-text” in the input box, and then hit enter.
You can then use the file menu to navigate the correct file.
Exercises
Make sure that you are comfortable with this level of usage by
- Adding your name after
Author:in this file - Saving the file
- Closing and reopening the file in
sublime-textand ensuring that your name is still there. - Finally, closing
sublime-text.
Copy (cp) Move (mv) Remove (rm) and Make Directory (mkdir)
cp <source> <destination> |
copy the source file to the new destination |
mv <source> <destination> |
move the source file to the new destination |
rm <file> |
remove or delete a file |
mkdir <directoryname> |
make a new empty directory |
Sometimes it is useful to copy a file. To copy a file use the command:
cp <source> <destination>
where <source> is replaced by the name of the file you want to
copy and <destination> is replaced with the desired name for the
copy. An example of copying the file test.txt to copy.txt is
below:
username@computer:~$ cp test.txt copy.txt
<destination> can also be replaced with a path to a directory. In
this case, the copy will be stored in the specified directory and will have
the same name as the source.
Exercises
Try to accomplish the following tasks to practice and check your understanding of these terminal commands.
- Execute the above copy command and use
lsto ensure that both files exist.
Move (mv) has exactly the same syntax but doesn’t keep the original
file:
- Move the file
copy.txtto the namecopy2.txt. Uselsto verify that this command worked.
You can make a new directory with mkdir directoryname:
- Make a new directory named
backupsusing themkdircommand.
Locations/paths can include directories:
- Copy the file
copy2.txtto thebackupsdirectory.
You can list the files in a specific directory with
ls directoryname:
- Verify that step (4) was successful by listing the files in the
backupsdirectory.
You can remove a file with the command rm filename:
- Now that we have a copy of
test.txtin the backups directory we no longer needcopy2.txt. Remove the filecopy2.txtin this directory.
If you want to copy or remove an entire directory along with its the
files, the normal cp and rm commands will not work. Use cp
-r instead of cp or rm -r (the r stands for “recursive”)
instead of rm to copy or remove directories:
Make sure you want to remove everything in the named directory,
including subdirectories, before you use rm -r.
Run a Python program
python3 file.py |
runs the python program file.py |
In this class you will learn Python. To run a Python program, you
just specify the command python3 and the name of the file that
contains your program.
Use ls to verify that there there is a file named
hello_world.py in your lab1 directory. Now run the program in
hello_world.py by typing in:
python3 hello_world.py
This program is a very simple. It just prints “Hello, World!” to the screen.
Note
There are several variants of Python, including Python 2.7 and
Python 3. We will be using Python 3 and the corresponding
python3 interpreter. The CSIL machines have Python 2.7
installed as the default Python. As a result, the command
python runs a version of Python 2.7. There are some
differences between the two languages and Python 3 programs
may not run properly using a Python 2.7 interpreter.
Edit and run a Python program
In this section you will modify and rerun the program in
hello_world.py. This change is very simple but goes through all
the mechanical steps necessary when programming.
You can open the file hello_world.py with the command:
subl hello_world.py
The file contains a single line of code:
print("Hello, World!")
Change this line so that it instead says “Hello ” and then your name. For example if your name was Gustav Larsson the line would read:
print("Hello, Gustav!")
Do the following steps:
- Save the file
hello_world.pyinsublime-text(forgetting to save is a surprisingly common error) - Rerun the program using
python3
Let’s reinforce the steps to programming in Python with the terminal:
- Change your
.pyfile with an editor - Save the file
- Run with
python3
Forgetting to save the file (step 2) is a very common mistake!
File Permissions
Sometimes we want to restrict who can access certain resources on the file system.
Most file systems assign ‘File Permissions’ (or just permissions) to specific users and groups of users. Unix is no different. File permissions dictate who can read (view), write (create/edit), and execute (run) files on a file system.
All directories and files are owned by a user. Each user can be a member of one or more groups. To see your groups, enter the command ‘groups’ into the command line.
File permissions in Unix systems are managed in three distinct scopes. Each scope has a distinct set of permissions.
User - The owner of a file or directory makes up the user scope.
Group - Each file and directory has a group assigned to it. The members of this group make up the group scope.
Others - Every user who does not fall into the previous two scopes make up the others scope.
If a user falls into more than one of these scopes, their effective permissions are determined based on the first scope the user falls within in the order of user, group, others.
Users that fall into each scope can have three specific permissions.
read - The read permission allows a user to view a file’s contents. When set for a directory, this permission allows a user to view the names of files in the directory, but no further information about the files in the directory.
write - The write permission allows a user to modify the contents of a file. When set for a directory, this permission allows a user to create, delete, or rename files.
execute - The execute permission allows a user to execute a file (or program) using the operating system. When set for a directory, this permission allows a user to access file contents and other information about files within the directory (given that the file has the proper permissions for the user to access it). The execute permission does not allow the user to list the files inside the directory unless the read permission is also set.
Each permission has a unique value: read = 4, write = 2, execute = 1. As a result, you can describe the permissions of each scope using the sum of its permissions’ values. For example, if a file has read and write permissions for the user scope, its permissions can be described as 6 (4 + 2 = 6).
Additionally, you can describe a file’s permissions using these values for each scope. For example, 761 describes the permissions for a file with read, write, and execute permissions for the user scope, read and write permissions for the group scope, and only execute permissions for the others scope.
To list information about a file, including its permissions, type:
ls -l <filepath>
You’ll get output of the form:
<permissions> 1 owner group <size in bytes> <date modified> <filepath>
For example, if we want information on /usr/bin/python3.5:
username@computer:~$ ls -l /usr/bin/python3.5
-rwxr-xr-x 1 root root 3709944 Oct 14  2015 /usr/bin/python3.5
First thing we can notice is that the owner of the file is a user
named root. (FYI, root is a name for an account that has access
to all commands and files on a Linux system. Other accounts may
also have “root” privileges.)
The file’s group is also root. The permissions are -rwxr-xr-x. These permissions are listed in user, group, and others order. In this example, the owner, root, can read, write, and execute the file. Users in the root group and all other users can read and execute the files.
Exercises
By default, any files or directories that you create will have your
username as both the user and the group. (If you run groups,
you’ll notice that there is a group with the same name as your
username. You are the only member of this group.) On our Linux
machines, new files are given, by default, to give read and write
permissions to user and group and no permissions to other. New
directories will be set to have read, write and execute permissions
for user and group.
- Verify this claim by running
ls -l backups/copy2.txtandls -ld backupsin yourlab1directory.
The -d flag tells ls to list the directory, instead of its
contents. Notice that that the first letter in the permissions string
for backups is a d, which tells us that backups is
directory. A regular file would have a - in that spot.
Once you have verified the claim, go ahead and remove the backups
directory using the command: rm -r backups.
Changing permissions, owner, & group
chmod <permissions> <path-name> |
set the permissions for a file/directory |
chmod <changes> <path-name> |
update the permissions for a file/directory |
chown <username> <path-name> |
change the owner of a file to username |
chgrp <group> <path-name> |
change the group of a file |
To change permissions, we use the chmod command. This command can be used in two ways. We can set the permissions for a file using a 3 digit number (see above) or by adding to and/or removing permissions from the current settings. For example:
username@computer:~$ echo "Hello!" > testfile
username@computer:~$ ls -l testfile
-rw-rw---- 1 username username 7 Aug 23 11:22 testfile
username@computer:~$ cat testfile
Hello!
username@computer:~$ chmod 222 testfile #set only write permissions for all scopes
username@computer:~$ ls -l testfile
--w--w--w- 1 username username 7 Aug 23 11:22 testfile
username@computer:~$ cat testfile
cat: testfile: Permission denied
username@computer:~$ chmod u+r testfile #give user scope read permissions
In this last example, we have added user read permissions to
testfile.
To change the owner of a file or directory (if you are the owner or root), you use the command:
chown <new owner> <path to file>
To change a file’s group (if you are the owner or root):
chgrp <new group> <path to file>
It is unlikely that you will need to use these latter two commands for this course.
Exercises
- Run
echo "Hello!" > testfileto construct testfile. Look at the permissions usingls -l. - Change the permissions on
testfileto allow and read access for others. Runls -l testfileto check the new permissions. - Remove user and group write access from
testfile. Check the corrected permissions. - Remove
testfileusingrm.
Wild Cards (Asterisk)
Sometimes, when we enter a string, we want part of it to be variable, or a wildcard. A common task is to list all files that end with a given extension, such as .txt. The wildcard functionality, through an asterix, allows to simply say:
username@computer:~$ ls *.txt
The wildcard can represent a string of any length consisting of any characters - including the empty string.
It is important to be careful using wildcard, especially for commands like rm which cannot be undone. A command like:
username@computer:~$ rm * ### DO NOT RUN THIS COMMAND!
will delete all files in your working directory!
Exercises
- Navigate to your
cmsc12100-aut-17-usernamedirectory. What do you see when you runls pa*? What aboutls pa*/*? - What do you expect to see when you run the command
ls ../pa*from within yourcmsc12100-aut-17-username/lab1directory?
Environment Variables
printenv |
print the current state of the environment variables |
export <VARNAME>=”some value” |
define an environment variable |
Sometimes, when we have a string/path we use often, we give it a name by assigning it to a variable for convenience.
The command:
username@computer:~$ printenv
gives a long list of defined variables. Try it in your terminal to see what happens!
When we want to define new variables, we use the = operator and export command. As you found from using printenv, is typical to name environment variables in all capital letters, so we could define a new variable as simply:
username@computer:~$ NEWVARIABLE=~/Downloads
It is important not to add spaces; the commands:
username@computer:~$ NEWVARIABLE =~/Downloads
username@computer:~$ NEWVARIABLE= ~/Downloads
username@computer:~$ NEWVARIABLE = ~/Downloads
would all be misinterpreted by the terminal; spaces within quotes are
allowed, if accurate. We to add a $ before the name of an
environment variable in a command to use its value:
username@computer:~$ NEWVARIABLE=~/Downloads
username@computer:~$ cd NEWVARIABLE
error
username@computer:~$ cd $NEWVARIABLE
username@computer:~/Downloads$
A variable created as above is only available to the current shell. It
is a local variable, so future shells (such as those that you create
when you open a new terminal window using Ctrl-Shift-N) will not
have access to it. In order to save variables, we need to export them
using the export command. Variables that are exported called
environment variables, which are generally declared as follows:
username@computer:~$ export NEWVARIABLE=~/Downloads
Exercises
- Define an environment variable and use
echo, which takes a list of values as command-line arguments and echos them to the screen, to see its value. - Open a new terminal window and use
echoin that window to see whether the variable is still defined.
Note that environment variables defined at the command-line are only until available until you log out. They will not be available the next time you log in.
Man Pages
A man page (short for manual page) documents or describes topics applicable to Linux programming. These topics include Linux programs, certain programming functions, standards and conventions, and abstract concepts.
To get the man page for a Linux command, you can type:
man <command name>
So in order to get the man page for ls, you can type:
man ls
This command displays a man page that gives information on the ls command, which includes a description, flags, instructions on use, and other information.
Each man page has a description. The -k flag for man allows you to search these descriptions using a keyword. For example:
man -k printf
This searches all the descriptions for the keyword printf and prints the names of the man pages with matches.
Running Commands Sequentially
It is often convenient to chain together commands that you want to run in sequence. For example, recall that if you want to print the working directory and list all of the files and directories contained inside, it would look something like this:
username@computer:~$ pwd
/home/username/
username@computer:~$ ls
Desktop  Documents  Downloads  Music  Pictures  Public  Templates  Videos
You could also run them together, like so:
username@computer:~$ pwd ; ls
/home/username/
Desktop  Documents  Downloads  Music  Pictures  Public  Templates  Videos
First, pwd is executed and run to completion, and then ls is executed and
run to completion. The two examples above are thus equivalent, but the ability to
run multiple commands together is a small convenience that could save you some time
if there is a group of commands that you want to execute sequentially.
Note
The shell doesn’t care about white space, so it will run any of the following as well:
username@computer:~$ pwd;ls

username@computer:~$ pwd ;ls

username@computer:~$ pwd; ls

username@computer:~$ pwd       ;        ls
Useful Keyboard Shortcuts
Used at the Linux prompt, the keyboard shortcut Ctrl-P will roll
back to the previous command. If you type Ctrl-P twice, you will roll
back by two commands, etc. If you type Ctrl-P too many times, you
can use Ctrl-N to move forward.
Here are few more useful shortcuts:
Ctrl-Awill move you to the beginning of a line.Ctrl-Ewill move you to the end of a line.Ctrl-Uwill erase everything from where you are in a line back to the beginning.Ctrl-Kwill erase everything from where you are to the end of the line.
Play around with these commands. Being able to scroll back to, edit, and then rerun previously used commands saves time and typing!
Redirection
The examples in this section will use commands that we’ve not yet discussed. Refer to the man pages for information about unfamiliar commands.
As we already know, commands like pwd, ls, and cat will
print output to screen by default. Sometimes, however, we may prefer
to write the output of these commands to a file. In Linux, we can
redirect the output of a program to a file of our choosing. This
operation is done with the > operator.
Try the following example and compare your output with ours:
username@computer:~$ cd
username@computer:~$ touch test-0.txt
username@computer:~$ ls > test-1.txt ; cat test-1.txt
Desktop
Documents
Downloads
Music
Pictures
Public
Templates
test-0.txt
test-1.txt
Videos
username@computer:~$ echo "Hello World!" > test-2.txt ; cat test-2.txt
Hello World!
username@computer:~$ cat test-2.txt > test-1.txt ; cat test-1.txt
Hello World!
username@computer:~$ rm test-*
Two important things to note:
- If you redirect to a file that does not exist, that file will be created.
- If you redirect to a file that is nonempty, the contents of that file will be replaced.
You can use the append operator (>>) to append the output of
command to the end of an existing file rather than replace the
contents of that file.
Not only can we redirect the output of a program to a file, we can
also have a program receive its input from a file. This operation is
done with the < operator. For example:
username@computer:~$ python3 echo.py < my-input.txt
In general, all Linux processes can perform input/output operations
through, at least, the keyboard and the screen. More specifically,
there are three ‘input/output streams’: standard input (or stdin),
standard output (or stdout), and standard error (or stderr).
The code in my_echo.py simply reads information from stdin and
writes it back out to stdout. The redirection operators change
the bindings of these streams from the keyboard and/or screen to files.
We’ll discuss stderr later in the term.
Piping
In addition to the ability to direct output to and receive input from files, Linux provides a very powerful capability called piping. Piping allows one program to receive as input the output of another program, like so:
username@computer:~$ program1 | program2
In this example, the output of program1 is used as the input of
program2. Or to put it more technically, the stdout of
program1 is connected to the stdin of program2.
As another more concrete example, consider the man command with the -k option that we’ve
previously discussed. Let’s assume that you hadn’t yet been introduced to the mkdir command.
How would you look for the command to create a directory? First attempts:
username@computer:~$ man -k "create directory"
create directory: nothing appropriate
username@computer:~$ man -k "directory"
(a bunch of mostly irrelevant output)
As we can see, neither of these options are particularly helpful. However, with
piping, we can combine man -k with a powerful command line utility called
grep (see man pages) to find what we need:
username@computer:~$ man -k "directory" | grep "create"
mkdir (2)            - create a directory
mkdirat (2)          - create a directory
mkdtemp (3)          - create a unique temporary directory
mkfontdir (1)        - create an index of X font files in a directory
mklost+found (8)     - create a lost+found directory on a mounted Linux second extended fil...
mktemp (1)           - create a temporary file or directory
pam_mkhomedir (8)    - PAM module to create users home directory
update-info-dir (8)  - update or create index file from all installed info files in directory
vgmknodes (8)        - recreate volume group directory and logical volume special files
Nice.
Exercises
- Use piping to chain together the
printenvandtailcommands to display the last 10 lines of output fromprintenv. - Replicate the above functionality without using the
|operator. (hint: Use a temporary file.)
Remote Access (optional, skip if short on time)
We’ll finish up with a description of some useful commands. If you run out of time, you can skip this part and return to it later.
There are two main tools for accessing a remote computer through the command line: one for running commands on the remote computer, and one for file transfer. The first of these commands is much more likely to be useful in this class.
SSH
SSH allows you to open a terminal session on a computer remotely, and is a major motivation for becoming proficient with the terminal. The following command:
username@computer:~$ ssh username@domain
begins an SSH session, and allows you to access all of your files and programs on the remote computer (as long as these programs can be executed through the shell). The command for SSHing into CSIL Linux computers is:
username@computer:~$ ssh CNETID@linux.cs.uchicago.edu
You should try this now and ask a question if you have trouble, as it is something you may have to do for your CS classes here.
To exit an SSH session, simply use the command exit.
ssh is installed by default on Linux and OSX. PuTTY is a popular SSH client for Windows.
SCP
While SSH allows you to log in to another computer, SCP provides the ability to transfer files between computers. In general, SCP is called as:
username@computer:~$ scp user@host1:/path/to/file1 user@host2:path/to/file2
and copies a file from one computer (the first argument) and places it in the second computer (the second argument).
If you want to copy a file to your local computer, you can simply specify the second argument as a file path, without the username or domain name; the same principle applies for copying from your local computer.
If you want to leave the file named as it was, you don’t need to specify the file name in the second argument.
An example of using SCP would be:
username@computer:~$ ls
Desktop Downloads
username@computer:~$ scp userame@linux.cs.uchicago.edu:~/cs121/assignment1/Grade.txt .
username@computer:~$ ls
Desktop Downloads Grade.txt
Recall that a single dot (.) refers to the current directory.
scp is useful, but do not use it to move files in your
cmsc12100-aut-17 repository between machines. It is much safer to
use Git to manage the files in your repository.
Final Notes
Sometimes, a program will run indefinitely or misbehave. When this
happens, you can type Ctrl+C to send an interrupt signal to the
running program, which usually causes it to terminate. On occasion,
you may need to type Ctrl-C a few times. Typing Ctrl+D sends
an end of input signal, which tells the program that no more
information is coming.