Gazebo Simulator
The intention of this guide is to familiarize you with the Gazebo simulator. Make sure you have gone through the computer setup before proceeding.
What is a Robot Simulator?
In short, a robot simulator allows one to interact with a robot and its environment virtually without requiring a real robot. Robot simulators often provide the following functionality,
- ability to modify the physical layout of the robot's environment (e.g. adding a wall or moving a person around),
- choice of a robot model (which impacts the availability of sensors, actuators, mass, etc.),
- simulated sensor data (i.e. what would the selected robot model observe if it were the real world),
- means to execute motor commands,
- visualization of the simulation state.
The Gazebo Simulator

We will use the Gazebo simulator for this course. It offers a number of powerful abilities is quite customizable.
Starting the Simulator
- Start
roscore.
Go to the terminal and run the following command.
You should see an output that looks like the following.$ roscore... logging to ~/.ros/log/9cf88ce4-b14d-11df-8a75-00251148e8cf/roslaunch-machine_name-13039.log Checking log directory for disk usage. This may take awhile. Press Ctrl-C to interrupt Done checking log file disk usage. Usage is <1GB. started roslaunch server http://machine_name:33919/ ros_comm version 1.15.8 SUMMARY ====== PARAMETERS * /rosdistro: noetic * /rosversion: 1.15.8 NODES auto-starting new master process[master]: started with pid [13054] ROS_MASTER_URI=http://machine_name:11311/ setting /run_id to 9cf88ce4-b14d-11df-8a75-00251148e8cf process[rosout-1]: started with pid [13067] started core service [/rosout]
- Lunch Gazebo.
You can launch the robot in many simulated worlds. To see a list of worlds, type in
and double tap tab, which should offer you a list of possible simulated worlds. For instance, if we use the$ roslaunch turtlebot3_gazebo turtlebot3_turtlebot3_gazebo_house.launchoption, you will some terminal output and a visualization like the following will pop up.If you want to create your own world, you can put your robot in an empty world and then follow instructions for populating your own world later in this page.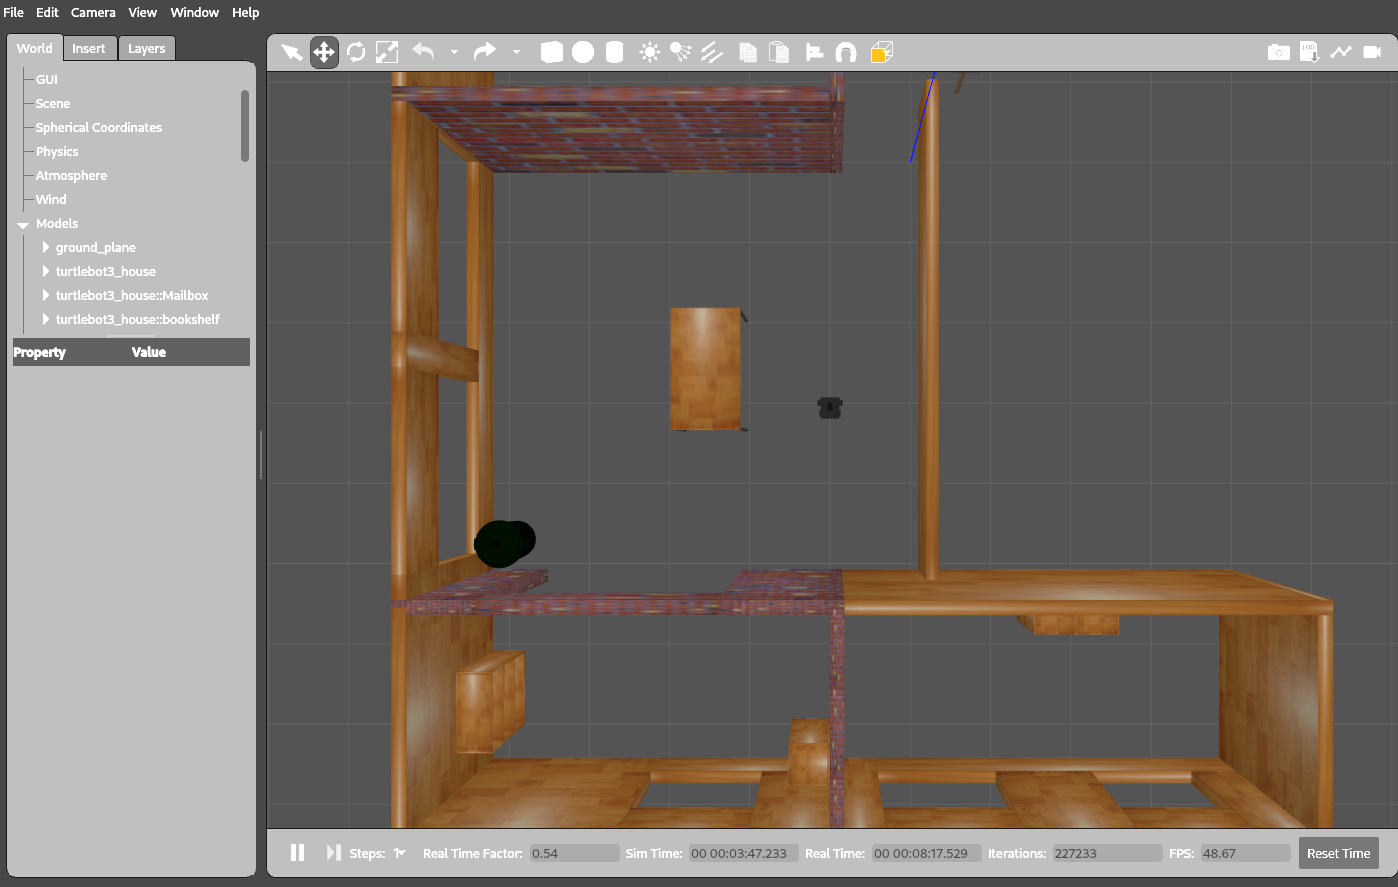
$ roslaunch turtlebot3_gazebo turtlebot3_empty_world.launch
Using the Gazebo GUI
The Gazebo website has a guide on using the Gazebo graphical interface.
Using RViz with the Simulator
To launch an instance of RViz, run the following command.
$ roslaunch turtlebot3_gazebo turtlebot3_gazebo_rviz.launch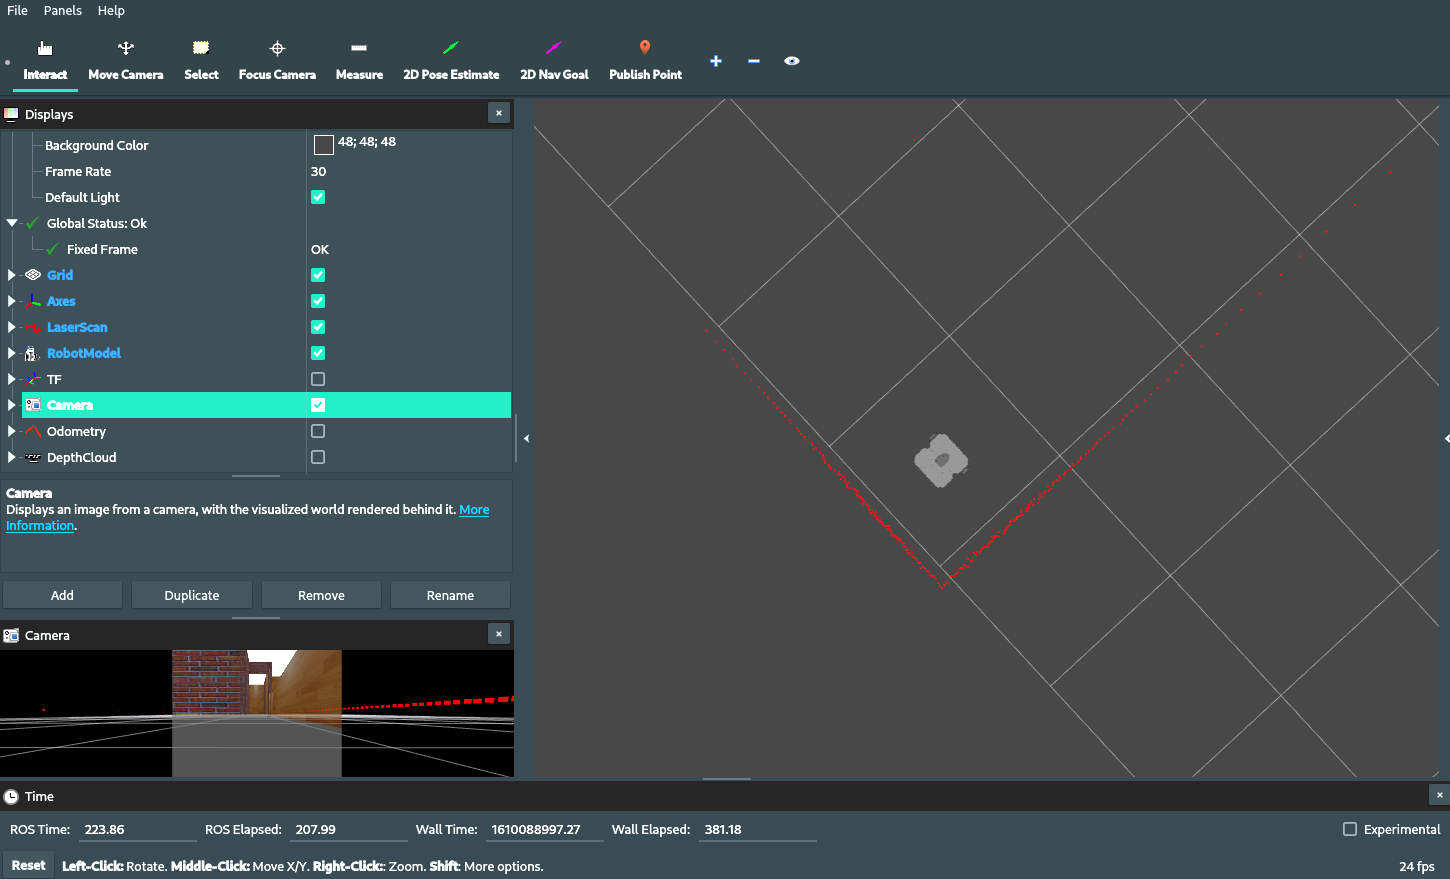
RViz vs Gazebo
While both RViz and Gazebo are graphical user interfaces that seem somewhat similar, their nature is quite different. Gazebo is a simulator. It places robots in a virtual world and allows users to give it commands and generates simulated sensor data. This sensor data is not very human friendly (e.g. some numbers and binaries). RViz simply visualizes this generated sensor data so that human users can understand what their robot observes in human terms.
Topics
Note that like any other ROS node, the robot simulator publishes and subscribe to topics. In this case, the simulator publishes and subscribes to the same topics that real robot does.
The following documentation gives high level details of a few topics. To explore more use the tools discussed in ROS Resources.
cmd_vel
When you publish to this topic, you'll set the robot's velocity. The linear.x direction sets forward velocity and angular.z sets angular velocity.
scan
The robot's LiDAR publishes measurements to this topic. LiDAR is used for measuring distance via lasers. The laser scan message consists of a number of attributes,
$ rosmsg show sensor_msgs/LaserScan
std_msgs/Header header
  uint32 seq
  time stamp
  string frame_id
float32 angle_min
float32 angle_max
float32 angle_increment
float32 time_increment
float32 scan_time
float32 range_min
float32 range_max
float32[] ranges
float32[] intensities
For initial purposes, the most important one is ranges, a list of 360 numbers where each number corresponds to the distance to the closest obstacle from the LiDAR at various angles. Each measurement is 1 degree apart. The first entry in the array corresponds to what is in front of the robot.
camera/rgb/image_raw
Publishes the RGB image seen by the robot's camera.
Populating a Simulated World
To populate a simulated world, use the "insert" menu (top left) in Gazebo. This menu will show a number of 3D models that can be inserted into Gazebo.
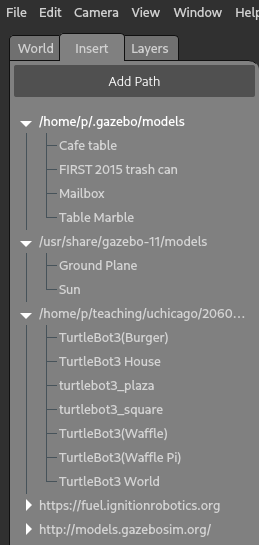
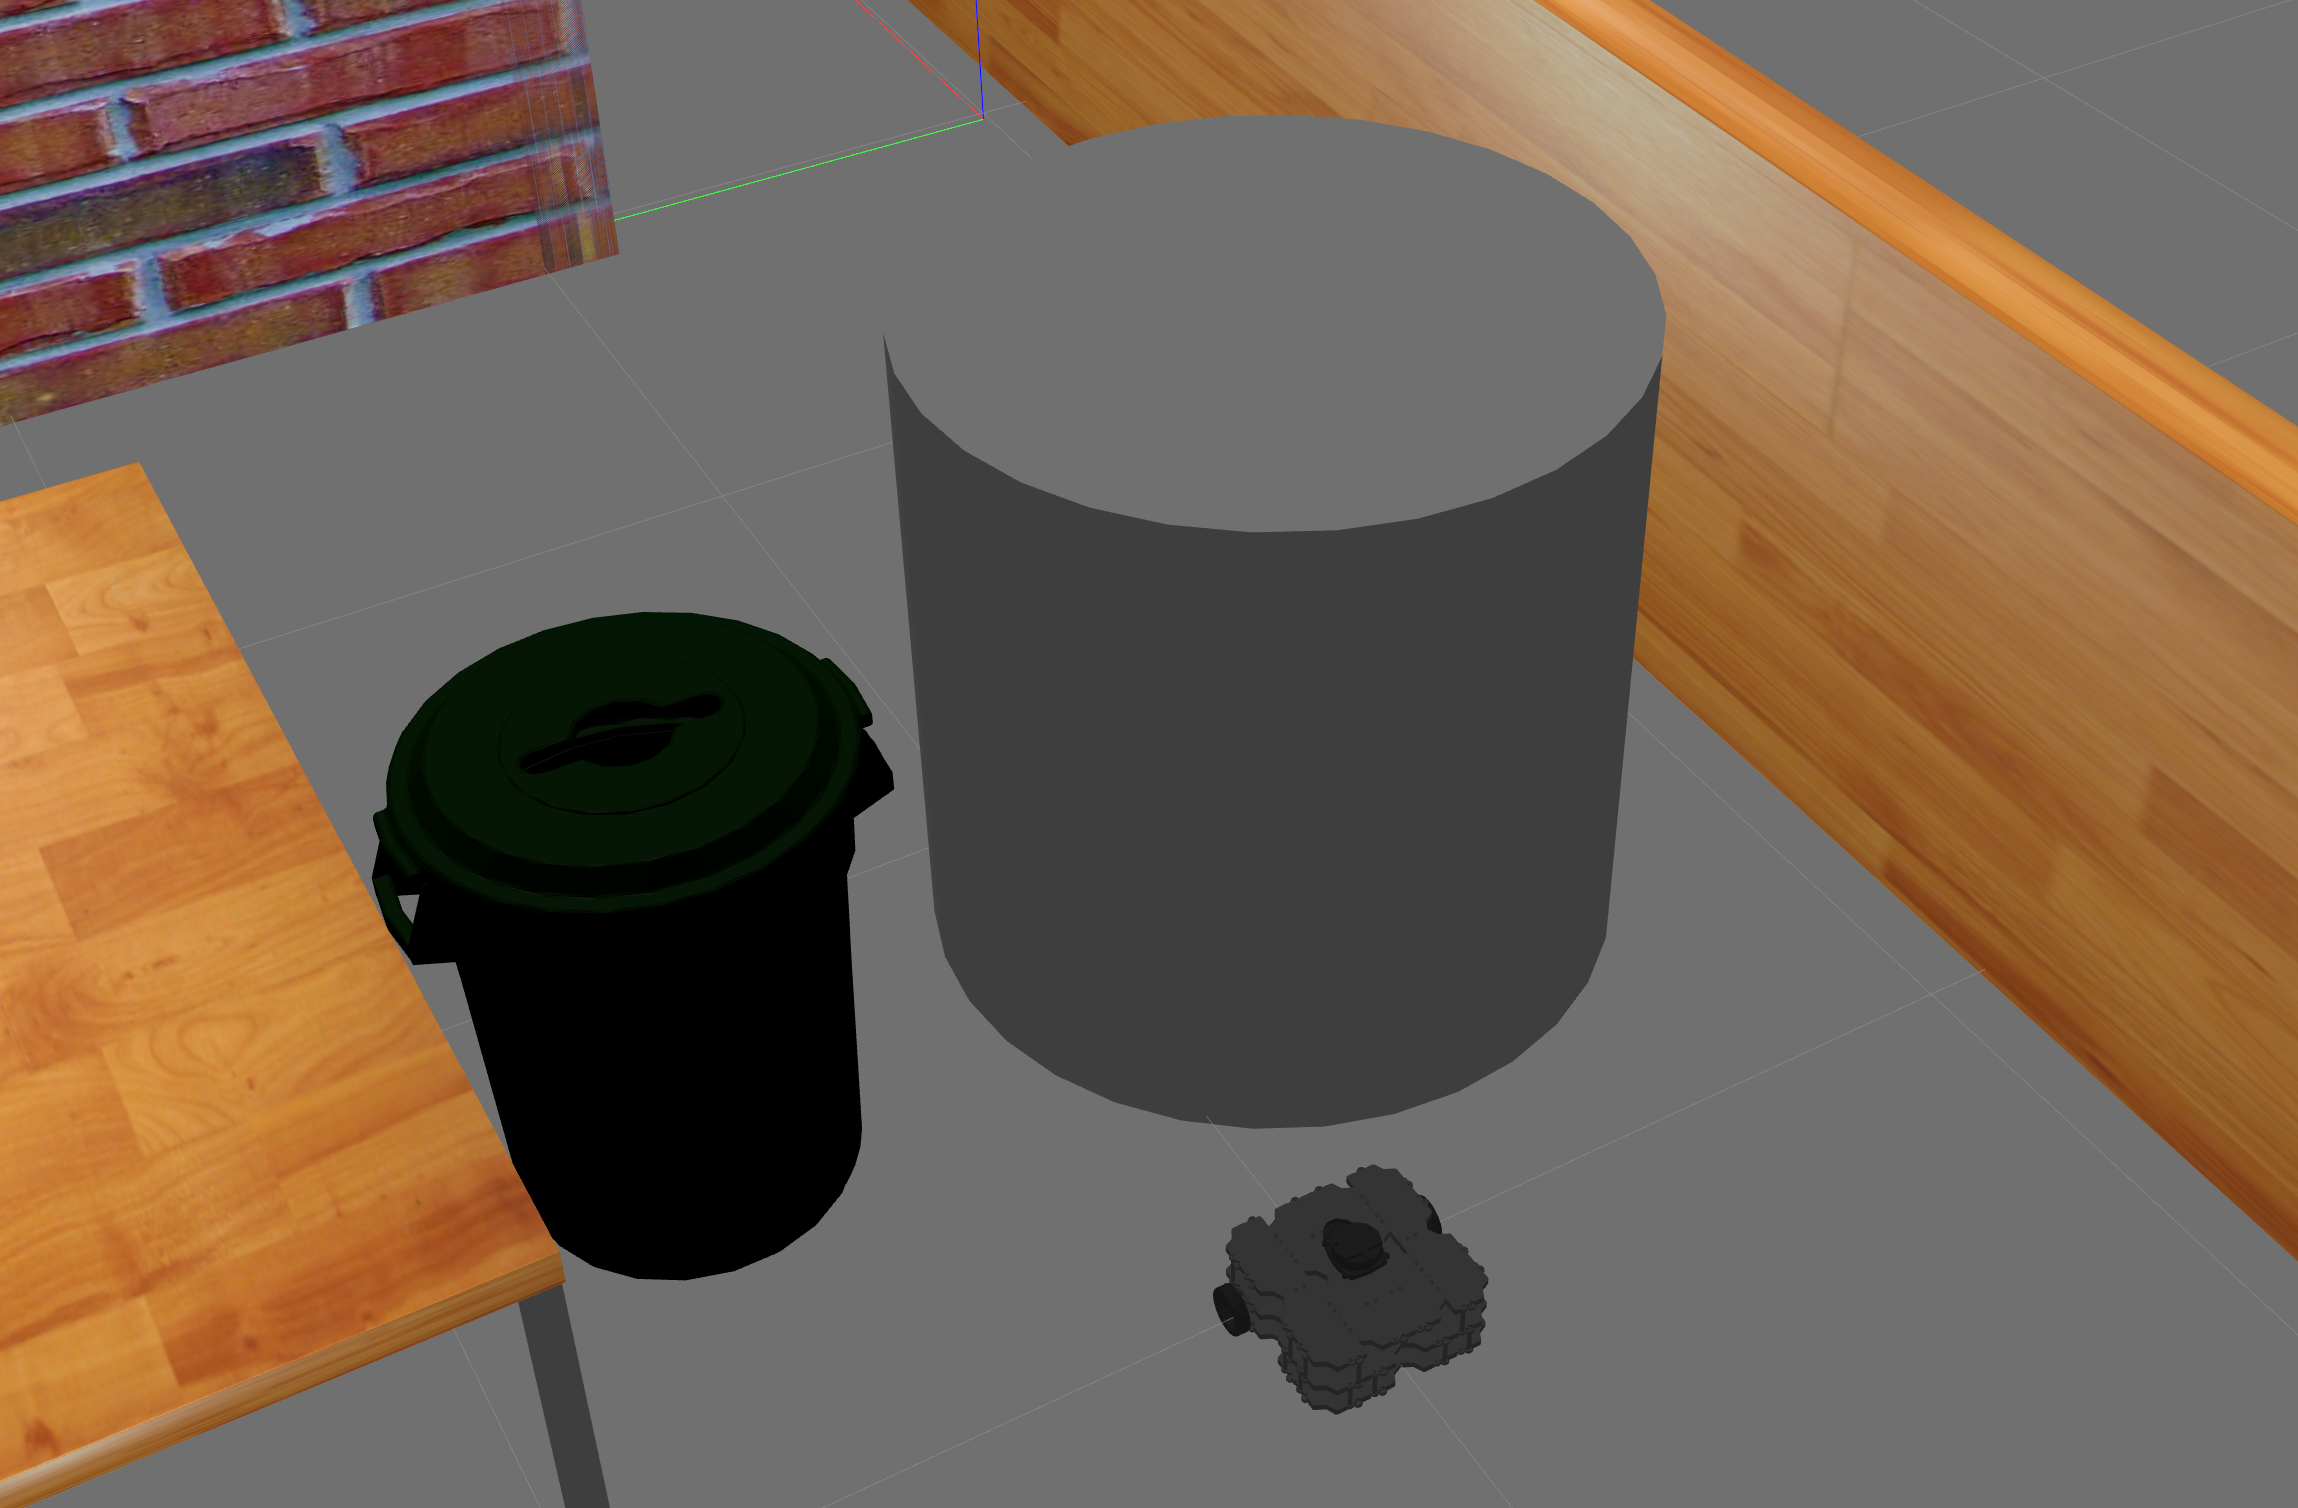
For more on populating the world, refer the to Gazebo manual.
Saving The World
If you have altered a world, you can save it using file->save world from within Gazebo. You should save the world in the directory catkin_ws/src/intro_robo/intro_robo_utils/worlds as a file with the .world extension.
Loading the World
Assuming you performed the steps above, you should be able to reload your world after shutting down Gazebo via the following command. Do not include the .world extension.
$ roslaunch intro_robo_utils turtlebot3_custom_world.launch world:=name_of_the_worldVideo Recording a Simulation
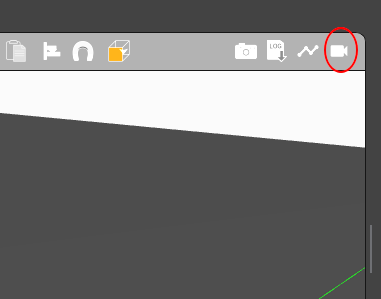
To record what is happening in your simulation, simply click on the video camera icon on the top right of your simulation. It should provide you with a number of format options. For our purposes, select the mp4 format and proceed with recording your simulation. To stop the recording click again on the video camera icon. Gazebo should pop up a file manager window, ask you for a file name, and request an address for saving the file.
Once you have the mp4 video, inspect and ensure that it captures your intended behavior. In the next step, we are going to turn the video into a gif via the command line tool ffmpeg. Note that while the command itself is very long, you only need to replace the italics to fit it for your own purposes.
$ ffmpeg -i input_name.mp4 -vf "eq=brightness=brightness,fps=frames_per_sec,scale=width:-1:flags=lanczos,split[s0][s1];[s0]palettegen[p];[s1][p]paletteuse" -loop 0 output_name.gifHere is a description of what each italic represents and the recommended values:
- input_name: The input file's name, i.e. what you recorded in the previous step.
- output_name: The name you would like your output file to have.
- brightness: For increasing or decreasing the brightness of your gif. Try values in the 0.01-0.1 range to brighten and negative values in the same range to darken your gif.
- frames_per_sec: For stating how many frames per second you would like your gif to have. Recommended values are 15-30.
- width: For scaling your gif's width. There is no need to set the height, the command takes care of that.
Let us know if you run into any issues with this command.
Shutting Down the Simulator
To shut down the simulator, go back to the terminal in step 2 and hit Ctrl-C.